
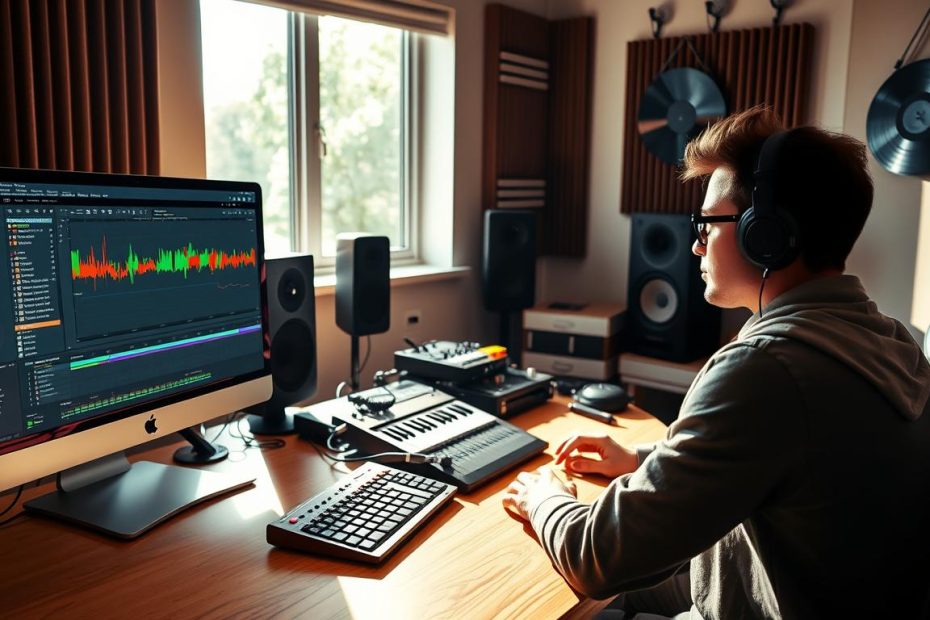
You will learn how to turn an idea into a track you can listen to. This guide covers the essentials: getting started, arranging, mixing, and exporting.
The software is known for its clear interface and two main views. They let you improvise, then organize your sections.
There is a learning curve, but official resources and videos are a great help. An English manual and free lessons cover rhythms, melodies, and synthesis.
Tip: set a simple goal and plan sessions of 45 to 90 minutes. This gives your time structure and helps you avoid getting stuck on one stage.
Courses or guidance from an audio engineer can speed up your progress. By the end, you will know how to create, arrange, and test an export to produce your first tracks.
Understand the Ableton Live Interface to Get Started
The interface lets you organize inspiration into blocks you can play, then place them on a timeline to complete the structure.
Ableton Live has two complementary workspaces. Session View lets you launch clips and quickly test ideas. Arrangement View provides a timeline for structuring the track.
Among the essential tools, start with Drum Rack, MIDI Editor, and Mixer. Drum Rack holds your percussion and samples. MIDI Editor lets you draw notes and adjust their velocity and quantization.
Mixer lets you balance levels and panning and add basic effects such as an equalizer, reverb, and delay. Create separate tracks for drums, bass, and instruments to keep everything clear.
- Work in Session View to hear variations without interrupting your flow.
- Switch to Arrangement View to set the structure and shape your creation.
- Name and color your clips so you can quickly find key elements.
Treat each instrument as a voice with a specific role. This approach makes composition easier and speeds up the journey from idea to finished track in the software.
Set Up and Optimize Your Software and Equipment Before Creating
Good initial settings prevent interruptions during creative sessions.
Audio preferences, latency, and drivers. In the software, select your audio device and the appropriate driver (ASIO or CoreAudio). Adjust the buffer size to balance low latency with stability. Check the sample rate and monitor CPU usage to avoid clicks and crackles.

Controllers and MIDI keyboards. Connect your controller and enable its input and output ports. Map essential functions (play, stop, record, filters, and macros) to its controls to speed up your workflow.
“Five minutes of technical checks before each session can save you hours later.”
- Organization: create a folder for each project, with Samples, Exports, and Renders subfolders.
- Template: a basic template (drums, bass, instrument, reverb, and delay) saves time.
- Home studio: a computer, monitoring headphones, and a reliable audio interface are enough to get started.
To learn faster, follow structured resources such as Getting Started with Music Production and Learning Synths, and join a local group to exchange tips.
Ableton Live for Music Production: Build Your First Track
Start by creating a simple, solid groove before adding melodic layers.
Place a Drum Rack on a MIDI track and load a kick drum, snare, and hi-hat. Program a basic beat in MIDI Editor and play it back to check the groove.
For the bass part, load a virtual instrument (Analog or Wavetable). Draw a short 4-to-8-bar line, adjust the velocity, and quantize lightly to preserve the swing.
- Arrangement: drag your clips into Arrangement View to build the intro, verse, chorus, and bridge.
- Automation: program filters, levels, and sends to reverb and delay to shape the energy.
- Samples: use risers, impacts, and reversed sounds to smooth transitions.
“Align the bass with the kick drum and give the other elements room to breathe.”
| Step | Action | Goal |
|---|---|---|
| Rhythm | Kick drum on the strong beats, snare on beats 2 and 4, varied hi-hats | Create a lively groove |
| Bass | Draw a MIDI line and apply light quantization | Support the harmony |
| Arrangement | Intro, verse, chorus, and bridge | Structure the track |
| Automation | Filters, levels, and effects | Manage energy and transitions |
To explore production further and follow a structured learning path, consult this production guide.
Apply Effects, Mix, and Prepare a Pre-Master
Before mastering, a careful mix brings your musical ideas together. Start with gain staging: lower the faders to leave several dB of headroom on the master. Spread instruments across the stereo field, then check the level of each track.
Balance Tracks, Panning, and Levels
Adjust levels to achieve an overall balance. Use panning to create space, and avoid letting several prominent parts overlap.
Essential Effects and Practical Uses
Apply an equalizer to clean up the sound: use a high-pass filter on tracks that do not need low frequencies, and reduce resonances. Put reverb and delay on return tracks to control depth.
Add chorus or saturation sparingly to give sounds character without masking other elements.
Pre-Mastering for Beginners: Levels and a Test Export
Group tracks by type (drums, bass, instruments) and apply light bus compression. Preserve headroom, check peaks, and export a test version.
- Listen to it on headphones, speakers, and a smartphone.
- Note any changes needed (too much bass, harsh highs, overpowering effects), then adjust the mix.
- Repeat this cycle once or twice to settle the mix.
To learn more about mixing in a home studio, consult this home studio mixing guide.
Export, Release, and Improve Your Music Production
Before releasing your track, prepare clean exports suited to each platform.
Once you have prepared a careful pre-master, export it as 24-bit WAV to preserve sound quality. Also make a compressed version for quick sharing, and check normalization for its intended use.
For distribution, use a service such as Repost to release your tracks on Spotify, Deezer, and other platforms. Pay attention to the cover art and metadata for a professional presentation.
Resources and Good Practices
- Test your mix on headphones, speakers, and a smartphone to identify needed adjustments.
- Put together a kit: good headphones, a way to monitor sound pressure level, and a quiet environment.
- Use a repeatable workflow: a dated Exports folder and a plan for what comes next.
- Protect your hearing: listen at a moderate level, take breaks, and use hearing protection when needed.
| Action | Recommended format | Goal |
|---|---|---|
| Master export | 24-bit WAV | Preserve quality and dynamics |
| Sharing export | 320 kbps MP3 | Quick sharing and previewing |
| Distribution | Repost and streaming platforms | Release on Spotify, Deezer, etc. |
To keep improving, follow the built-in tutorial and consult the English manual. Explore dedicated courses and guides to improve your studio and equipment, such as these tips for your studio.
Conclusion
Conclusion
A clear, repeatable method helps you achieve results. Learn the interface, organize your tracks, and use the built-in tools to speed up production. Good software and equipment settings prevent interruptions and preserve your creative energy.
Every session is a chance to learn. Repeat the process several times to refine your instrument choices, improve the mix, and strengthen your music production skills.
Action: open a project and create a beat, a bass part, and a melody. Commit to exporting a version within 48 hours to build a lasting habit and finish your first track.