

Setting the scene: this guide compares a dedicated instrument with a general-purpose MIDI control surface to help you decide when either should be the centre of your production setup.
The appeal of dedicated hardware: MPE pads, a central display, a jog wheel and an integrated audio interface provide direct control of Live, plus a standalone option for making music on the move.
But the standalone version has software limitations: no full VST support, partial support for Max for Live and a limited Arrangement view. Typical battery life is around 2 hours and 30 minutes.
Clarify this from the outset: do you need an integrated instrument or a flexible, affordable controller connected to your computer? Your workflow and budget will guide the choice.
We will cover the buying context, expressiveness, connections, portability and use cases. By the end, you will have a clear recommendation based on your needs and how you work day to day.
The buying context in 2024–2025: goals, budget and real-world use
Choosing the right equipment this year means matching your needs to the way you work. Decide whether you want to produce quickly in the studio, perform on stage without a computer or control a wider software ecosystem.
Price and modularity matter: the standalone version sells for around €1,899, with an optional i3/8 GB/256 GB upgrade kit costing about €999. A modular setup (computer + interface + controllers) can lower the initial cost.
Installing Packs through Cloud/Places and organising Sets takes time and may require several days, depending on the size of your library.
Battery life and transport also affect the choice: around 2 hours and 30 minutes of battery power, line and headphone outputs, and a weight of approximately 3.1 to 4 kg depending on the configuration.
- Assess the total cost (device, kit and accessories) and the return on investment for your projects.
- Allow for the learning curve: a few days spent mastering shortcuts can change your production speed.
- Consider alternatives too: lighter, ready-to-use controllers remain useful for specific tasks.
Device overview: Push 3 versus conventional controllers
Let us look at how the pad grid and controls change the creative workflow. The device examined here has an 8 × 8 grid with 64 MPE pads. Each pad senses pressure and XY position, opening up expressive possibilities similar to those of acoustic instruments.
MPE pads, the 8 × 8 grid and instrumental playing
The 8 × 8 layout supports polyphonic playing and subtle expression. Sliding techniques and aftertouch transform a performance in real time.
Display, navigation, buttons and jog wheel
A central display shows the clip grid and scenes. The clickable jog wheel, encoders and buttons provide smooth navigation without using a mouse.
Connections and integrated audio interface
On the hardware side, the integrated audio function includes inputs and line outputs, ADAT and pedal/CV ports. With a non-integrated controller, you will often need an external audio interface to get these inputs and outputs.
- Example: edit velocity, length and probability directly with the wheel.
- Note/Drum modes let you switch between instruments and racks without changing devices.
Expressiveness and MPE pads versus conventional keyboards and pads
On the grid, each touch becomes a means of expression beyond velocity alone. MPE pads capture pressure, slides and XY position for each note, as well as pitch bend, enabling live polyphonic vibrato and glissando.
Pressure, XY position and real-time note control
Combining pressure and XY position gives you fine control over timbre and attack. In practice, it turns each note into a small expressive instrument.
Harmonic playing, finger drumming and limitations
The grid supports assisted chord playing: scale quantisation, interval guidance and quick editing improve harmonic performance.
Finger drumming becomes more realistic with Drum Rack kits that use pad position to vary hi-hats and percussion.
- Advantage: more expressive than conventional pads for microtonal variations.
- Limitation: the pads’ shallow travel may frustrate pianists or guitarists accustomed to more physical response.
- Perspective: dedicated MPE instruments (Osmose, Seaboard) remain benchmarks, but this instrument offers an excellent introduction to MPE.
Tip: adjust X/Y axis and aftertouch sensitivity to suit the way you play. MIDI editing with the jog wheel makes it easier to select and adjust velocity and probability when detailed editing is needed.
To learn more about MIDI controller options and their uses, see this guide to the best MIDI controller.
Ableton Push 3 or a conventional controller: which should you choose?
A standalone device turns your setup into a portable instrument, with technical compromises.
Standalone version: freedom from a computer, with constraints
The standalone version runs Live on Linux and includes Wi-Fi for Packs and transfers through Places, as well as an integrated audio interface.
Limitations: no VST support, partial Max for Live support and no Arrangement view. Battery life is around 2 hours and 30 minutes.
Controller mode + computer: full DAW power
In controller mode, connecting to a computer gives you access to all your plugins, Max for Live and the full power of your computer’s processor and graphics hardware.
You keep the hardware navigation and buttons while gaining the software’s advanced features.
Conventional controller: versatility and an open ecosystem
Third-party controllers offer flexible mapping, lower costs and a wide variety of layouts (faders, pads and mixing surfaces).
They do, however, require a computer and often a separate audio interface.
“The hardware’s independence and expressiveness support music-making on the move; for demanding DAW projects, the computer still leads.”
| Use | Strengths | What you need |
|---|---|---|
| Standalone version | Independence, integrated audio interface | No VST support, limited battery life |
| Controller mode | Access to all plugins, DAW processing power | Computer required |
| Conventional controllers | Flexibility, price | Audio interface and computer required |
- Choosing tip: hardware expressiveness -> standalone version; working in a DAW -> controller mode; budget and modularity -> conventional controllers.
- Price and value: compare the cost of the integrated device with separate purchases before investing.
Workflow, ergonomics and production speed
Workflow often comes down to details: access to clips, selecting a scene and the speed of MIDI editing. The display shows the grid and enables navigation without leaving instrument mode.
Clips, scenes, navigation, MIDI editing and hidden functions
The jog wheel makes selection, renaming and precise editing easier. You can adjust a clip’s velocity, length and probability with a few turns. The velocity range can also be set without a computer.
Shortcuts, buttons, wheel and their effect on creativity
Many Shift shortcuts speed up work, but the dense arrangement of buttons makes some functions hard to find. This can increase the time needed to learn the device.
- Example: change a clip’s notes, lower its velocity and switch the active track in under 30 seconds.
- The two pedal ports have limited functions (sustain and session recording), without flexible assignment.
- For mixing several tracks or complex editing, switch to controller mode on a computer.
| Aspect | Advantage | Limitation |
|---|---|---|
| On-screen navigation | Quick selection of clips and scenes | Some actions require navigating deep menus |
| MIDI editing | Velocity, length and probability adjustable on the device | Detailed editing can be slower than using a mouse |
| Physical controls | Wheel and buttons for hands-on work | Dense controls, hidden functions |
“Keep a record of your shortcuts and create Set templates to save time during live performances.”
Audio inputs, outputs and connectivity for the studio and stage
Connections often determine whether a setup works well in the studio and on stage.
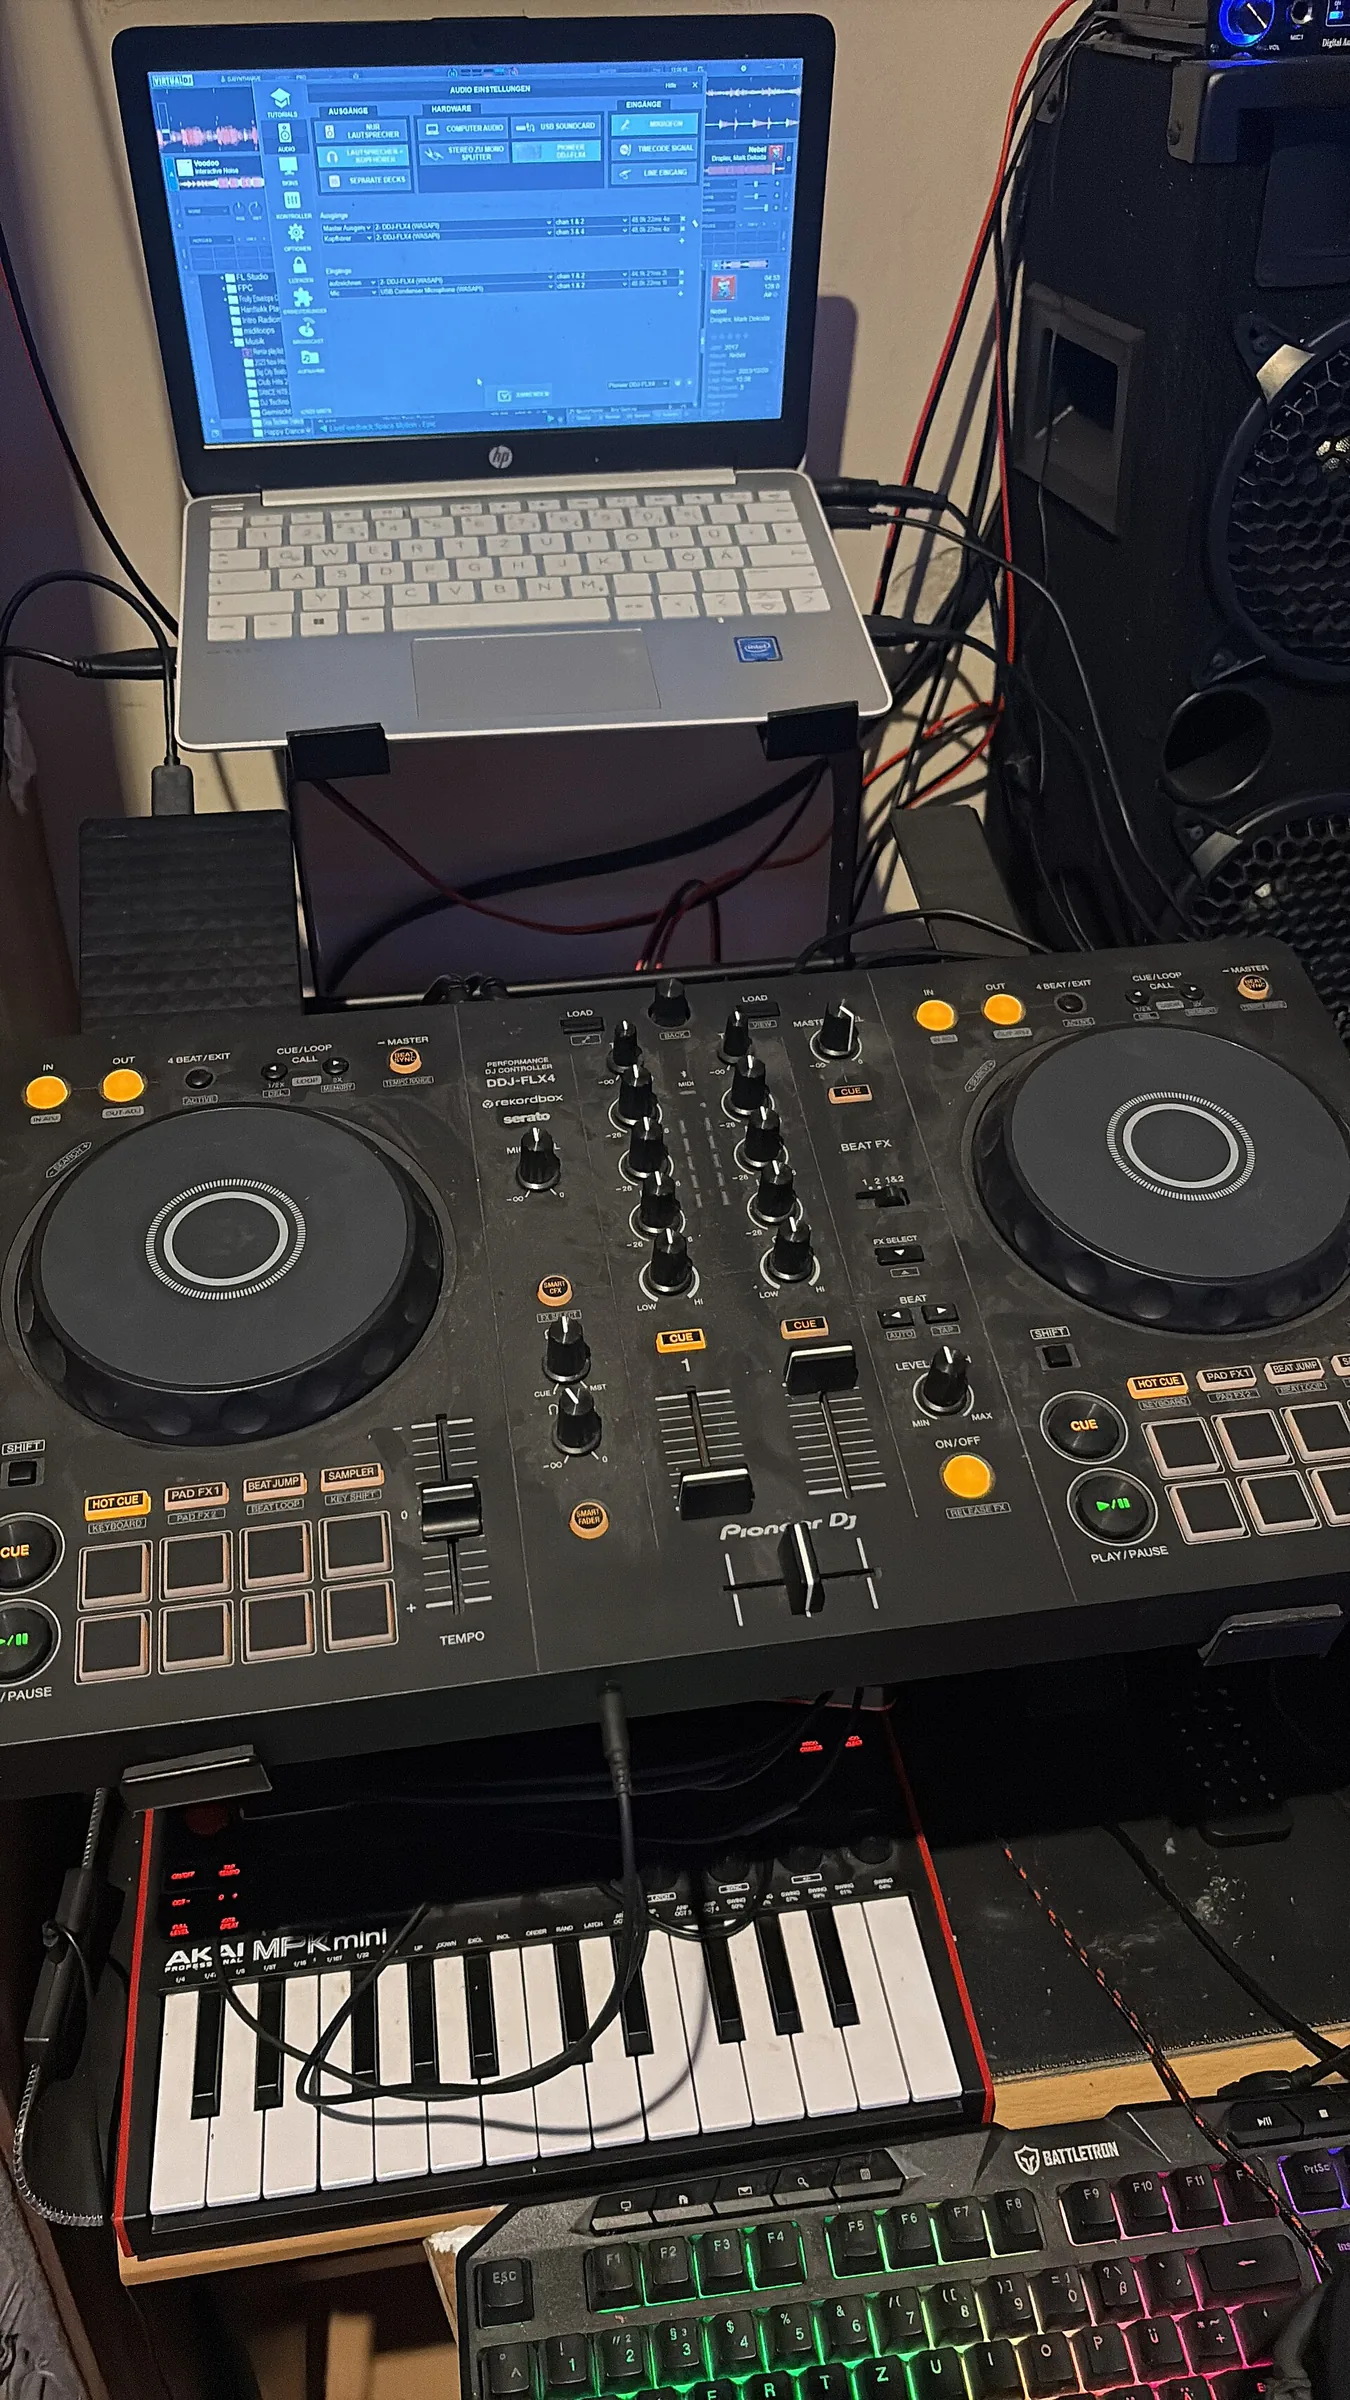
In terms of hardware, the device provides 2 line/instrument inputs (6.3 mm jacks), 2 line outputs (6.3 mm jacks) and a headphone output (6.3 mm jack).
These connections let you record in stereo, plug in a guitar in instrument mode and route a headphone mix independently of the main outputs.
Expansion and clocking
To increase the channel count, ADAT TOSLink provides 8 additional inputs and 8 outputs through external converters. This is ideal for adding preamps and microphones in the studio.
MIDI, USB, pedals and CV
MIDI input and output on mini-jacks (with DIN adapters), a USB-A host port for compatible controllers and USB-C for the computer provide broad compatibility.
- Pedals/CV: 2 configurable ports, usable for pedals or as CV/Gate connections with Y cables.
- Dynamic microphones: accepted through a jack when the input is set to “High”; condenser microphones need an external preamp through ADAT.
- Track management: monitoring, levels and routing can be controlled from the interface, reducing trips back to the DAW.
For detailed settings and the full list of connections, see the hardware manual.
DAW integration, native devices and third-party plugins
The standalone version offers freedom from a computer, but its software capabilities differ considerably from those of a full DAW.
Standalone Live: limitations and resources
The software runs on Linux: there is no VST support, and Max for Live support is partial. There is no Arrangement view or arrangement automation.
However, native devices remain available, and the internal functions let you play, edit and mix clips in Session view.
Transfers, Cloud and a hybrid process
You can open and save Sets on the device and sync them through Ableton Cloud/Places (Live 11.3+). To take VST processing with you, freezing or flattening a track before transfer is a reliable approach.
Example workflow: prepare a project on a computer with plugins, freeze demanding tracks, send it through Places, then finish it on the device in Session view.
Firmware stability is an asset on stage, even though standalone functions remain limited.
- External audio: ADAT is recommended for now; support for compatible USB audio is improving (Live 12.3).
- Hybrid use: return to controller mode as soon as a project exceeds the capabilities of standalone mode.
For more on choosing a DAW and compatibility questions, see this guide to the best music production software.
Portability, durability and battery life for the stage
Travel and live performance call for equipment built to move and withstand intensive use.
The device has a sturdy aluminium chassis. Its finish is designed to last and stand up to touring.
The stated weight of 3.1 kg sometimes contrasts with user reports closer to 4 kg. The dimensions (380 × 318 × 44.5 mm) include the external encoders.
Portability is reasonable, but plan for a suitable bag and a streamlined setup to keep everyday bulk down.
Battery life, screen visibility and controls
Battery life is around 2 hours and 30 minutes. That is enough for soundchecks and impromptu sessions, but not long sessions: bring the power supply for extended shows.
The display remains readable in daylight, a real advantage for live use. Pedal ports are present, but their assignments remain limited on stage.
- Practical tip: bring a padded case, short cables and a minimal pedal setup.
- Back up your Sets during days on tour and test assignments before the show.
Price, upgradability and long-term value
An investment should be considered over several years, beyond the purchase price alone.
The standalone model’s listed price of €1,899 covers the base device and Live Intro. An upgrade kit (i3/8 GB/256 GB + battery/cooling) costs approximately another €999.
Its value also reflects the built-in connections: line inputs and outputs, plus ADAT. These may remove the immediate need to buy an external interface.
Gradual investment and alternatives
Starting with a lightweight setup is one option: first buy a basic controller and connect it to a capable computer, then move to the standalone version if needed.
- Third-party controllers: from €1,000; additional costs for an interface and audio inputs and outputs.
- Upgradeable design: a replaceable battery and kit extend the device’s lifespan.
- Time and return on investment: estimate how much you will use it in the studio and on stage to assess its return.
| Item | Estimated cost | Impact |
|---|---|---|
| Standalone device | €1,899 | Includes Live Intro and integrated inputs and outputs |
| Upgrade kit | About €999 | Improves the processor, RAM, storage and battery life |
| Controller + computer + interface | From €500 (varies) | Lower initial cost; modular expansion required |
Turning point: when the integrated inputs, outputs and ADAT offset the cost of separate equipment.
To compare hardware and software choices, see this guide to choosing a sequencer for composing.
Use cases: which device fits which need?
The choice depends on your creative pace and where you work. In the studio, quick production favours hands-on tools. On stage, stability and access to clips come first.
Beatmaking, sampling and quick creation in the studio
Advantage: immediate creation through responsive pads and quick slicing. MIDI editing with the jog wheel speeds up adjustments to notes, probability and velocity range.
Live performance, overall control and improvisation
On stage, the clip and scene display makes launching and macro control easier. To mix several tracks live, add a small fader controller and an ADAT interface for more inputs and outputs.
DAW-focused producers, sound designers and MPE musicians
For projects with many plugins and Max for Live devices, controller mode connected to a computer remains the best option. MPE pads offer useful expressiveness, but dedicated MPE instruments remain better for some articulations.
| Use | Recommended solution | What you need |
|---|---|---|
| Beatmaking / sampling | Hands-on device + editing on the device | Fast drive, kit templates |
| Live performance | Device for clips + fader controller | ADAT interface, mains power |
| Intensive DAW work / sound design | Controller mode connected to a computer | Plugins, processing power and multitrack routing |
- Example: a hybrid setup — a hands-on device for clips and notes, a fader surface for mixing and ADAT for microphones.
- Always match the choice to the need: mobility -> standalone version; plugins -> computer + device.
Conclusion
In short, this device bridges a hands-on instrument and a control surface. Its MPE pads and display make playing and editing smoother, speeding up creation in Session view. The standalone version lets you work without a computer, but retains software limitations (no VST support or Arrangement view) and around 2 hours and 30 minutes of battery life.
On the hardware side, the stereo audio interface offers line inputs and outputs, plus ADAT and USB connections for expanding your setup. The robust design and upgrade kit help justify the high price for anyone seeking reliability on stage and speed in production.
Practical choice: choose the standalone version if you want to work without a computer; use controller mode if your DAW and plugins are central to your work; choose third-party controllers if modularity and budget matter most. For a detailed account of ownership, see the long-term review.