
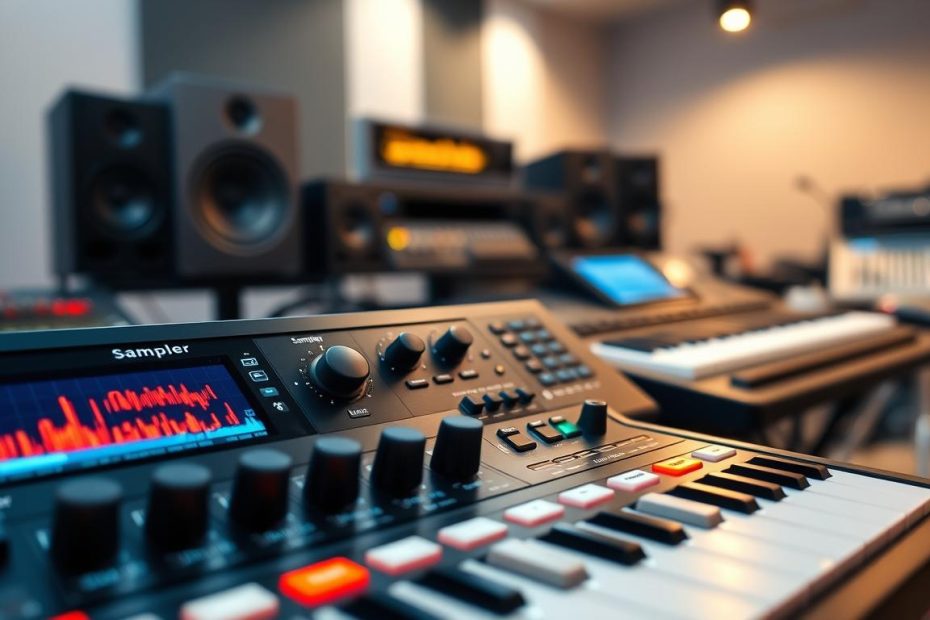
A brief introduction to set the scene: in Ableton Live, two instruments handle samples in different ways. This guide helps producers choose according to their workflow.
Simple and intuitive, one offers a streamlined interface with Sample and Controls tabs, playback modes, and a Warp function for syncing loops to the tempo.
More advanced, the other offers the Zone tab, editing by slice, global and local envelopes, and detailed control for creating multisampled instruments.
This article sets out the scope of the guide: a comparison, playback modes, filters, envelopes, and workflows (Drum Rack, layering, and conversion). It is for beatmakers, composers, and Ableton Live users who want to improve their everyday workflow.
For technical detail and practical examples, read this detailed analysis.
A practical introduction: the guide’s aims and the current Ableton Live context
Before getting into the details, let’s clarify the aims of this lesson and the options available today. This guide aims to save you time in your everyday use of Ableton Live. It explains when to favor one instrument over the other according to the project.
You will learn to distinguish Simpler’s playback modes — Classic, 1‑Shot, and Slice — and their uses: melodic playing, percussion, or slicing.
When editing by slice or note becomes a priority, Sampler is the appropriate tool thanks to its Zone tab and global envelopes. This level of precision is especially useful for creating multisampled instruments.
The first steps are simple: load a sample, define the playback region, and set the basic tuning. You can then use modulation, filters, and morphing to shape the sound.
- Goals: work faster, avoid common mistakes, and maintain a consistent sound.
- Choice: it depends on the type of project, the level of detail needed, and the time available for editing.
The following sections compare the interfaces, approaches, and uses, then offer step-by-step methods for turning a sample into a playable instrument.
Sampler and Simpler at a glance: approaches, interfaces, and musical uses
Comparing each instrument’s approach quickly reveals its strengths and limitations. This Ableton Live guide highlights two approaches: one is designed as a fast sample synthesizer, while the other provides comprehensive control for detailed adjustments.
In terms of interface, the first has two clear tabs — Sample and Controls — along with Warp, three modes (Classic, 1‑Shot, Slice), and a range of filters, including Morph mode for varying the sound.
The second offers Zone, Filter, and Envelopes pages. Here you organize slices, track notes, and adjust sustain for each slice. It is intended for multizone instruments and note-by-note editing.
Typical uses: choose the first option to quickly create a melodic line, a drum kit, or a creative set of slices. Choose the second to build a multizone instrument or fine-tune its dynamics.
Suggested workflow: start with the first to capture an idea quickly, then switch to the other if detailed editing becomes necessary. This approach improves your everyday workflow and the consistency of the final sound.
Simpler in Ableton: playback modes, Warp, and sound shaping for creative work
This section explains the playback modes, Warp, and tools for quickly shaping a sound from a sample.
Playback modes: Classic is polyphonic and suits sustained parts. It provides a full ADSR envelope and looping for melodic lines. 1‑Shot is monophonic and does not loop by default; Trigger plays the whole sample, while Gate lets you control its duration.
Slice divides a loop non-destructively and plays the slices chromatically. Slicing options include Transient (Sensitivity up to 64), Beat (rhythmic divisions), Region (2 to 64 slices), and Manual.
Warp and synchronization: Warp follows the Set tempo, as audio clips do. Enable it to test ideas on a MIDI keyboard without rhythmic drift. In a Drum Rack, each pad can hold a Simpler with Warp, making it easier to assemble a consistent kit.
Filters, envelopes, and modulation
The filters offer Clean, OSR, MS2, PRD, and SMP modes. Drive is available outside Clean mode; Morph mode (Clean↔OSR) lets you move between different timbres. Adjust frequency, resonance, and Drive to color the sound.
The ADSR envelopes affect amplitude, cutoff frequency, and pitch through Amount. The LFO offers sine, square, triangle, rising and falling sawtooth, and random waveforms, running from 0.01 to 30 Hz or synced to the tempo. Enable Retrig and Key follow for consistent behavior across note pitches.
| Parameter | Use | Key values |
|---|---|---|
| Playback | Poly/Mono/Thru | Mono for leads, Poly for pads |
| Start / Length / Loop / Fade | Clean up loops | Precise Start, short Fade |
| Voices / Retrig | Manage overlapping notes | Voices ≤ 8, Retrig according to style |
| Transpose / Glide / Portamento | Tune and smooth legato | ±48 semitones, Glide in monophonic mode |
Quick tips: use Classic for sustained instruments, 1‑Shot for short percussion sounds, and Slice to reinterpret a loop. In 1‑Shot mode, understand the difference between Trigger and Gate to choose the articulation. Adjust Sensitivity or Division for clean slices. Finally, set Voices and Retrig to suit your MIDI playing.
Sampler in Ableton Live: zones, slices, and detailed editing for complete control
The Zone tab is the control center for organizing and viewing each slice of a multisampled instrument. There you assign samples to notes and velocities and monitor activity in real time.
The Zone tab and slicing
The mode for visual tracking, clear assignments, and structured layers makes complex instruments easier to create. Sustain control for each slice helps make varied source material sound consistent.
Global envelopes and filter
Global envelopes work with local settings to shape attack, decay, and sustain. The Filter tab affects the instrument as a whole and complements adjustments to individual slices.
Independent note editing
Suggested method: load a sample, slice it, distribute the slices across zones, then refine each slice’s amplitude, filter, and pitch. This lets you correct dynamics, timing, or tuning without changing the whole instrument.
- Advantage: precise settings for creating playable instruments controlled by MIDI.
- Tip: combine zone assignments with context-sensitive modulation to reproduce realistic acoustic behavior.
To go further with devices and scripts, explore Max for Live devices to expand your techniques and workflow.
Sampler and Simpler in Ableton: understanding the differences
Depending on the project, choosing speed or detailed control can change the resulting sound. This short section helps you choose between speed and precision when using Ableton Live.
When to choose Simpler
Simpler is ideal for getting started quickly. It lets you play melodic instruments, program percussion, and slice a loop with Slice. Warp and modeled filters make immediate experimentation easy. On Push 2, the interaction is fluid: play, slice, and test ideas in real time.
When to choose Sampler
Sampler is the choice if you need multiple zones, want to match different timbres, or need to edit each note separately. The Zone tab, slice tracking, and global envelopes offer extensive control over articulation and sound.
Hybrid workflows
- Sketch an idea quickly in Simpler, then convert it to Sampler when more detailed editing becomes necessary.
- In a Drum Rack, place one Simpler on each pad to build an efficient kit.
- Stack instances in an Instrument Rack to layer sounds and make the result fuller.
This guide recommends working in stages: test, refine, then finish. The balance between speed and control can be the key to a good result.
Practical methods: from sample to playable MIDI instrument
This practical guide presents two quick ways to create a usable MIDI instrument from a sample.
Build a drum kit
Quick steps: load a Drum Rack, drag a Simpler onto each pad, and enable 1‑Shot mode. Choose Trigger to play the entire sample or Gate to stop playback when the note is released.
Adjust Start and Fade to clean up the attacks. Set Voices and Retrig to control overlapping sounds. Use Transpose to tune a snare or tom.
Turn a loop into an instrument
Enable Slice (Transient / Beat / Region / Manual) and adjust Sensitivity or Division for clean slices. Use Warp to sync the loop to the project tempo.
Then assign the slices to MIDI keyboard keys in chromatic order. Set Playback to Mono for precise finger drumming, or to Poly to layer several slices.
Color the result with the filters (Clean, OSR, MS2, PRD, SMP). Increase Drive outside Clean mode and try Morph to explore timbres while controlling the cutoff frequency.
Finally, use the context menu to convert the instrument to its advanced version so you can refine sustain for each slice, global envelopes, and dynamic balance. Assign macros (cutoff frequency, resonance, envelope) for stable, expressive playing.
Conclusion
In short: the choice comes down to speed or detailed control in your creative work. Use Warp to test tempo-synced playback. Try Classic, 1‑Shot, or Slice according to the musical role.
In practice: sketch an idea quickly, then move to note-by-note editing if the parameters call for greater precision. Adjust the cutoff frequency, envelopes, and modulation to make the sound consistent.
Document your presets and standardize macros and control assignments to speed up your everyday workflow. Put this lesson into practice: compare the modes and filters on the same sample to hear more clearly how they affect articulation and the final result.