
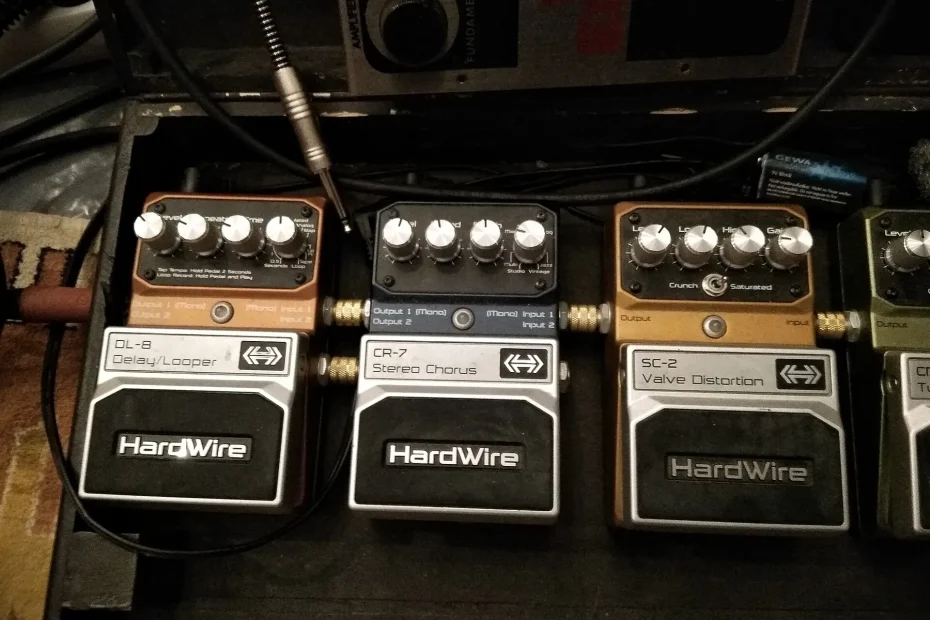
This practical guide explains how to use Ableton Live and a looper to create, layer, and structure instrumental parts in real time, from the first take to playing a complete set.
A looper in Ableton Live is an audio effect that captures a loop and lets you add overdubs with a single button while staying in sync with the global tempo.
The benefits of hands-free control are clear: creative freedom, control over tracks, integration with effects and clips, and compatibility with controllers or pedals for smoother playback.
For example, a guitarist or beatboxer records a rhythmic foundation, loops it, then layers harmony and melody without interrupting their creative flow. This guide also covers the limits imposed by the computer and audio interface, along with settings that can reduce latency.
This practical guide explains the benefits of looping and introduces advanced techniques (Reverse, Half/Double), essential controls, and good practices for a clean, musical result.
Why use loopers with Ableton Live in performance?
Looping lets one performer create rich, structured arrangements instantly. In practice, a looper can turn a solo musician into a one-person “orchestra,” as some popular artists demonstrate.
Artistic possibilities: layer harmonies, build a rhythm section, and improvise complete arrangements in real time. Built-in quantization keeps each recording aligned with the tempo, so overdubs stay together.
Using a single looper in Ableton Live reduces the amount of equipment needed and gives you more flexibility for editing and automation. Software is a useful starting point before investing in hardware such as the Boss RC-Series or the well-known RC-505 MKII.
- Practical example: start with a beatbox rhythm, add a vocal pad, then a bass line, all synchronized to the same beat.
- Stage impact: letting the machine handle repetition frees the performer to focus on expression and stage presence.
The result is a more polished, easier-to-follow performance. To explore looping techniques and tips for recording and creating loops, this approach is an excellent starting point.
Prepare your setup in Session View: audio, monitoring, and optimized latency
Stability starts with the audio interface: it connects your guitar, microphone, or synth to your computer and needs reliable converters and drivers. Install the recommended driver and test several inputs before going onstage.
Interface, buffer, and monitoring
Set the buffer according to your processor load: lower for more immediate monitoring, higher to ease the load on the computer. Find a balance that avoids clicks while keeping latency comfortable.
Track routing and arming
Create a dedicated audio track for each source. Assign the microphone or instrument input, arm the track, and choose In, Auto, or Off monitoring according to what you need to hear.
- Isolation: one track per source prevents bleed and makes levels easier to adjust.
- Metronome and tempo: turn on the metronome and set the tempo to align every loop and clip.
- Headphone monitoring: essential for checking a take without feedback.
- Organization: name and color your tracks, then add a gentle limiter to the master track.
- Processor test: load a few plug-ins and check stability at your chosen tempo.
Configure Ableton Live’s Looper device: recording, overdubs, and loop length
Start by loading Looper from Audio Effect > Looper onto a dedicated track. This setup separates processing applied before capture (EQ and compression) from the effect and makes the signal path clearer during recording.
Insert Looper and choose the length
Place Looper at the end of the chain on your chosen track. Let the first take define the loop length, or set a fixed value to suit the structure you want.
Main controls and navigation
The large button: one click starts recording, the second closes the loop and starts playback, and the third enables overdubbing.
- Undo/Redo: removes or restores the last overdub without affecting the original layer.
- Clear: empties the buffer completely so you can start again.
Length, Half/Double, and the display
Use Half and Double to halve or double the loop length without recording again. The central display shows the state: orange while recording and blue during playback. An indicator shows progress.
Levels, feedback, and Drag Me!
Set the input gain to avoid clipping and adjust feedback to control how layers accumulate. The “Drag Me!” area lets you export a loop to Arrangement View or import a file for nondestructive editing.
Practical tip: open several Looper instances on different tracks if your computer can handle them, and put time-based effects on return tracks to keep the looped signal clear.
Synchronization and tempo control: quantization, Start Song, and Stop Song
Tempo and transport settings change how your loops interact onstage. Looper can run independently or follow the global tempo and transport to stay aligned with other tracks.
Modes and their uses
In independent mode, the loop establishes its own pulse. In synchronized mode, the looper follows Ableton Live’s tempo, which works well when playing over clips.
Start Song, Stop Song, and quantization
Enable Start Song to start the transport with the first recording. Stop Song stops the transport at the end. These options make transitions easier without touching the computer.
- Quantization: aligns entry and exit points to a bar, half-bar, or quarter-bar to prevent timing drift.
- Scenarios: use independent mode for a minimalist set with more freedom, or a synchronized hybrid set for clips and backing tracks.
- Tip: assign Start/Stop to a button or pedal and test your target tempo before going onstage.
For technical details about the device and its options, consult the official manual: Looper documentation.
MIDI control and pedals: operate your loops hands-free
MIDI control lets you start recording and overdubbing without putting down your instrument.
MIDI mapping: enter MIDI Map mode, click the Looper button, then press the pedal you want to assign. This immediately maps Record, Overdub, or Stop to a footswitch.
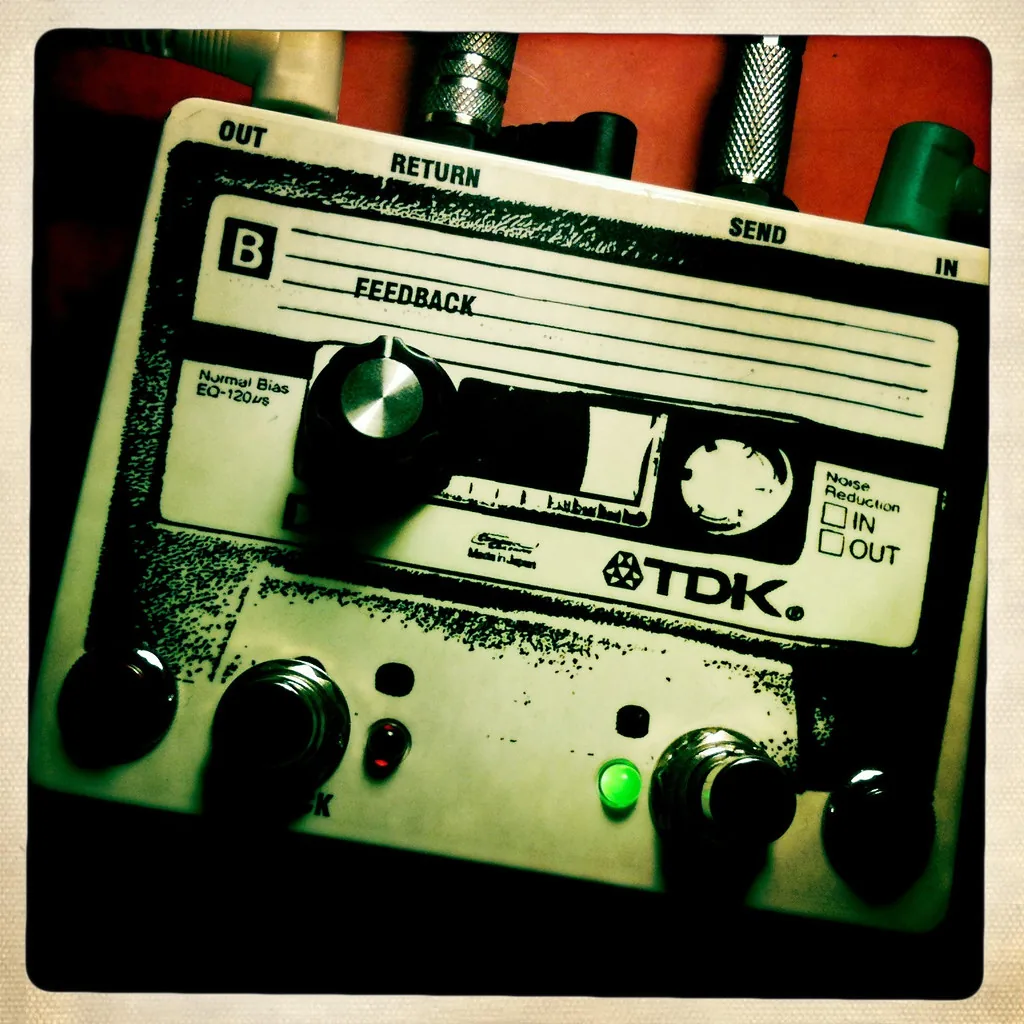
Recommended mappings and controls
Map at least Record/Overdub, Stop, Undo/Redo, Clear, Reverse, Half/Double, and Start/Stop Song. A two- or three-switch foot controller makes it easy to move from recording to overdubbing, with a third switch for Undo.
Clips, scenes, and workflow
Trigger drum clips or pads while recording on another track. Structure the introduction, verse, and chorus with scenes, then capture live variations with Looper.
- Rename and color tracks so you can recognize them immediately.
- Choose a controller with LEDs or a screen so you can see the state of each button.
- Test MIDI latency and adjust the settings so triggers follow your chosen quantization.
Keep a ready-to-use template and expand it with a Push or Launchpad for visual control of clips and smooth playback. To learn more about recording new clips and consult a practical recording guide, keep these resources handy.
Creative techniques in real time: effects, Reverse, and rhythmic layering
Changing a loop’s direction and duration opens up unexpected textures. These simple moves turn a short motif into a soundscape. They are useful both onstage and in the studio.
Instant Reverse: reverse a track on the fly to create dreamlike builds or surprising fades. A brief press of the button is enough to change the atmosphere.
Half/Double and reshaping
Half/Double changes the loop length without recording again. Halving it adds punch; doubling it makes room for other ideas.
Gradual fading and textures
Lower the feedback slightly to let older layers fade. This creates a succession of evolving atmospheres without muddying the mix.
Polymeter and different lengths
Put loops of different lengths on several tracks. Rhythmic intersections emerge naturally and come back together after several cycles.
- Example: lay down a short ostinato, record a second layer in reverse, then let the first fade by adjusting feedback.
- Send delay and reverb to effects on return tracks to preserve the clarity of the source.
| Technique | Use | Key settings |
|---|---|---|
| Reverse | Dreamlike transitions and builds | Low feedback, timing visible on the display |
| Half/Double | Change energy and space | Loop length, quantization |
| Decay/Feedback | Evolving textures | Feedback level, sends to reverb and delay |
Adjust the settings to suit the tempo and density of the arrangement. Watch the display to choose the right moment and avoid clashes between subdivisions.
Alternatives and integrations: hardware loopers and complementary software
Choosing between hardware and software significantly changes your onstage workflow. Hardware offers robustness and physical controls. Software provides more options and uses the computer’s resources.
Floor and tabletop loopers
The Boss RC-Series (RC-1, RC-30, RC-600) remains a go-to range of floor units for guitarists. The RC-505 MKII is a leading tabletop option, with five tracks and dedicated faders. The Akai MPC Live II combines looping with a standalone workstation that has a touchscreen and built-in battery.
Software options
Möbius offers extensive programming possibilities. SooperLooper provides many settings for free. Augustus Loop adds a “tape” character. FL Studio can host VST plug-ins, while Ableton Live includes a native Looper useful for recording and routing.
Hybrid integration and uses
- Hybrid setup: route the output of a hardware looper to a track to use return-track effects and multitrack editing.
- Example: Ableton Live + MIDI footswitch + RC-505 MKII synchronized to the tempo = live-played layers and synchronized sequences.
- Limitations: a device’s recording time and number of banks can be restrictive; a computer offers more flexibility if it has the resources.
| Option | Advantage | Drawback | Recommended use |
|---|---|---|---|
| RC-505 MKII | Five tracks, faders, tabletop format | Less portable than a pedal | Vocal or tabletop sets |
| RC-Series (pedal) | Robust, simple | Fewer editing options | Solo guitar |
| MPC Live II | Standalone, screen, battery | Expensive | Standalone set |
| Software (Möbius, SooperLooper) | Programmability, low cost | Depends on a computer | Studio and hybrid stage setup |
Practical tip: test MIDI synchronization and check latency and jitter before performing. Export your takes to Arrangement View to edit them and enrich the song with other tracks.
Ableton Live and loopers: building layers live
A good plan makes performing easier. Prepare the session: arm the looper track, set the tempo, and test quantization before the set.
Here is a simple routine: start recording the first layer, switch to overdubbing, then add voices and textures. Trigger backing clips once the foundation is stable.
For clear playback, adjust each track’s level and avoid piling on layers without control. Use a track structure: one track for rhythm, one for harmony, and one for the main melody.
Group effects and transitions in racks and macros so you can change the mood quickly. Keep a Clear control within reach and assign Undo to a control so you can fix a take without losing momentum.
Use scenes to develop the arrangement while continuing to record. Check synchronization between Looper, the clips, and the global transport before performing.
| Step | Action | Quick tip |
|---|---|---|
| Preparation | Arm the Looper track, set the tempo | Test quantization |
| Performance | Recording → Overdub → Clips | Keep levels balanced |
| Transitions | Macros, Reverse, muting tracks | Practice using visual cues |
| Saving | Record the master or export the tracks | Archive them for postproduction |
To explore the methods and tools further, see this comprehensive guide to loopers. It will help you structure your sessions and takes.
Conclusion
Mastering recording and overdubbing lets you turn a simple idea into a cohesive set. Ableton Live’s built-in Looper provides Undo/Redo, Half/Double, Reverse, and “Drag Me!” for exporting your work.
Tempo and quantization keep every layer aligned. Start with a small number of tracks and clips, then gradually add more material.
Assign at least two MIDI controls (Record/Stop) and try pedals for hands-free operation. Record takes, listen back, then adjust levels and routing.
In practice, the lesson is simple: a good template and experimentation (Reverse, Half/Double, decay) can produce rich textures. Open a template session, assign your essential controls, and start your first performance today.