
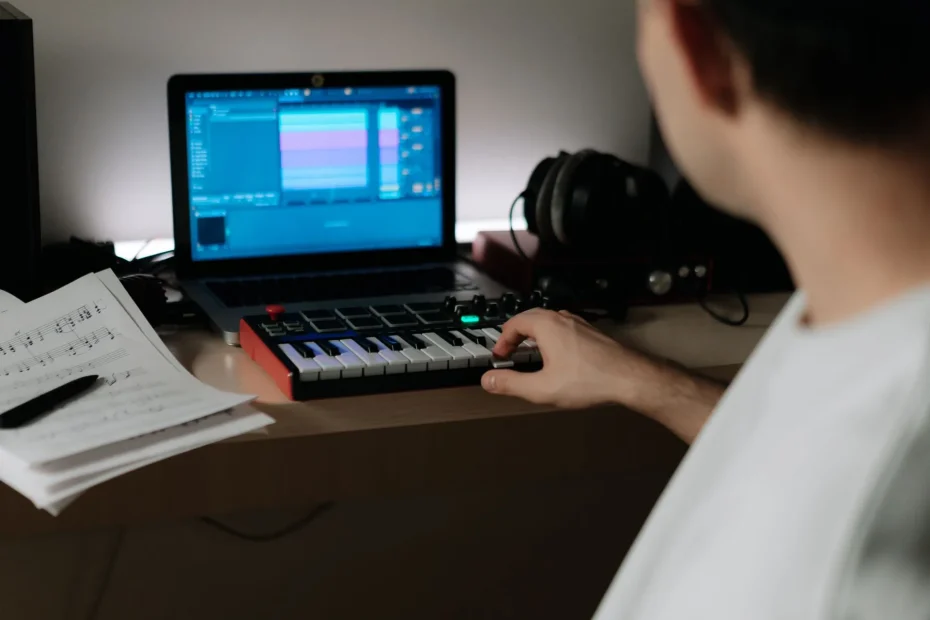
Ableton Live is software for making music that launched in 2001. Its clear interface and ability to manage clips and scenes make it appealing. These concepts help beginners organize their ideas and loops quickly.
Its structure is based on two views: one for improvising and creating loops, and the other for building a track on a timeline. These basics make it easier to move from improvisation to arrangement.
This guide offers practical steps: installation, essential settings, your first Live Set, and recording. It also introduces the instrument library, effects, and extensions such as Push and Max for Live.
Follow the built-in interactive lesson to configure your audio inputs and outputs and explore the preferences. It gives you simple points of reference as you progress with music production.
Before you begin: equipment, free trial, and guide objectives
Preparing your workspace and understanding the free trial will make your first steps in music production easier. This section covers what you need for a productive, stress-free first session.
What you need to make music
- A computer with the software installed.
- Reliable headphones or speakers so you can hear the details.
- An optional MIDI controller for more expressive playing.
- A quiet space and time to work through the exercises.
Download and install Ableton Live
You can get a free trial from the official website. It is available for a limited period and lets you explore all the features.
Start an interactive lesson from the Help menu to follow the built-in videos and exercises. Before going further, open a new Live Set and check that the audio works properly. Consider installing a few essential Packs from the library to expand the sounds available to you.
Essential Preferences settings for smooth operation
Configuring Preferences properly helps Live run smoothly and reduces latency. Open the Preferences window with Ctrl + , on Windows or Cmd + , on Mac. This keyboard shortcut saves time during your initial setup.
Audio: interface, inputs and outputs, latency, and testing
Select your audio interface, configure its inputs and outputs, and choose a suitable sample rate. Reduce latency by adjusting the buffer size, and use the test section to check the signal.
Link | Tempo | MIDI: synchronization and controls
Enable Ableton Link for network synchronization and set the tempo. Connect your MIDI devices, assign their ports and channels, then configure remote controls to adjust parameters as you play.
Library, File/Folder, and Plug-Ins
Set the location of your library and Packs. Specify your VST/AU folders and optimize the decoding cache for smooth use of these features.
Record | Warp | Launch and Look | Feel
Choose the default recording and Warp settings, along with clip launch quantization. Set the language, theme, and zoom level for lasting visual comfort.
Once your setup is stable, save a template Set so you can reuse these settings. Finally, make sure you follow the built-in lesson “Setting Up Audio I/O” to check each step.
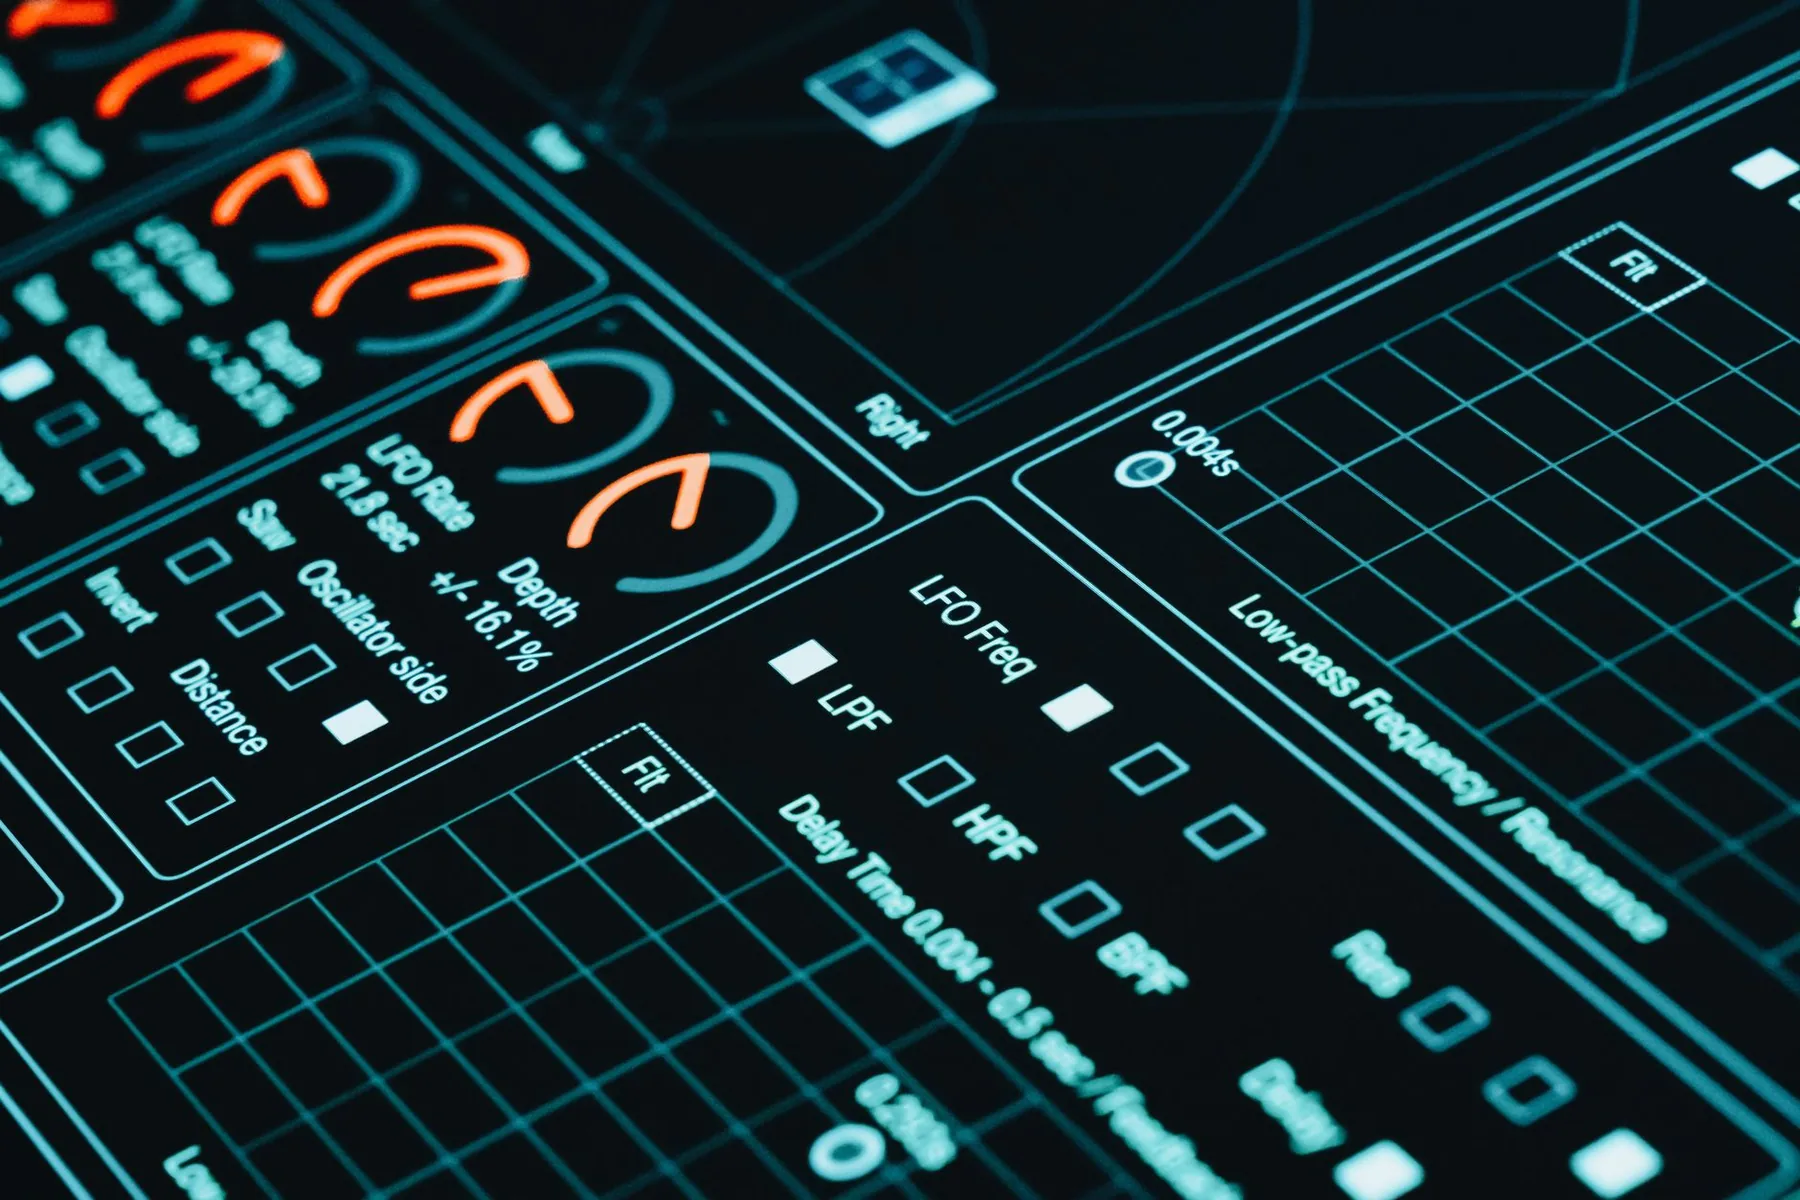
Explore the interface: main window, Session View, and Arrangement View
The main interface shows the browser, tracks, and editing areas so you can see the whole project. The main window brings together navigation, audio tracks, and editors. You can show or hide the browser by dragging the vertical divider or using the menu.
Session View looks like a grid of clips and scenes. It makes it easy to improvise, launch loops, and test ideas. Launch a single clip or a complete scene to hear a section in context.
Arrangement View provides a conventional timeline for building a track linearly. You can assemble, cut, and refine each element there.
Press Tab to switch quickly between the views. On a large screen, open a second window with Ctrl + Shift + W or Cmd + Shift + W to place Session and Arrangement side by side and see how the clips interact.
Learn where instruments and recordings belong: audio tracks hold vocals and guitar, while MIDI tracks hold instruments. To explore navigation and controls further, follow the guided lesson.
Ableton Live: a step-by-step beginner’s guide — your first Live Set
To create your first Live Set, load an instrument from the browser. In the default Session View, drag an item from Instruments or Sounds onto a MIDI track to get a sound you can play.
Arm the track with the red button, then enable the computer MIDI keyboard using its icon. Press A, S, D, F, G, H, J, and K to play notes and check that the sound works properly.
To create a rhythmic foundation, drag a kit from Drums onto its own track. Try the kick, snare, and hi-hat to find a solid rhythm.
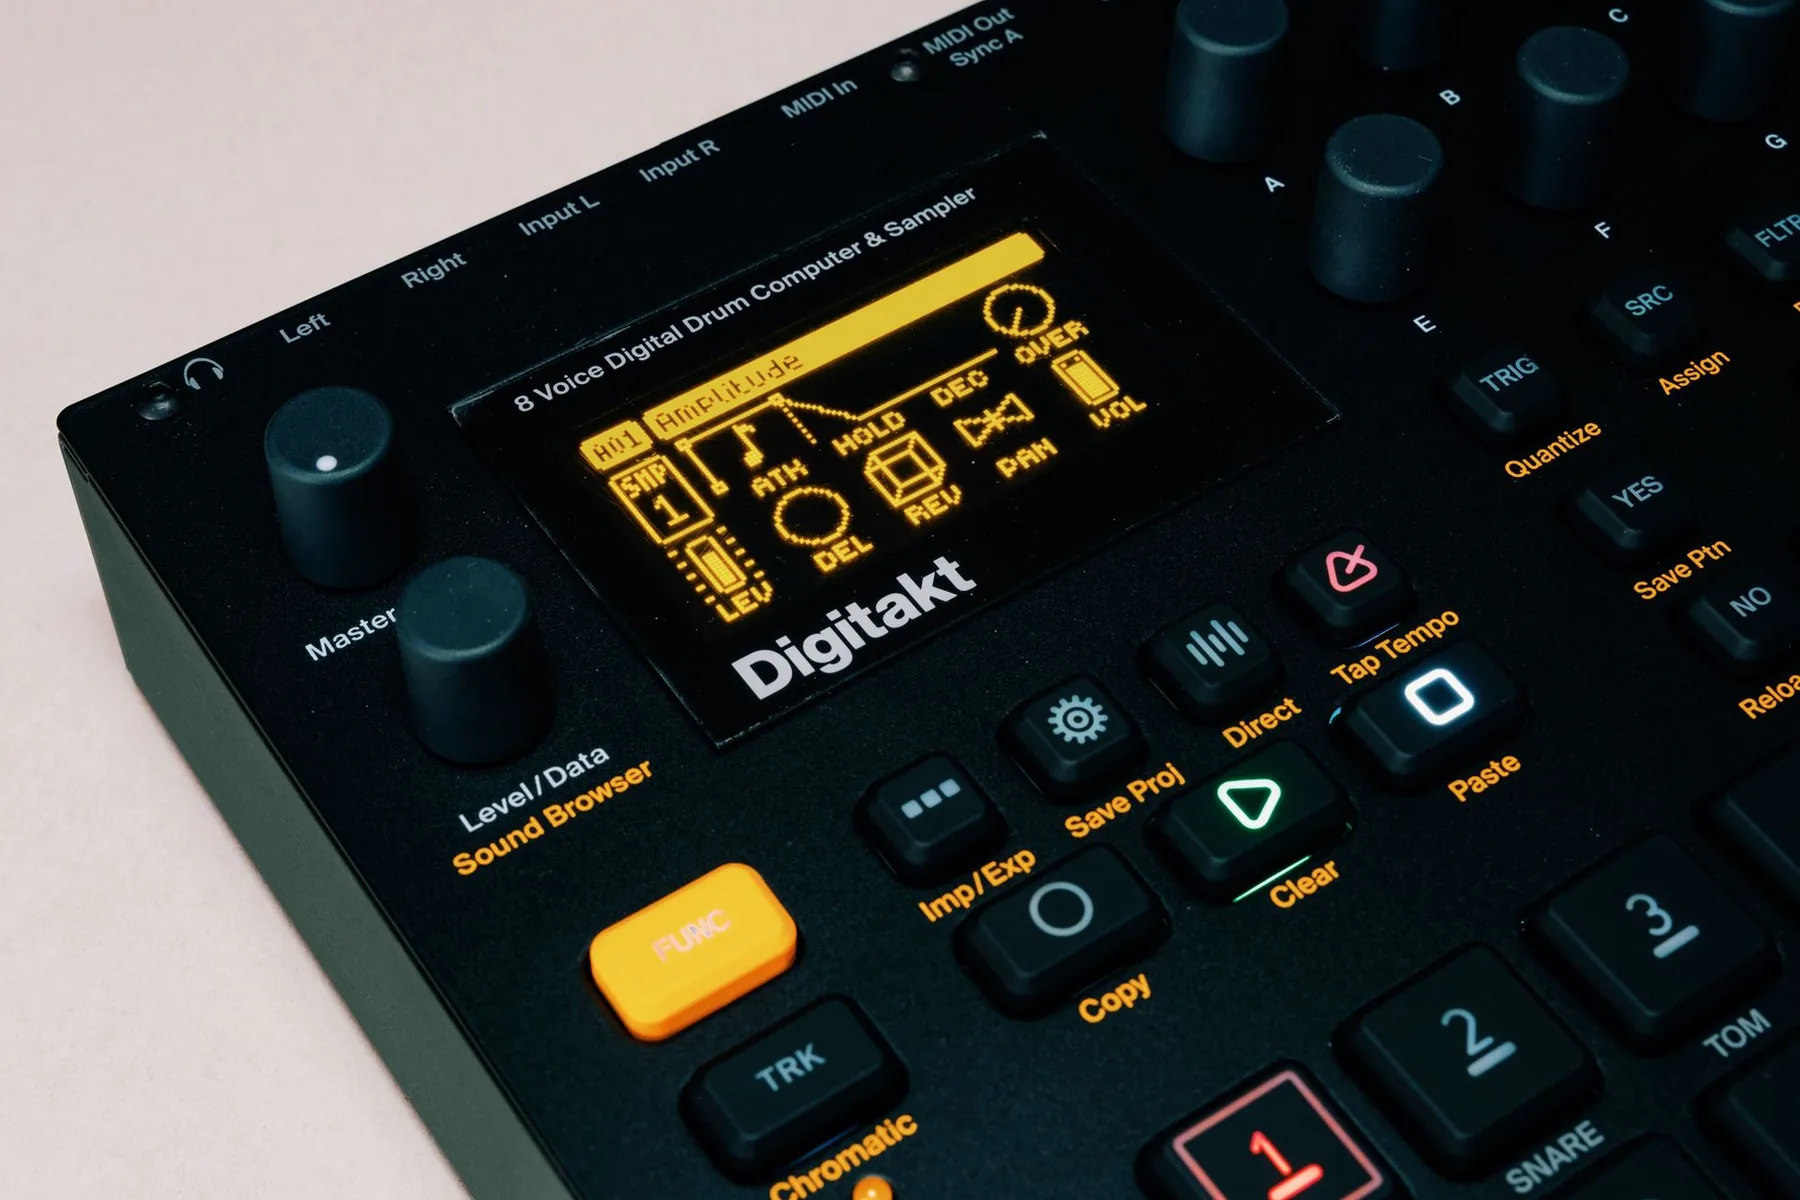
Create a MIDI clip by double-clicking an empty slot. Draw notes on the grid, play the clip as a loop, and use Session Record to capture ideas as you play.
- Duplicate a clip with Cmd/Ctrl + D to create variations quickly.
- Add a few simple effects, such as a filter or reverb, to give the sounds depth.
- Name and color your tracks to make your project easier to read.
From loop to track: organize, launch, and record
Turn your loops into a coherent track by organizing the elements in Session View. Work in small parts: a drum pattern, a bass line, and an instrumental phrase.
Duplicate, launch, and capture your ideas
Create and duplicate clips by right-clicking and selecting Duplicate, or by pressing Cmd/Ctrl + D. Launching a scene starts several synchronized clips so you can test the balance between drums, bass, instruments, and vocals.
Press Tab to switch to Arrangement View and place your ideas on a timeline. In Session View, use Session Record to layer and capture your loops as you play.

- Duplicate your clips to create variations and transitions between the intro, verse, and chorus.
- Use scene buttons to launch several elements and assess the balance between tracks.
- Record into Arrangement View in real time, then refine the structure on the timeline.
- Adjust clip lengths, launch quantization, and levels to avoid timing problems and keep the result consistent.
- Add a few MIDI notes or embellishments and vary the sounds to keep the track interesting.
One final tip: save often and give your scenes and tracks clear names to make the next stages of production easier in Ableton Live.
Ableton Live editions and built-in tools for going further
Your choice of edition directly affects how you work and the sounds available to you.
Intro suits musicians who want a simple starting point: 16 audio and MIDI tracks and a selection of essential instruments and effects.
Standard offers more content, instruments, and effects. It suits more ambitious projects and provides unlimited audio tracks.
Suite provides the largest library and includes Max for Live for creating custom devices.
Controllers and extensions
Push is the dedicated controller. Its software integration lets you play, sequence, and mix directly from the hardware.
Max for Live lets you create custom devices and use advanced features to expand your creative options.
“The right tool frees you from technical details so you can focus on creating.”
Recent additions include comping, MPE support, and improvements to audio effects. These advanced features offer more expression and make editing easier.
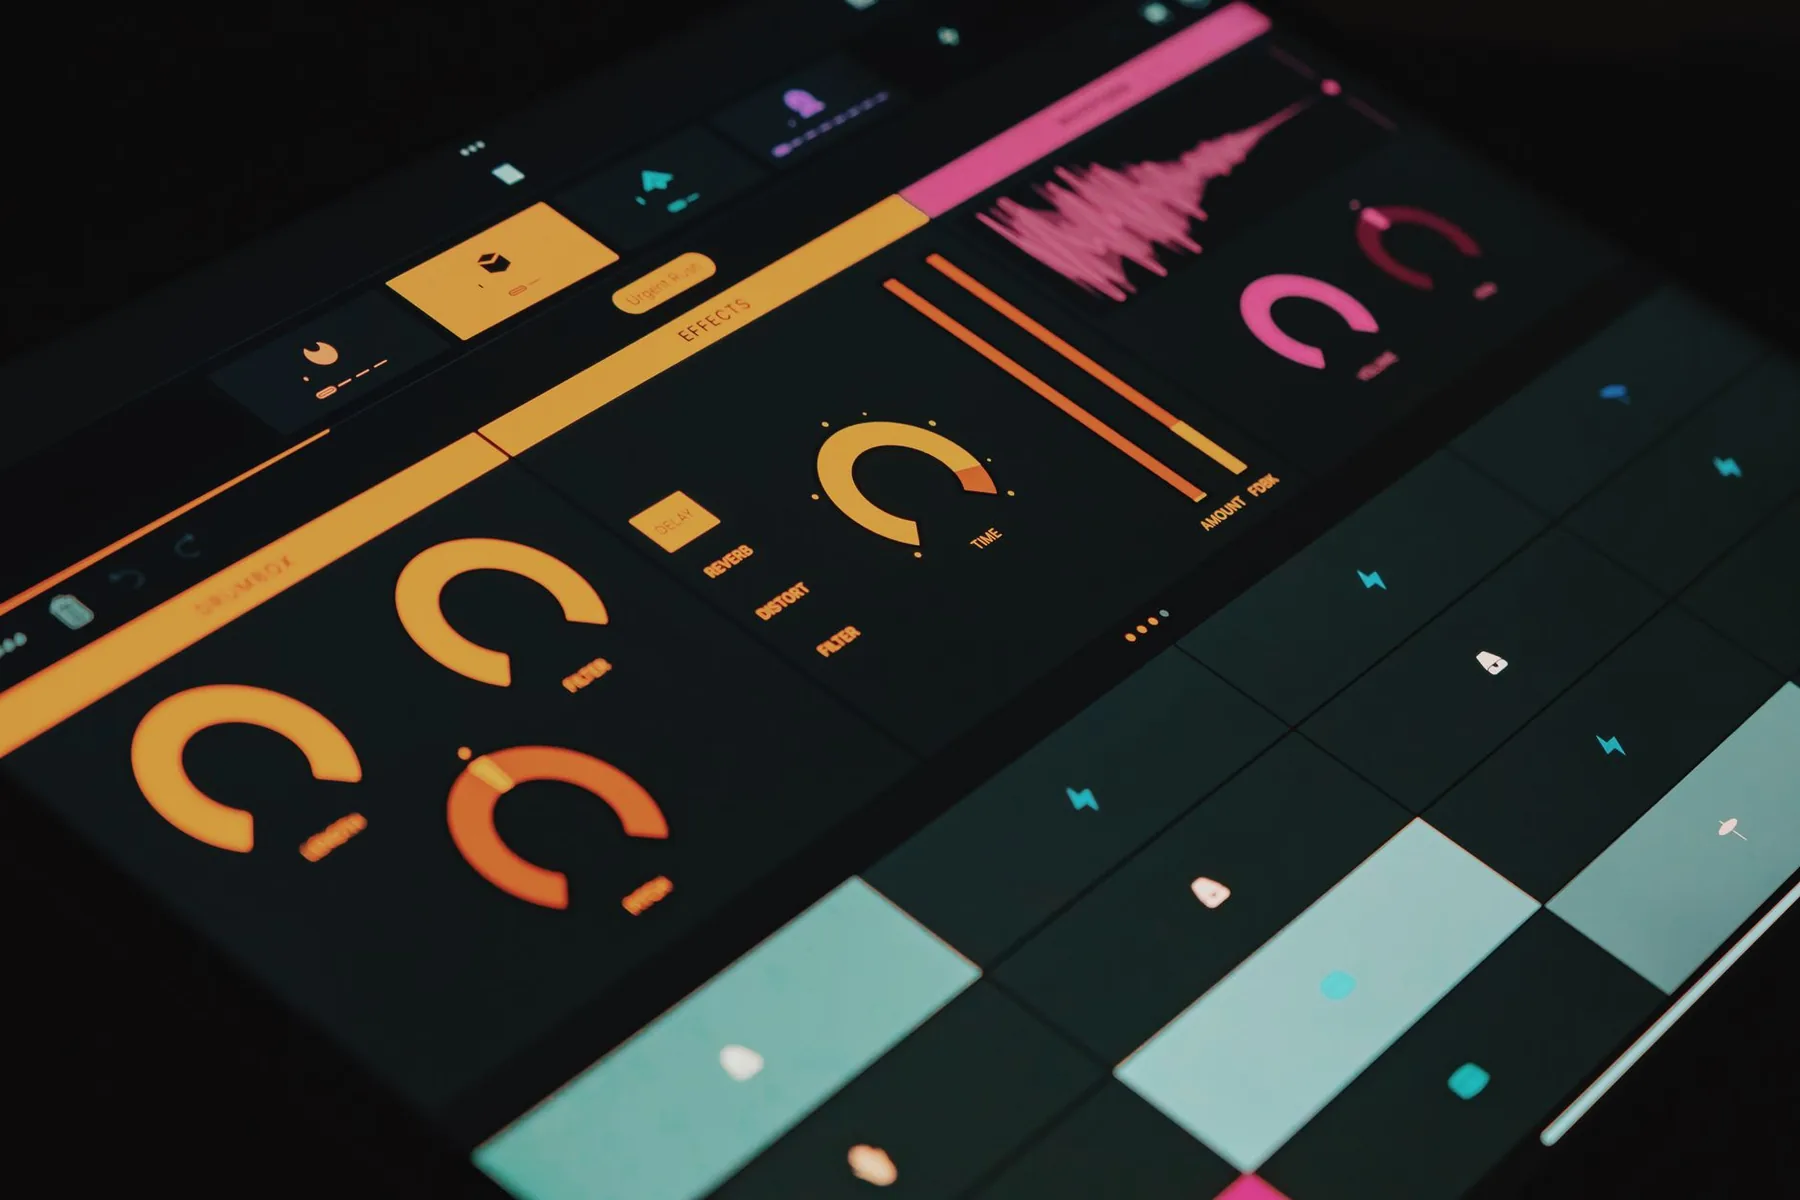
| Edition | Tracks | Library | Key extensions |
|---|---|---|---|
| Intro | 16 audio and MIDI tracks | Basic instruments and effects | Ideal for first projects |
| Standard | Unlimited | More sounds and effects | A balance of content and price |
| Suite | Unlimited | Expanded library | Max for Live included; the complete collection |
- Factors to consider: budget, number of audio tracks, effects requirements, and library size.
- Explore granular effects and modulation to develop a distinctive sound.
- Check the instrument list to see which devices are available: instrument list.
To learn how to record and structure your projects, see this practical guide to recording music: recording guide.
Conclusion
This guide covers the steps for turning an idea into a finished track.
Start by installing and configuring the software, explore its interface, then create loops before placing them on the timeline. Practice these steps regularly to build a method and become more confident.
The interface and features help you move from experimentation to a structured track while keeping your creative momentum. Use the included sounds and effects to speed up production.
Keep learning through lessons and video resources. Try keyboards and controllers, then make notes about your scenes and key elements to maintain a clear view of the track.
Try the free version on the official website and follow a guided course, such as this video course, to strengthen your foundations and develop your music production skills.