
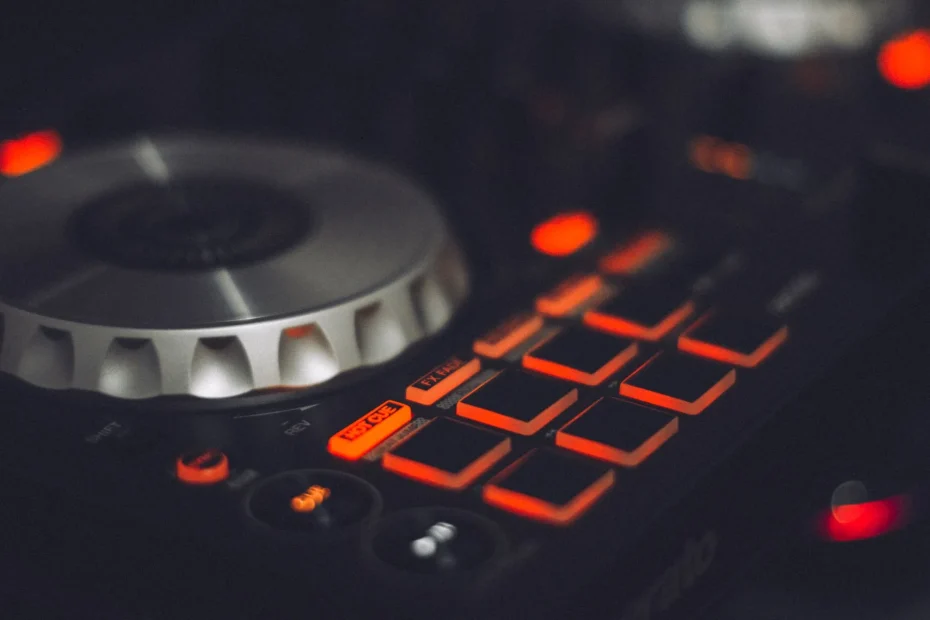
Setting the scene: this article explains how to control Ableton Live from Push 3, in the studio or onstage, without using a mouse. You will learn to navigate and arm tracks, launch clips, and mix entirely from the control surface.
Push 3 runs in standalone mode thanks to an Intel i3 processor, 8 GB of RAM, and a 256 GB SSD. It has a battery lasting about 2 hours, whose runtime can be extended with an external battery, a large central display, 64 MPE pads, 8 encoders, 16 illuminated buttons, and a jog wheel.
We will also cover the useful connections: line inputs and outputs, a headphone output, MIDI In/Out, USB-A/C, ADAT, and CV ports. Wi-Fi lets you use Ableton Link, install updates, and share projects.
The key benefit: this controller becomes a standalone instrument for operating Ableton Live from its control surface and display, while taking the limitations of standalone mode into account.
Finally, this step-by-step guide covers hardware preparation, choosing a mode, MIDI/KEY configuration, navigating Session View, MPE performance, recording external sources, and practical ways to save time and stay focused on the music. The following sections explain each step of mastering a mouse-free workflow.
Why use Push 3 to control Ableton Live without a mouse
A modern standalone instrument lets you produce and perform without a laptop at the center of your setup. In 2025, this kind of solution combines a display, storage, and connectivity to simplify the setup and make it more reliable.
The 2025 context: standalone production and performance
Standalone mode relies on a built-in processor, a 256 GB SSD, and a battery suited to a short set. Wi-Fi makes it easier to access packs, updates, and Ableton Link.
Onstage, reducing your dependence on a computer limits technical risks and speeds up transitions between parts of a set. For many artists, this independence may be enough to perform prepared scenes.
Practical benefits for workflow and performance
- MPE pads and an 8 × 8 grid: the 64 pads provide expressive playing and direct sequencing for rhythms, bass lines, and chords.
- Display and encoders: you can edit and mix without looking at a laptop; the surface becomes your focus.
- Flexibility: switch between standalone and controller modes as needed to regain access to third-party plug-ins and Arrangement View.
| Feature | Standalone mode | Controller mode |
|---|---|---|
| Access to third-party plug-ins | No | Yes |
| Arrangement | Unavailable | Available |
| Portability | High (battery, SSD) | Depends on the computer |
| Onstage use | Playing through prepared scenes | Full control and plug-ins |
Conclusion: a tactile control surface, a readable display, and a pad grid may be all you need to create and perform onstage. For more complex sets, controller mode remains an option.
Prepare the hardware: controller, audio interface, and connections
Start by listing the ports and cables you need so your routing is clear from the moment you plug everything in. Identify the essential ports: mini-jack MIDI (DIN adapter included), USB-A, USB-C, analog inputs and outputs, ADAT, and CV/Gate outputs.
Connect microphones and instruments to the two line/instrument inputs (¼-inch jacks). Increase the gain gradually and check the level on headphones to avoid clipping.
Send the two line outputs to the front-of-house system or monitors. If you do not use pedals, configure the assignable ports as CV outputs to modulate external synthesizers.
- Use USB-A for USB MIDI keyboards or controllers, and confirm that they are recognized before the set.
- Plan ahead if you need ADAT to add 8 channels: connect the converters, synchronize the clock, and test the levels.
- Bring a suitable case (380 × 318 × 44.5 mm; 3.95 kg) and an external USB-C battery to extend battery life (about 2 hours).
| Component | Action | Quick check |
|---|---|---|
| Line/instrument inputs | Connect and set the gain | Headphone test |
| MIDI / USB-A | Connect keyboards and controllers | MIDI recognition |
| Outputs / ADAT | Connect to front of house or an ADAT converter | Clock synchronization and levels |
| Assignable ports | Pedals or CV outputs | Check the assignment |
Final check: check the buttons and power supply, and test the pads and MIDI control before rehearsal. This helps prevent surprises onstage.
Ableton Push 3: control Live without touching the mouse
Your choice of mode changes how you work. Controller mode provides full access to Live through USB-C and a computer: Arrangement View, third-party plug-ins, and Max for Live are available.
Standalone mode runs locally with 64 MPE pads, a bright display, 8 encoders, 16 buttons, and a jog wheel. You retain the playing surface, but some plug-ins and Arrangement View are unavailable.
When to choose each option
In the studio, choose controller mode if you use third-party instruments and Arrangement View. Onstage, standalone mode reduces cabling and technical risks for compact sets.
Layout and controls
The central display is used for navigation and editing. The encoders below it control the parameters shown on the display, reducing the need to use a computer.
The buttons handle transport, scenes, and clips. The MPE pads respond to pressure, sliding, and pitch bend to add expression to real-time playing.
- Pedal limitation in standalone mode: sustain and Session Record cannot be freely assigned.
- Workaround: add an external MIDI controller to expand your assignments.
- Test both modes with a set and choose according to its complexity and length.
Finally, prepare control-surface presets to make your gestures consistent and save time before each song. To understand MIDI settings and remote control, consult the MIDI and key remote control guide.
Configure Live and MIDI remote control for full control
Before making assignments, check in the settings that your MIDI ports and control surfaces are listed and active. Open Link/Tempo/MIDI to configure up to six control surfaces. Enable the input and output ports, then turn on Remote for any ports used to control functions.
Instant mappings and locking
Instant mappings quickly link a function to the selected device. Lock a control surface to an essential device using the hand icon in its title bar.
Manual MIDI and KEY mapping
Enable MIDI or KEY mapping mode, click an element (clip, scene, transport control, or crossfader), then send a note, a CC message, or a computer-keyboard keystroke.
| Action | Step | Check |
|---|---|---|
| Set up a control surface | Link/Tempo/MIDI → Add a control surface | Ports enabled / Remote |
| Instant mapping | Select a device → touch a control | Lock it with the hand icon |
| Manual mapping | MIDI/KEY → click → send a CC message or keystroke | Adjust Min/Max |
| Takeover mode | Choose None / Pick-Up / Value Scaling | Prevent sudden level jumps |
Takeover modes and practical tips
Choose None for immediate changes, Pick-Up to prevent a change until the control reaches the current value, or Value Scaling for a smoother transition.
- Favor relative controllers for sensitive parameters.
- Group launch, mute, and solo buttons so you can reach them quickly during a performance.
- Test the perceived keyboard latency before the set.
Navigate and play in Session View without a mouse
Session View becomes your dashboard for launching different parts of a set, managing its energy, and following everything on the display.
Clips are triggered by MIDI notes assigned to the pads: Note On/Off messages control playback and stopping. Absolute or relative CC messages operate switches and faders without abrupt jumps.
Launch clips and scenes and organize your set
Tip: define a pad layout and note the song order so you can find each scene quickly.
- Assign controls to launch scenes or stop everything.
- Use colors to identify every essential element.
- Create backup scenes with mute/solo settings to resolve a problem in one move.
Control tracks, levels, panning, and returns
Use the surface to move between tracks and adjust levels, panning, and effect sends in real time.
- Assign tracks to sides A and B of the crossfader to manage fades.
- Favor relative MIDI messages on the encoders to avoid sudden jumps.
- Adjust the pitch of a MIDI clip with the pads and encoders, without a computer keyboard.
Rehearse your set several times under stage conditions, and keep the MIDI control channel separate from the playing channel to maintain a clear workflow. For more on hardware preparation, read how to create your own music studio.
Play, sequence, and edit with the MPE pads and encoders
The combination of MPE pads, encoders, and touch strip lets you edit a pattern without leaving the surface.
The 64 pads detect pressure and XY position, turning each pad into a small expressive instrument. In practice, alternate between Note mode for melodies and chords and Drum mode for quickly sequencing kits.
Note and Drum modes: essential parameters
Use the encoders to edit step pitch, velocity, length, and probability. These settings apply directly to clips, without a mouse.
MPE expression: nuance and modulation
Pressure and sliding let you modulate filters, pitch bend, or macros in real time for each pad. The touch strip and jog wheel refine transitions and nuances in a looping clip.
- Alternate between real-time recording and step sequencing for precise control.
- Layer instruments and assign expressive controls to them.
- Use the context-sensitive buttons to duplicate, quantize, or delete on the fly.
Tip: if you want to add another piece of hardware, read the guide to the best MIDI controller for Live to choose a suitable external keyboard or pad controller.
Record external sources, sample, and route signals
To capture a clean sound, connect your guitar, bass, or synthesizer to one of the two line/instrument inputs and activate the built-in tuner before recording.
Effects, tuner, and processing
Insert Amp/Cabinet while recording to shape the tone. Set sufficient headroom and monitor the headphone output to avoid clipping.
External Instrument, latency, and CPU
Use the External Instrument plug-in to send MIDI to a synthesizer and bring its audio back through the dedicated input. Compensate for latency in the settings.
- Freeze demanding tracks with Freeze, then use Flatten if needed to free up processor capacity.
- Sample phrases, slice samples, and assign them to pads so you can bring the material back instantly.
- Add an ADAT converter to increase the number of inputs and capture multiple sources at once.
| Function | Action | Check |
|---|---|---|
| Input | Connect and activate the tuner | Check the level |
| Routing | Main bus / returns | Avoid clipping |
| CPU load | Freeze → Flatten | Monitor processor use |
Tip: note the function of each channel and test the MIDI/audio round trip before the set to ensure stability and synchronization.
Work independently and understand the current limitations
Planning Wi-Fi transfers and project management ahead of time prevents surprises on the day of the show. Download packs, devices, and samples from the cloud before the performance, then check permissions and synchronization times.
Manage packs, projects, and samples over Wi-Fi
Downloads use the cloud service and Wi-Fi. Some sets require lengthy synchronization or authorization, which can be inconvenient depending on the connection.
Compatibility, ADAT, pedals, and third-party plug-ins
In standalone mode, third-party plug-ins and Arrangement View are unavailable. Max for Live integration depends on the device. The pedal ports provide sustain and Session Record functions, but they cannot be freely assigned.
| Component | Impact | Solution |
|---|---|---|
| i3 processor | Limits demanding projects | Freeze / Flatten; simplify racks |
| ADAT | 8 additional channels | Use converters and check the clock |
| USB interfaces | Compatible with Live 12.3 | Test recognition before the set |
Good practices for a live set
Create global racks and macros that you can access from the control surface to group essential actions. Reduce the number of devices per song and record every input, output, and assignment.
- Use Ableton Link over Wi-Fi to synchronize multiple machines.
- Bring additional controllers if some functions may be inaccessible.
- Rehearse under real conditions to measure processor load and adjust the settings.
Tip: for a fuller assessment and first-hand impressions, read a long-term review.
Conclusion
In practice, the combination of the display, pads, and audio interface changes what you can do without constantly relying on a computer. This guide shows how to control Ableton Live from a clear, capable control surface, from preparation through performance.
Choose your modes to suit the situation: standalone mode for portability, or controller mode over USB-C to use the computer and third-party plug-ins. The control surface, pads, and encoders remain central to playing.
Remember the key steps covered here: Link/Tempo/MIDI setup, MIDI/KEY assignments, Session View navigation, MPE playing, external recording, and processor management. Test several times, document your MIDI and keyboard assignments, and prepare backups and fallback options for the stage.
In short: this article encourages you to test, simplify, and stabilize your workflow. The result is an expressive instrument that puts the focus back on music and lets you perform with confidence, with or without a computer.