
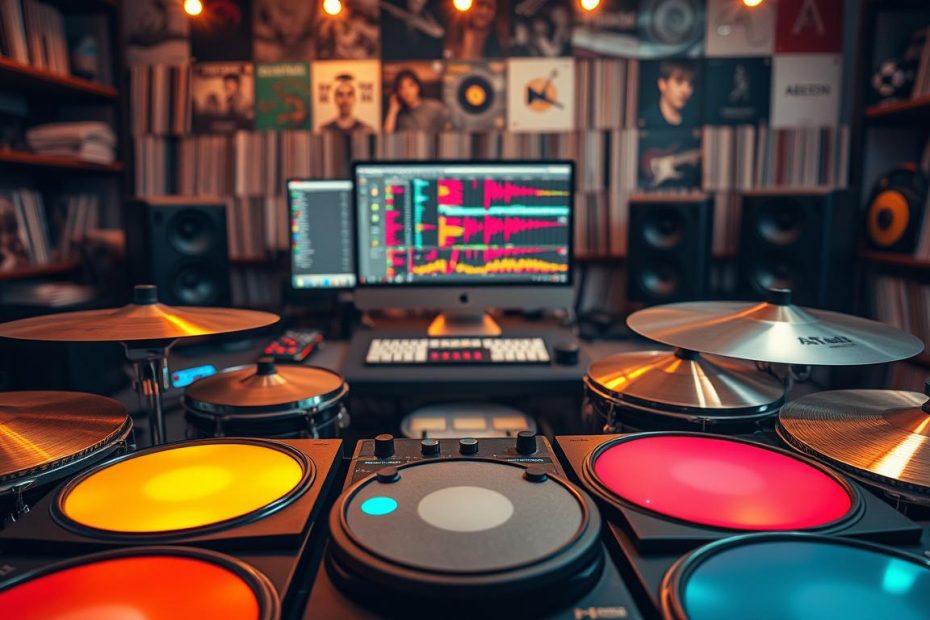
This guide explains, step by step, how to turn an empty grid into a kit ready for the studio and the stage.
Drum Rack is one of the racks in Ableton Live. It lets you work with percussion and short sounds. Its 16-pad grid corresponds to standard MIDI notes (kick on C1), and the device can accommodate up to 128 slots using a side scroll bar.
This tutorial covers choosing sounds, mapping MIDI notes consistently, setting up macros and creating variations. You will learn to bring controls for the filter, envelope and pitch together so you can adjust the whole kit from a control surface.
The goal is simple: establish a repeatable method for organizing, saving and sharing your kits. To go further, follow the complete Drum Rack guide.
Understand Drum Rack and lay the groundwork
The pad grid is a control panel for loading, editing and replacing sounds in real time.
Goals: learn to load a Drum Rack, master MIDI note mapping (kick on C1), and understand chains, macros and variations so you can work smoothly in Ableton Live. These skills make production and session management easier.
Prerequisites: know the basics of the interface, MIDI concepts and clip editing. Some familiarity with the Instruments category will help you get started.
The grid displays 16 pads, but the side scroll bar extends it to 128 slots. Standard MIDI mapping keeps things consistent: you can swap kits on the fly without changing your programming.
Uses and organization
Producers, beatmakers and sound engineers use Drum Rack to create rhythms quickly, design percussive sounds and prepare live sets. Macros (up to 16) bring controls together, while chains let you stack instruments and effects for each element.
To develop your skills and explore advanced features, take this course: create your own music with Ableton Live. The rest of this guide explains how to load the rack, import sounds and configure a controller.
Ableton Drum Rack: build a complete drum kit step by step
Start simply: first create a MIDI track, then drag an empty Drum Rack onto it from Instruments > Drums. You now have a setup you can play with a keyboard or pad controller.
Load and import sounds
Use Ableton Live’s indexing to browse the Core Library. Filter sounds by tags (kick, snare, hi-hat) and packs to fill the essential pads quickly.
Setup and previewing
Arm the track and check the MIDI keyboard input. Test latency and velocity sensitivity to get a natural response.
Preview several versions of each sound, choose the best short samples and keep levels consistent to reduce mixing work later.
Organization, macros and chains
Place the kick, snare and hi-hat on their usual notes, name each slot and reserve pads for additional percussion.
Assign up to 16 macros to control the filter, tuning, decay time or saturation. Stack a Simpler or Sampler with an equalizer, compressor and saturation effect in each chain, then save variations.
| Action | Tool | Result |
|---|---|---|
| Create a MIDI track | Instruments > Drums | Track ready to play |
| Import sounds | Core Library and indexing | Pads filled quickly |
| Configure macros | 16 macros and chains | Overall control of the sound’s character |
Recommended routine: save the preset, document the macros and keep variations (dry, punch, airy). Before programming, check the MIDI note mapping, keyboard response and name of each element.
For more detail on the method and a complete Drum Rack guide, see this dedicated resource.
Program and play your kit: MIDI, playing modes and key elements
A convincing groove starts with structured MIDI programming. Follow the standard note mapping (kick on C1) and first create a simple clip to establish the main beats.
Programming the elements: place the kick, snare and hi-hat on the usual steps. Adjust velocities to vary the attack and sustain. Use a MIDI keyboard to test the kit live.
Creative techniques
Humanize the sequence with small variations in timing and velocity. Alternate open and closed hi-hats, and vary the decay time slightly to imitate a real performance.
- Controlled repetitions: use rolls, ghost notes and trills with partial quantization.
- Modulation: assign macros to the filter, pitch or envelope, then record their movements as automation.
- Modes: use choke groups and set the polyphony to prevent sounds from overlapping.
Workflow and quality control: color notes by family to make editing easier. Duplicate bars, save variations and test live playing by mapping pads and knobs to the essential macros.
To learn more about using Live and follow a complete guide, see the edition comparison page or this practical course on how to create your own music with Ableton Live.
Mixing, audio effects and independent Drum Rack elements
Separating each sound for individual mixing gives you precise control over its tone and dynamics.
Use the built-in mixer: adjust the level and pan of each element. Insert targeted audio effects and send each pad to return tracks to shape depth and space.
To isolate a chain, right-click a pad and choose Extract Chains. Ableton then creates a new instrument track that retains the volume, existing effects and associated MIDI programming.
Note: return chains are not transferred automatically during extraction. Copy and paste them manually to preserve parallel reverbs and delays.
| Action | Result | Tip |
|---|---|---|
| Extract the chain | New track with the chain and MIDI | Rename the track immediately |
| Copy return chains | Reverbs and delays preserved | Check sends and levels |
| Mix separately | Dedicated EQ, compression and saturation | Group the elements on a drum bus to keep them cohesive |
To keep your session organized: name and color tracks, set levels precisely and save chain presets (punchy kick, bright snare, airy hat). For more on extracting chains, follow this tutorial.
Conclusion
Here is a reminder of the best practices for checking your work and speeding up music production.
This guide covered MIDI mapping, loading sounds from the Core Library, creative programming and mixing each element. Keep MIDI notes mapped consistently (kick on C1), use up to 16 macros and save variations so you can compare them quickly.
Stay organized: name your pads, save presets and document your macros so you can reuse sounds across projects. Learn to extract a chain to process an element on a dedicated track while preserving its MIDI programming.
For alternatives that may suit your needs, consider Battery (NI) or Impact (PreSonus). For technical documentation and an explanation of how racks work, see the official rack guide.