
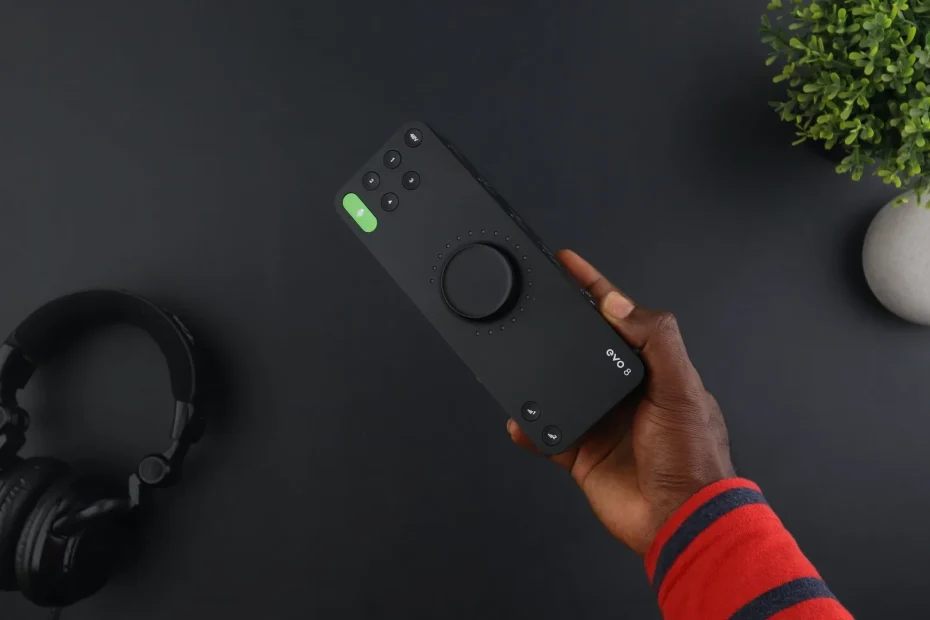
An external audio interface connected by USB or Thunderbolt is the heart of a modern studio. It combines microphone preamps, instrument and line inputs, a headphone amplifier and sometimes a MIDI connection. A computer’s built-in sound hardware is not enough for reliable, professional recording.
This buying guide helps you choose according to your workflow, budget and future needs. We cover the key criteria: input and output types, preamps, latency, direct monitoring and digital connections such as ADAT and S/PDIF.
We also look at familiar brands — Focusrite, Audient, Behringer, PreSonus, Universal Audio and RME — from entry level to high end. Remember: 24-bit audio is standard; sample rates from 44.1 to 192 kHz are available, but are not always necessary.
Choose an interface with stable drivers, adjustable buffer settings and clear monitoring. To learn more about a hybrid setup and find practical advice, see this guide to an Ableton and hardware hybrid setup.
Why a dedicated audio interface makes a difference in Ableton Live
Using a dedicated converter improves the quality and responsiveness of your recordings. In a home studio, the external interface is the bridge between microphones, instruments and Live. It provides accurate conversion and much better signal quality than a computer’s built-in audio outputs.
Its central role in your workflow
Good interfaces offer clean preamps, readable level meters and monitoring suited to headphones and speakers. This reduces noise and preserves the dynamics of vocals and guitars.
Latency, stability and ease of use
Latency directly affects playing in Session View and recording. Direct monitoring prevents a noticeable delay in your headphones while recording.
Adjusting the buffer in Live software lets you choose low latency for real-time playing or a larger buffer for mixing with many plugins.
- Higher sample rates (96 or 192 kHz) reduce latency but increase CPU load.
- USB remains the standard in 2025; Thunderbolt costs more without always offering a practical advantage.
- Check driver stability on Windows and macOS (Intel & Apple Silicon) to avoid crashes during live performances.
A well-integrated audio interface makes production and performance easier, with clear physical controls, reliable monitoring and room to expand through ADAT or additional outputs.
To compare models and budgets, see this guide to the best studio audio interfaces.
Define your real needs before buying
Before buying, identify exactly what you record and how you expect to work in the future.
If you are a solo musician recording vocals and guitar, one or two inputs are usually enough. By contrast, recording a full band or drum kit requires many more simultaneous channels.
Identify how many sources you need to capture today and in two or three years. Sketch your planned wiring to estimate the inputs and outputs you need.
Your workflow and room to expand
Define your workflow: solo, duo, band or electronic music production. If you plan to use hardware synthesizers, consider an interface with built-in MIDI.
“Having at least two inputs helps you avoid outgrowing a home studio setup too quickly.”
- Count the microphones and instruments you use at the same time.
- Plan for ADAT if you want to add inputs later.
- Choose a few spare inputs so your setup does not limit your creativity.
| Use | Recommended inputs | Useful outputs |
|---|---|---|
| Solo vocals/guitar | 1 to 2 | Speaker pair, one set of headphones |
| Duo or multi-voice podcast | 2 to 4 | Two headphone feeds, line outputs |
| Band or drum kit | 8 or more | Multiple outputs, reamping |
| Electronic music | 2 to 4, plus MIDI | Line outputs, built-in MIDI |
For advice on choosing the number of inputs for your workflow, see these practical studio tips and this guide to creating your own studio.
Essential criteria for choosing an audio interface
Before buying, identify the features that will affect your recording and mixing.
Inputs: XLR, DI and line
Three types of inputs are common: XLR for microphones, with 48 V phantom power for condenser microphones; instrument/DI for guitar and bass; and line for synthesizers or external preamps.
Choose the number of inputs to suit your sessions: two for a duo or solo performer, and eight or more for drums or multitrack recording.
Outputs and monitoring
Look for balanced jack or XLR outputs for your studio monitors. They preserve signal quality and reduce noise.
Add an independent headphone output if you need multiple listening feeds. Avoid unbalanced RCA connections in a professional signal chain.
Preamps and value for money
Preamps should provide clean gain with little noise. Their character affects the warmth of vocals and guitars.
For good value for money, avoid unproven entry-level models and choose established models, even second-hand.
Latency, direct monitoring and expandability
Direct monitoring, whether analog or software-based, is essential for avoiding noticeable latency while recording.
For future expansion, look for ADAT (eight additional channels at 44.1 or 48 kHz) and S/PDIF (two channels). Remember: 24-bit audio is standard; 192 kHz is rarely useful.
Audio interface for a home studio
Compatibility, connections and performance
Ports, drivers and sample rates determine how well your setup performs in practice.
USB 2, USB-C or Thunderbolt: USB 2 remains common and reliable on many modern audio interfaces. USB-C does not necessarily improve stability; it mainly provides a modern physical connector. Thunderbolt can reduce latency, but costs more and is not available on every computer.
Drivers and stability: check compatibility with Windows 10/11 or macOS 11 and later, and consider recent Apple Silicon chips if you work on a Mac. Reliable drivers from manufacturers such as RME, MOTU, Focusrite and Steinberg support better stability and fewer crashes.
Bit depth and sample rate: 24-bit audio is standard for dynamic range and quality. Sample rates of 44.1 to 48 kHz are sufficient in most cases. Rates of 96 and 192 kHz serve specific purposes but increase CPU load.
“Some high-end models, such as the Universal Audio Apollo Twin, include DSP to reduce the load on the computer.”
- Check the available ports and whether you will need a hub.
- Avoid obsolete standards such as FireWire if you want a lasting purchase.
- Check software compatibility and latency under real working conditions.
Integration with Ableton Live and included software
Clear routing between your hardware and Live simplifies work in the studio and on stage. Adjusting Live’s buffer helps you balance latency against CPU load.
For real-time playing in Session View, reduce the buffer size.
When mixing, increase it to keep the CPU stable and prevent clicks.
Monitoring and workflow
Distinguish monitoring inputs through Live from direct hardware monitoring through the interface.
Direct monitoring eliminates the noticeable delay while recording and remains useful on stage.
For live performances, create Live templates with routing, headphone feeds and stems ready to use.
A stable interface prevents dropouts and makes sets in Session View or Arrangement View easier to manage.
Included software and added value
Many manufacturers include Ableton Live Lite, plugin bundles and instruments.
These packages provide immediate value and let you get started without additional purchases.
- Check for dedicated utilities, such as TotalMix, that simplify routing.
- Within a product range, preamp and converter quality often remains the same; only the number of inputs and outputs changes.
- Max for Live extends your options with custom audio and MIDI devices.
“A well-chosen software bundle speeds up setup and saves time for creating music.”
Audio interface for Ableton: how to choose the right gear
One final check can prevent plenty of regrets: review these practical points before buying your gear.
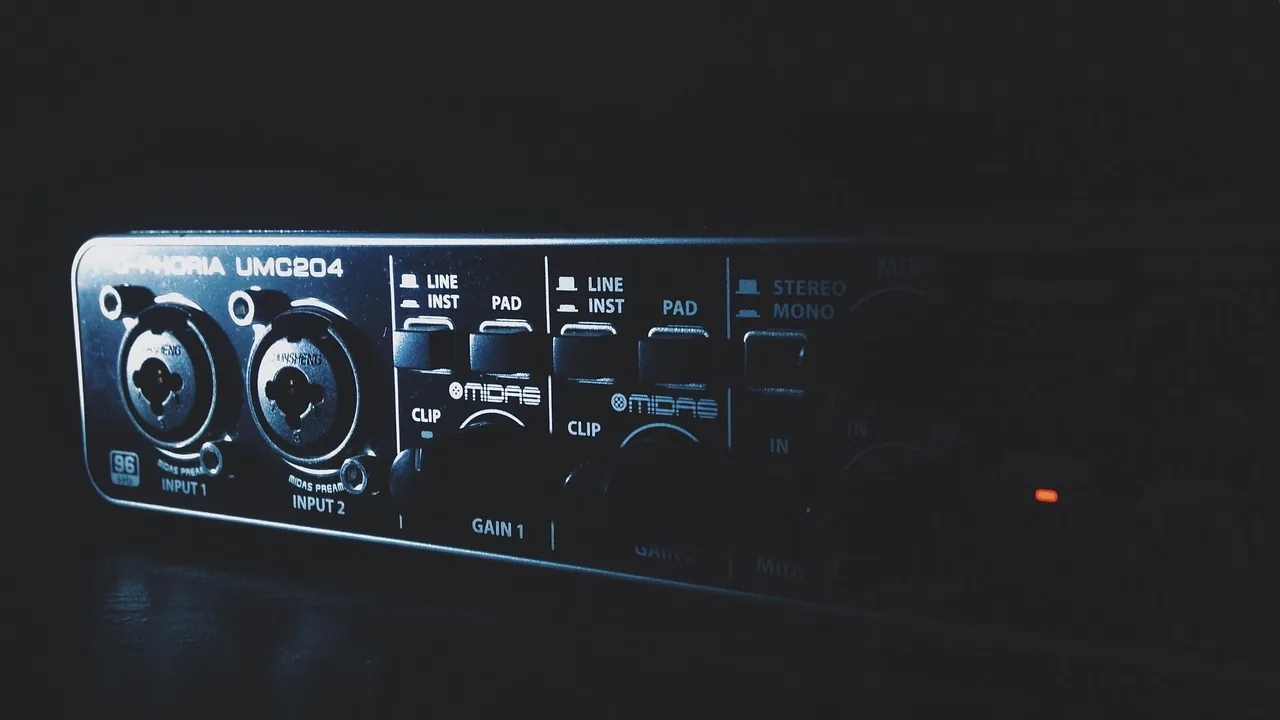
- Confirm your uses: estimate the number of inputs and outputs you actually need today and in the future.
- 48 V phantom power: required for condenser microphones; check preamp gain too.
- MIDI: essential if you control synthesizers or drum machines from Live.
- Direct monitoring and independent headphone control for recording without noticeable latency.
- Balanced jack or XLR outputs for speakers; avoid relying on a single unbalanced RCA output.
- Expandability: an ADAT or S/PDIF port if you expect to add inputs later.
- Drivers: check compatibility with Windows 10/11 and Apple Silicon Macs.
- Included software: a bundle with Ableton Live Lite and plugins improves value for money.
- Compare prices across several retailers and read reviews on Audiofanzine.
- Choose a brand known for customer support and driver updates.
“Check your real needs first: spare inputs are better than regrets during a session.”
For a fuller comparison, read this complete guide to audio interfaces before making your choice.
The best audio interfaces by budget
Whether you are starting out or aiming for a professional studio, this selection covers three main price ranges. Each suggestion gives an approximate price and features useful to buyers in France.
Entry level
Behringer UMC202HD (about €60): excellent value for money with Midas preamps.
Arturia MiniFuse 1/2 (about €95/€140): compact models with a useful software bundle; the MiniFuse 2 adds MIDI and a USB hub.
Focusrite Scarlett Solo 4th Gen (about €129): a popular model with an Air button and jack outputs for headphones and speakers.
Mid-range
Focusrite Scarlett 2i2 4th Gen (about €179): versatile and robust, ideal for people who create regularly.
Steinberg UR22C (about €169): built-in MIDI and reliable Yamaha preamps.
MOTU M2 (about €229): a clear LCD display and a useful dual headphone output for sessions.
Audient iD14 MKII (about €217): ADAT and Class A preamps for future expansion.
SSL2 MKII (about €219): a popular “Legacy” character that adds color when recording.
High end
RME Babyface Pro FS (about €749): stability and very low latency with TotalMix.
Apogee Duet 3 (about €699): transparent converters and straightforward controls.
Universal Audio Apollo Twin X (about €900): UAD DSP for real-time plugins and a rich ecosystem.
Arturia AudioFuse Studio (about €500): extensive connectivity at an attractive price.
- Who they suit: entry-level models for beginners; mid-range models for regular creators; high-end models for demanding professionals.
- Features to check: preamps, ADAT, MIDI, dual headphone outputs and included software such as Ableton Live Lite.
- Tip: compare prices and manufacturers’ customer support before buying, and plan for expansion with ADAT or DSP according to your needs.
“Choosing a model that suits you today can prevent costly replacements tomorrow.”
Choose by use and number of inputs and outputs
Match your purchase to your project: a solo singer has different needs from a band or synth producer. Consider the number of inputs and preamp quality from the start.
Solo vocals and guitar
For a vocals-and-guitar setup, one or two inputs are enough. Look for quiet preamps and reliable direct monitoring.
Check for a pair of balanced outputs for speakers and a powerful headphone output for recording.
Electronic music and synthesizers
Producers need smooth integration with Live: MIDI inputs and outputs, plus several line inputs. Models such as the Arturia MiniFuse 2 and Steinberg UR22C include MIDI.
Allow enough inputs for stereo instruments: each stereo synthesizer uses two channels.
Multitrack recording, drums and live performance
For a drum kit and several microphones, plan for the number of microphones and ADAT expansion, such as the ADAT-equipped Audient iD14 MKII.
Multiple headphone outputs and robust routing software, such as TotalMix or UA Console, simplify monitoring during live performances.
- Tip: a sturdy case, stable drivers from brands such as RME and UA, and visible level meters help keep performances running smoothly.
Mistakes to avoid and good buying habits
Checking a few simple points can prevent returns or costly upgrades. Take time to inspect connections, power requirements and expansion options before completing your purchase.
Overlooking MIDI, phantom power or expandability
Do not overlook MIDI if you control synthesizers: it saves adapters and time. Also make sure 48 V phantom power is available for condenser microphones.
Plan for expansion through ADAT or S/PDIF. This lets you add inputs without replacing your whole setup.
Underestimating usability: controls, indicators, power and portability
Check how the interface is powered: USB bus power supports portability, while mains power can support a more powerful headphone output. Look for a large monitor volume control, a dedicated mute button and a readable display or level indicators.
- Check the number of useful outputs and whether there is a proper headphone output.
- Compare value for money using established reviews and tests.
- Choose a brand with stable drivers to save time in daily use.
| Common mistake | Consequence | Simple solution |
|---|---|---|
| No 48 V power | Some microphones cannot be used | Choose a model with phantom power |
| No MIDI | Adapters and latency | Plan for built-in MIDI ports |
| No expansion options | A complete replacement if more inputs are needed | Choose ADAT or S/PDIF |
| Limited controls | Slower work | Test the controls, display and outputs before buying |
“Check the essentials — 48 V phantom power, MIDI and physical outputs — before falling for a particular model.”
Conclusion
Start by defining how you expect to work each day and what your current setup lacks. Defining your needs helps you avoid rushed purchases and reduces long-term costs.
Focus on the essentials: enough inputs and outputs, stable drivers and effective monitoring. Modern USB interfaces cover most uses. Brands such as Focusrite, Steinberg, MOTU, Audient, RME and Universal Audio remain well-known worldwide.
Choose an expandable setup with ADAT or MIDI and good value for the price. Test interfaces, compare reviews and install Live templates with suitable buffer settings. For a guide to models, see these best audio interfaces.