
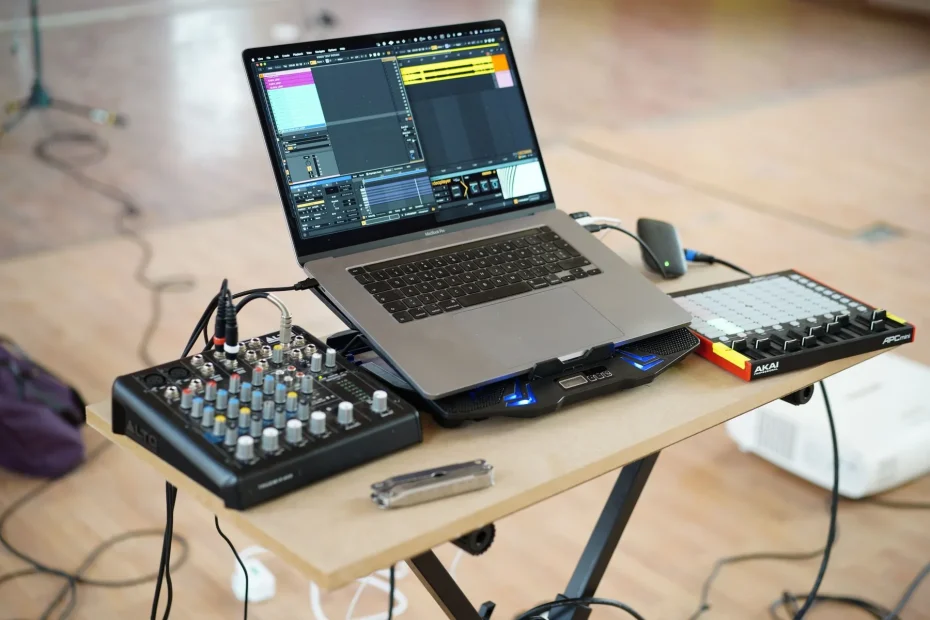
This guide lays the groundwork for building an electronic music show that stays flexible and musical.
We explain how to turn each song into usable scenes and clips, plan transitions, and define the essential controls.
A modular approach—tracks, themes, and elements—offers more control and room for improvisation than a fixed stereo export.
We draw on the native features of Ableton Live and stage techniques proven over many years to keep the project technically stable and easy to navigate during a performance.
Key points: launchable elements (scenes, clips, macros), a reset function to make improvisation safer, and a plan for how the set develops over time.
For practical examples and setup advice, see this resource on live performance preparation and this article on setting up a studio.
Live performance preparation guide • Studio tips
Live set with Ableton: preparing an effective setlist
Organize your songs into modules: each section becomes a scene or clip ready to launch. This approach makes you more responsive and creative in a session.
Favor Session View for combining elements and launching scenes on the fly. Arrangement View provides a safety net when you need fixed automation.
- Set the number of scenes per song: 3 to 5 blocks keep the progression clear.
- Allow enough time in transitions to speak or take a breath between songs.
- Order the songs by energy, key, or texture to make changes in mood flow smoothly.
Manage tempos and time signatures in the session to maintain stability from one song to the next. To help organize your set, consult more than once this set management tool.
Design the setlist and choose a live setup
A well-defined structure lets you stay faithful to the songs while leaving room to improvise.
Reproduce your songs faithfully while leaving room to play
Reproduction approach: divide each song into 3 to 10 scenes and groups. Aim for 6 to 12 tracks to limit CPU use. Prepare the essential controls (mutes, sends, macros) and adapt them to the 8 faders common on controllers.
Improvise around a minimal, flexible foundation
Flexible approach: place 12 to 15 tracks in one large scene. The order stays open: move between clips freely and change direction in response to the audience.
Hybrid setup: hardware and computer
Hybrid approach: add synths or drum machines, but pay close attention to synchronization. For example, syncing Ableton and Bitwig through Link makes working with multiple machines easier. A simple rule: fewer connections, more focus.
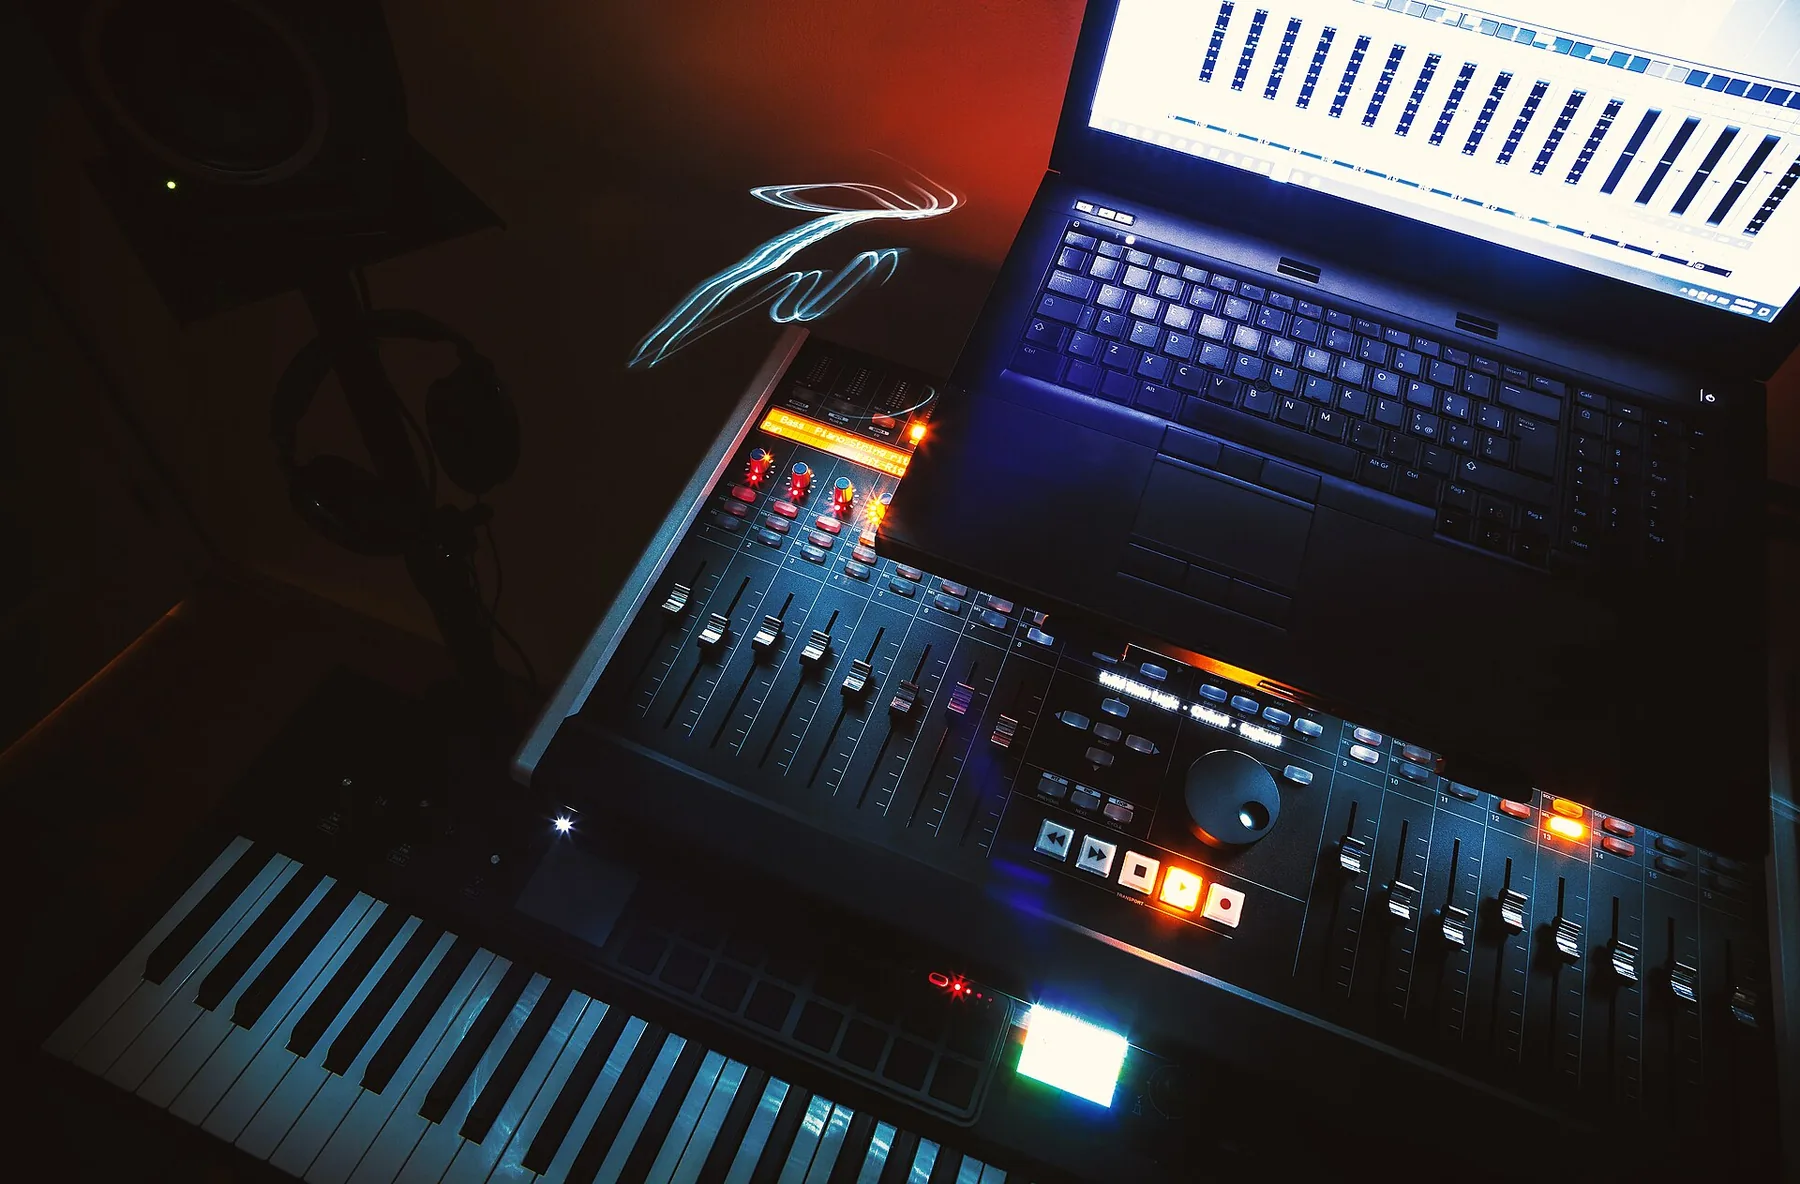
“Test under real conditions: time your rehearsal, practice scene-to-scene changes, and simulate problems.”
| Setup | Typical tracks | Preparation | Room for improvisation |
|---|---|---|---|
| Reproduction | 6 to 12 | 3 to 10 scenes per song, precise mappings | Moderate—controlled |
| Flexible | 12 to 15 | 1 large scene, modular clips | High—open improvisation |
| Hybrid | 8 to 12 tracks and hardware | Synchronization through Link/CLK, suitable MIDI routing | Variable—depending on the hardware |
For more on the technical structure, read this practical article: structuring your live set with Ableton Live.
Build the project in Ableton Live: Session, Arrangement, and scenes
Start by structuring the project so that every scene has a clear musical role. Session View lets you launch scenes and clips on the fly. Arrangement View remains useful for automation and planned jumps.
When to use each view
Use Session View for interaction and improvisation. Switch to Arrangement View for precise automation and timeline markers.
Scene names and automatic tempo
Include the tempo in a scene name (for example, 120 bpm). The tempo feature in Ableton Live adjusts the global BPM when that scene launches. It is a simple, practical way to manage multiple tempos.
Racks, Chain Selector, and “ghost” clips
Create an Instrument Rack with several chains and map the Chain Selector to a macro. A clip with no notes can automate that macro to change instruments according to the scene. A clip with a macro envelope thus controls the sound without playing notes.
Markers and the timeline for a flexible order
In Arrangement View, place markers so you can jump to specific passages. There is no native playlist; manual control and markers let you choose the order.
“Organize scenes by song section (intro, verse, chorus, break, ending) to launch them faster and simplify transitions.”
For an additional resource on preparing for a festival, see the program overview.
Tracks, groups, effects, and CPU management: a solid, stable foundation
A compact project reduces the risk of CPU overload and makes it easier to control the set from a controller. Aim for around 6 to 12 tracks; 8 channels are ideal because most controllers have 8 faders.
Organize your sources into clearly labeled groups: Bass, Harmonix, Vocs, Disco/Drums, Various. Add percussion subgroups (Kicks, Hats, Perc) so you can find each element quickly.
Effect chains and essential parameters
For each track, create a standard chain: low-pass/high-pass filter, light reverb, and sidechain compressor. Put the key controls in a rack and map them to macros.
“Putting reverb, the high-pass filter, and the compressor on one fader creates a musical ‘major tom’ that is easy to control.”
For greater stability, consider freezing or sampling tracks that use a lot of resources. Avoid adding multiple copies of the same device, and test latency before going onstage. Mixing live with a low-pass filter on each track can serve as a creative mute.
| Tip | Example | Benefit | Effect on CPU |
|---|---|---|---|
| Target count | 6 to 12 tracks (ideally 8) | Clarity and control | Fewer resource-intensive instances |
| Groups | Bass / Harmonix / Vocs / Drums / Various | Quick navigation | Centralized routing |
| Standard chain | HP/LP + reverb + sidechain | Musical control | Macros and rack |
| Stability | Freeze and resample | Peace of mind onstage | Reduced CPU load |
The MIDI controller as an instrument: mapping, “major tom,” and reset button
Knowing your controller inside out turns technical actions into musical phrases. Put essential controls within reach of your dominant hand: faders for volume, knobs for filters, and simple controls for macros.
Avoid overly sensitive encoders during a show. Set musically useful parameter ranges (no reverb at 100% wet or 60-second attacks). This protects the sound and supports expressive playing.
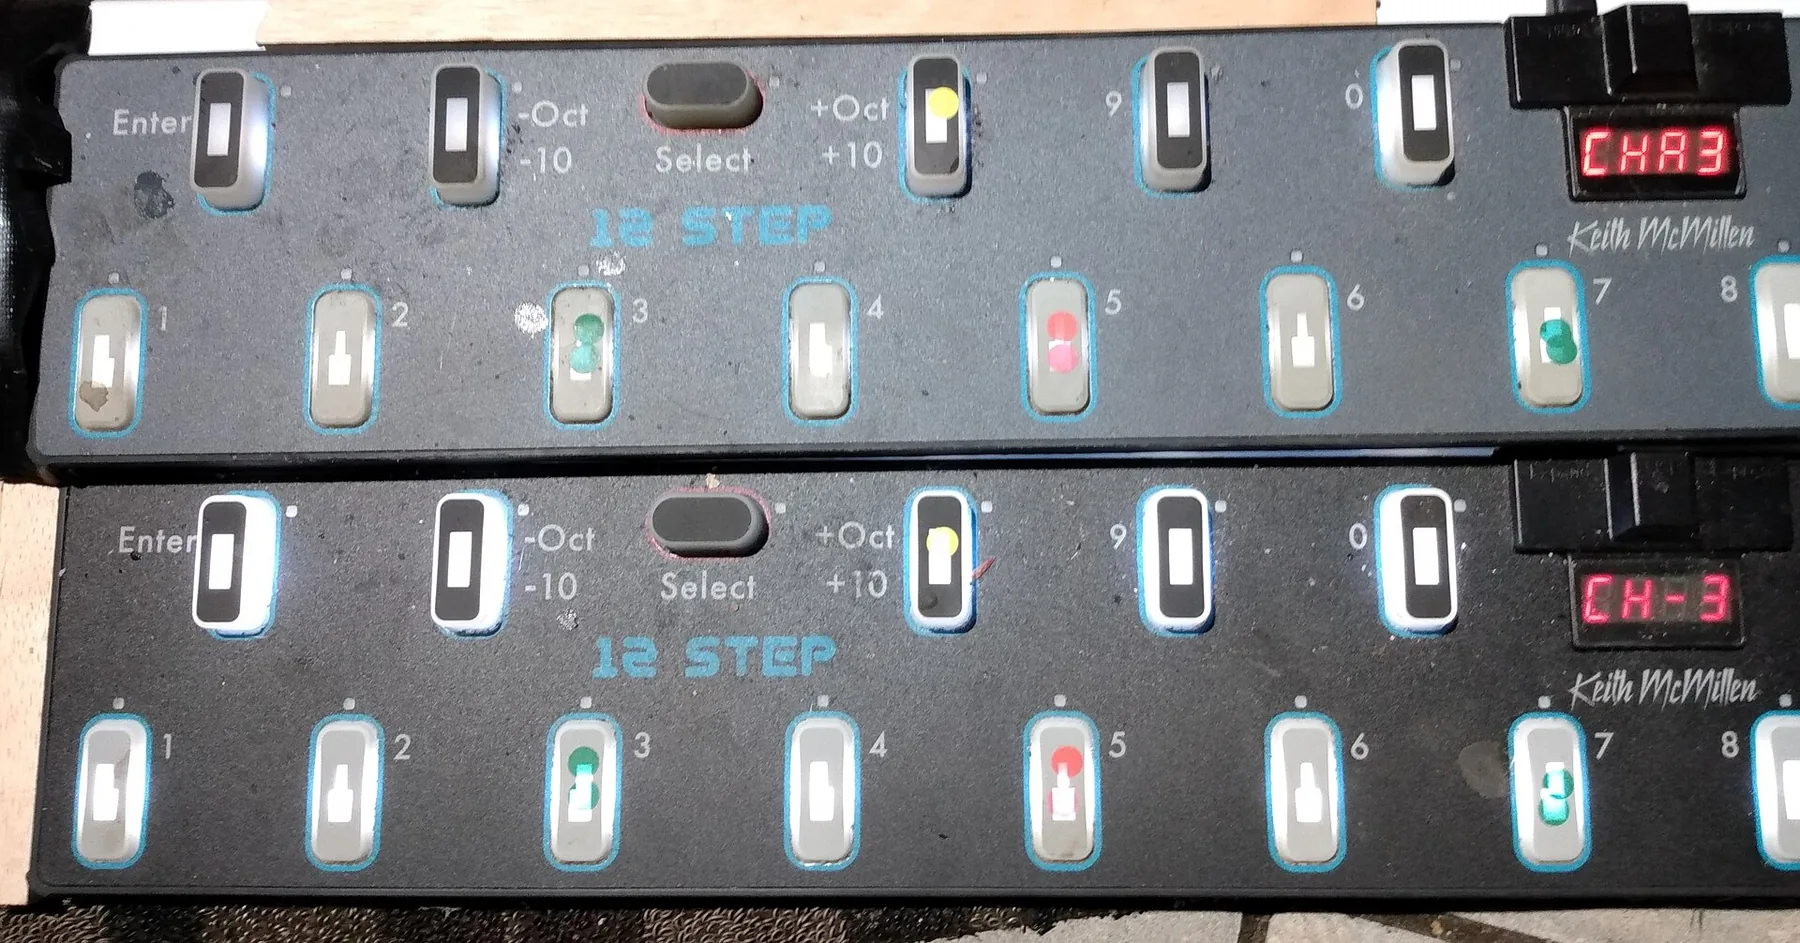
The “major tom” technique
A single fader controls several effects: reverb dry/wet, the high-pass filter frequency, and the sidechain threshold. The result is a dramatic, shimmering effect from one gesture, without overloading your attention.
Reset button
Create a “come back to daddy” function that turns off the effects and restores a four-on-the-floor drum beat. It gives you a safe way out of an experiment and brings the groove back immediately.
“Mixing with a low-pass filter on each track provides a gradual mute: fader down = quieter sound, with levels calibrated in the studio.”
Transitions, song order, and real-time performance
Managing transitions onstage calls for clear cues and simple actions. They help you stay musical while keeping the set on track.
Launch scenes and clips on the fly
In Session View, launch scenes and clips from pads or a controller so you can respond quickly. Program a pad bank for each song to keep the sequence clear.
Keep mappings simple: one pad to launch, another to stop. This reduces mistakes during a show and leaves more time for musical expression.
Change the song order onstage
In Arrangement View, place markers to jump quickly to a passage. They help you pause or resume at the right moment without breaking the groove.
Prepare ghost clips to automate an instrument or texture change within a song. These clips free your hands during the transition.
- Temporary loop: extend a break with a loop to build energy while you choose the next song.
- Emergency exit: switch to a reliable scene or press a reset button to restore a steady rhythm.
- Simplicity: break each tricky transition into 2 or 3 actions (launch, stop, open the filter).
| Action | Tool | Benefit |
|---|---|---|
| Launch a scene | Pads / controller | Responsiveness and clarity |
| Jump to a point on the timeline | Markers (Arrangement) | Precise restart after a pause |
| Automate a texture | Ghost clip | Transition without manual intervention |
“Preparing simple actions can save a show: fewer adjustments, more music.”
Conclusion
To finish, keep a clear structure for each track and song section. Limiting the track count (6 to 12, ideally 8) and grouping tracks by type helps the set run smoothly and reliably.
Remember these proven examples: scenes named “120 bpm,” racks with a Chain Selector, ghost clips, Arrangement View markers, the major tom technique, and a reset button to bring back the groove.
Work on your mappings, test them on your computer, and rehearse under real conditions. Finish with “Collect All and Save” and consult this practical guide to avoid common mistakes.
A good set strikes a balance between prepared control and room for the moment. Prepare, test, and then let the music speak.