
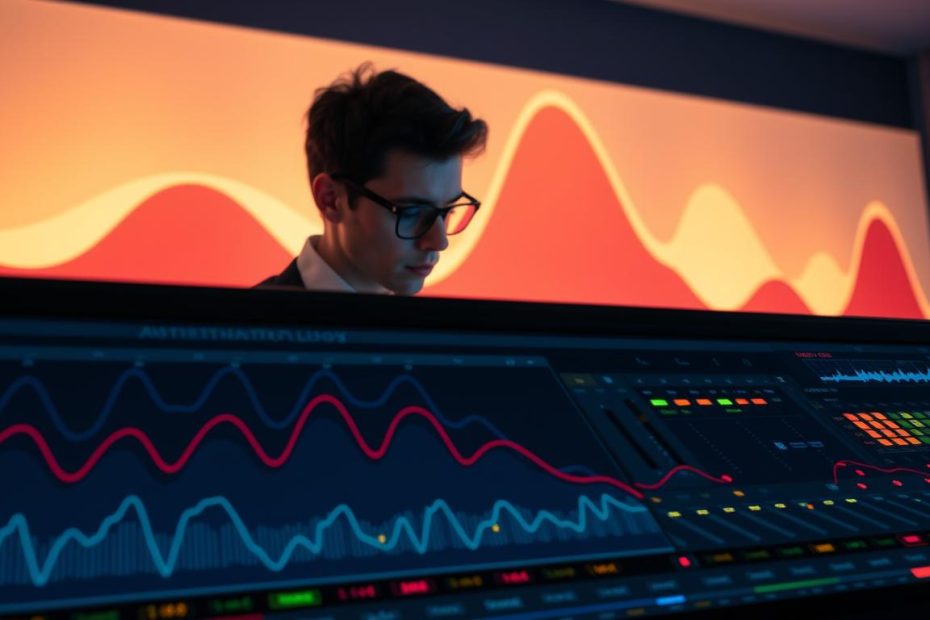
Goal: turn a static mix into a production that breathes. The idea is to move parameters to create depth, dynamics and genuine expression throughout the track.
In simple terms, automation means recording changes to settings — volume, panning, effects and tempo — so they evolve automatically with the music.
Ableton Live lets you automate almost anything in both Arrangement and Session View. An LED identifies recorded parameters, while the automation arm button determines whether your movements are captured.
Immediate benefit: more character and precision, with smoother transitions, builds before a drop, a more prominent vocal and corrections that do not require changing the recorded takes.
The process is straightforward: arm automation, record movements in real time, draw curves, then refine them and control them during a live performance. Every movement should serve an emotion or improve the balance, without adding needless complexity.
Understanding automation for a lively, expressive mix
Programming changes to parameters helps a mix breathe and guides the listener. In Ableton Live, these changes appear as envelopes associated with clips or tracks, depending on the view. This makes them easier to see and edit in context.
What is automation, and why does it make your music feel more human?
Automation lets you program settings over time. It prevents a mix from sounding fixed and gives it a natural sense of movement.
Small changes in level, panning movements and effects adjustments follow the musical intention. The result is greater expression and clearer presentation of key elements, such as a vocal or lead.
Key parameters to automate
Start with the volume fader to control the overall balance. Use panning to shape the stereo space.
Automate effects parameters (reverb, delay and filters) to shape texture, and consider tempo changes to create dynamic builds and breaks.
- Example: raise the vocal level slightly in the chorus.
- Example: widen the reverb at the end of a phrase.
- Example: open a low-pass filter before a drop.
Behavior modes such as Touch and Latch determine how automation is written during a performance. Choose the mode that suits your gesture and the effect you want.
Getting started in Ableton Live: views, tracks and arming automation
The view you choose determines whether you shape the track on a timeline or improvise with loops.
Arrangement View: use it to structure the track. You can record parameter movements during playback or capture a Session performance there. The automation arm button enables automation writing when Arrangement recording starts.
Session View: ideal for exploring ideas and capturing them live. Enable automation arming, arm the tracks, then start Session recording to write movements directly into clips.
Behavior in Session View
In Touch mode (with a mouse), writing stops when you release the control. Latch mode (with a MIDI controller) continues writing until the end of the loop before recording stops.
- A preference can force automation to be written into all playing clips.
- Automation recorded in Session View becomes track automation when transferred to Arrangement View.
- LEDs beside the controls identify active parameters.
| Context | Main use | Key action | Indicator |
|---|---|---|---|
| Arrangement | Editing and structure | Arm automation and record | LED on the track |
| Session | Performance and ideas | Arm tracks and record clips | LED on the clip |
| Modes | Control how automation is written | Touch or Latch, depending on the control | – |
Automation in Ableton: bring your tracks to life
Capturing gestures in real time turns a mechanical take into an expressive performance.
Record in real time during playback or a take
Start playback or a take and move the controls: if automation arming is active, Ableton Live records those movements over time.
In Session View, you can capture these gestures directly in clips, then transfer them to Arrangement View for final editing.
Why record in real time? It creates natural curves that follow the groove and reflect how you play a fader or knob.
Draw envelopes: points, segments and grid resolution
Enable automation mode (the A key), then Draw Mode (the B key). Holding down B temporarily switches to Draw Mode.
Drawing creates steps according to the grid; Shift allows finer vertical adjustments, Alt/Cmd lets you draw freehand, and Ctrl/Cmd+4 toggles grid snapping.
To edit points, click to create or delete a point, or double-click away from a segment to add one. Move a point or segment to see its value and guide line.
Use the “Edit Value” context-menu command to enter an exact number. Select multiple segments to move them together.
- Example: add a delay effect to the last word of a phrase.
- Example: draw a precise filter build before a drop.
To learn more about preparing for a live performance, see our guide to preparing your live set.
Advanced editing techniques: envelopes, shapes and tempo
Advanced editing tools turn rough curves into coherent musical movements.
Simplify Envelope: select a range and use the Simplify Envelope command. It reduces the number of points while preserving the musical feel. The result is easier to edit and read.
Stretch and skew: use the vertical handles to increase or reduce the level. Horizontal handles compress or stretch the envelope in time. Corner handles change its overall shape.
Useful shortcuts: Shift for fine adjustments and Alt/Cmd to ignore the grid. Use Alt to drag symmetrically and mirror the curve.
Insert shapes and manage scaling
Right-click a selection to add a sine wave, triangle, sawtooth, square, ramp or ADSR shape. Shapes automatically scale to the selected duration and the parameter range.
Suggested approach: stretch the envelope slightly, then refine its points to preserve the groove. For example, insert a sawtooth shape over eight bars for a filter, then simplify the envelope and adjust its key points.
Lock envelopes and automate tempo
Enable envelope locking to move a clip without shifting its automation. This is essential for late changes to the arrangement.
To change the tempo, go to the Master track, select Mixer > Song Tempo, and draw BPM increases before a transition. This technique creates dynamic contrasts for mixing and live performance.
| Action | Tool | Shortcut or tip |
|---|---|---|
| Simplify Envelope | Context menu on a selection | Reduce the number of points for a clearer display |
| Stretch and skew | Vertical, horizontal and corner handles | Shift for precision; Alt/Cmd to ignore the grid |
| Insert a shape | Right-click → choose a shape | Scale it in time and across the parameter range |
| Lock envelopes | Track option in Arrangement View | Move clips without shifting their automation |
| Tempo automation | Master track → Mixer → Song Tempo | Draw BPM increases for transitions |
To learn more about instruments and their documentation, consult the instrument reference and adapt these methods to your tracks and clips.
Control in practice: restore automation, perform and mix
During playback, you need to be able to switch between manual gestures and recorded automation. Touching an automated parameter temporarily overrides it; its LED goes out, and you can make immediate adjustments without erasing the recording.
Restore automation: the “Back to Arrangement” button and right-click menu
When manual settings temporarily override automation curves, the button for returning to automation lights up in the control bar. Clicking it restores the affected Arrangement and clip envelopes.
To restore just one setting, right-click the parameter and select “Re-Enable Automation.” This is useful when applying a brief effect without changing the other tracks.
- In Session View, relaunching a clip containing an envelope automatically restores its automation.
- Assign MIDI controllers to essential effects, improvise, then re-enable automation to return to the recorded settings.
Benefit: this back-and-forth preserves precise automation while allowing live variations. Try a temporary filter, then return to the recorded state in a second.
Conclusion
Conclusion
The finishing touch on a mix often comes from small, deliberate movements. In Ableton Live, precise use of automation lets you shape the track, from tiny adjustments to major transitions.
Follow the steps: arm automation, record in Session or Arrangement View, draw curves, then edit them by simplifying, stretching or inserting shapes. Lock envelopes and consider automating the tempo on the Master track to control the energy.
Focus on vocals, transitions and key moments. Try brief delay effects, gradual filter changes and level variations, then restore automation to assess your choices.
To take your tracks further, explore our methods for finishing and arranging tracks. They help turn an idea into a professional result more quickly.