
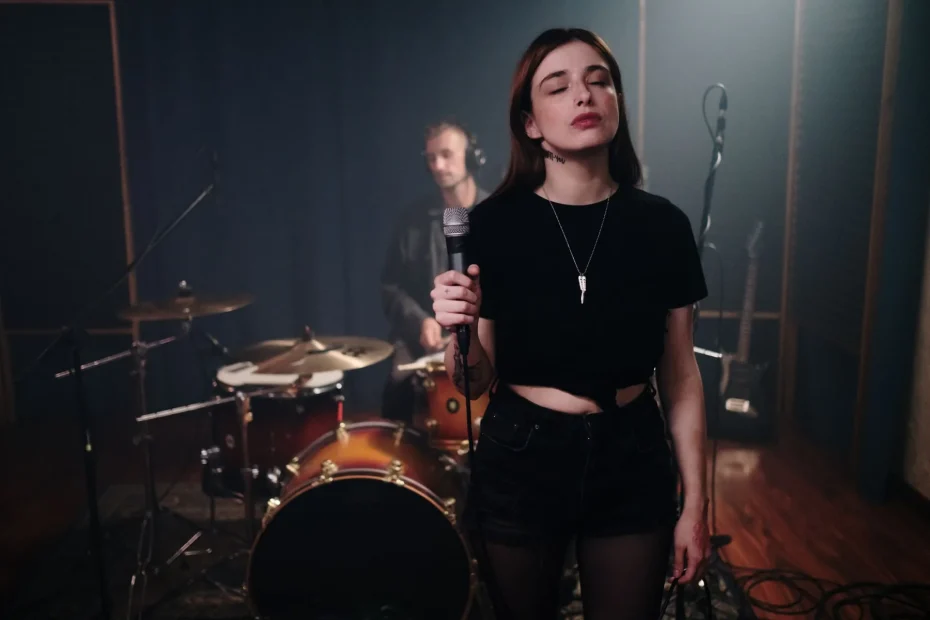
Guide objective: show, step by step, how to produce polished vocals in a DAW, from recording to the final render.
Auto-Tune, launched by Antares in 1997 through the work of Dr. Andy Hildebrand, uses the fast Fourier transform to detect and modify pitch.
This plugin has become a standard tool in music production, used for both subtle correction and pronounced vocal effects. Think of Cher, T-Pain, Kanye West, or Travis Scott.
This guide covers recording, correction, styling, harmonies, and mobile workflows. It introduces Auto-Tune (Antares), Waves Tune Real-Time, Melodyne, and Live 12.1’s Auto Shift.
You’ll find straightforward technical advice: set the key, prepare clean tracks, and adjust Retune Speed, Humanize, and formants to avoid artifacts.
Who it’s for: producers and artists in France who need a professional sound without sacrificing the character of the voice.
Ableton Live and Auto-Tune: Creating Contemporary Vocals
Understand the intention: pitch adjustment should serve the song first. Correction aims for intelligibility, consistent tuning, and clean transitions between notes. Whether you choose a transparent or conspicuous sound depends on the genre and the emotion you want to convey.
Auto-Tune today corrects pitch automatically according to a scale and offers key controls: Retune Speed for responsiveness, Humanize to preserve a natural sound, Vibrato to shape expression, and Flex to refine the correction. These settings can reduce excessive variation without erasing the performance.
Culturally, the tool has evolved—from Cher to T-Pain and then Kanye West—and shaped listeners’ expectations. It is used as much to create textures and effects on glides and quick transitions as it is to correct pitch.
For more detail, read this practical article on using Auto-Tune.
| Setting | Common use | Desired effect |
|---|---|---|
| Retune Speed | 0–100 (fast → slow) | From the T-Pain effect to subtle correction |
| Humanize | Low → high | Preserves natural vibrato and nuance |
| Vibrato | Manual adjustment | Controls expression on sustained notes |
| Flex | Adjusts how correction is applied | Smooth transition between correction and a natural sound |
Choosing and integrating the right tools in Ableton Live
The software you choose determines how quickly and precisely you can work on a take. Some tools prioritize immediate correction; others offer precise editing after recording.
Quick comparison:
- Auto-Tune (Antares): speed and a distinctive effect for a pronounced sound.
- Waves Tune Real-Time: ideal for immediate correction while monitoring, both in the studio and on stage.
- Melodyne (Celemony): detailed pitch editing, time stretching, polyphonic editing, and formant adjustment for a natural sound.
Auto Shift, included in version 12.1, provides built-in harmonization and correction. Using it in racks with automation makes it easier to create consistent vocal doubles without leaving the interface.

| Tool | Use | Key advantage | Format |
|---|---|---|---|
| Auto-Tune | Quick effect during recording | Responsiveness, signature sound | VST3/AU |
| Waves Tune Real-Time | Immediate monitoring | Stability on stage | VST3/AU |
| Melodyne | Offline refinements | Pitch and formant editing | VST3/AU |
| Auto Shift (12.1) | Harmonization in the DAW | Built-in use, automation | Native |
Installation and routing
Install the plugins in VST3 or AU format, then scan for them in the plugin manager. Check compatibility with M1/M2/M3 chips to avoid problems.
Insert the plugin on the vocal track, set the song’s key and scale, then enable MIDI input or sidechain routing if the plugin requires it. Adjust detection, correction speed, and formant tracking to limit artifacts.
A step-by-step studio workflow: From recording to processing polished contemporary vocals
Organization comes first. Determine the song’s key, name your takes, and comp them carefully. Remove noise and trim silences to limit artifacts before applying any correction.
Processing chain: apply gentle EQ to remove resonances, then a de-esser if needed, before inserting the pitch corrector. Set Retune Speed according to the sound you want.
- Low Retune Speed = natural sound; fast = pronounced effect.
- Humanize preserves small variations and prevents an overly rigid sound.
- Vibrato and formants: adjust them carefully to preserve emotion without transforming the source.
| Goal | Retune Speed | Humanize | Tip |
|---|---|---|---|
| Natural pop | Moderate | High | Listen in context; correct glides manually |
| Stylized rap / trap | Fast | Low | Watch the consonants; reduce artifacts |
| T-Pain/Kanye effect | Very fast | Low | Keep formants stable; record a corrected track and a raw track |
Check the sound in real time: test monitoring, adjust the buffer size to reduce latency, then export a corrected version and a raw version. For more on choosing tools and workflows, see this guide.
Harmonies and creative vocal effects with Auto Shift in Live
A well-designed rack turns a single track into a living field of harmonies.

Building an effects rack
Layer several copies of the same track. Set Auto Shift on each chain to produce a third, fifth, or octave that fits the key.
Apply slight detuning and a different formant shift to each layer to widen the stereo image. Set pitch ranges using target notes to reduce unwanted jumps on fast vocal lines.
Automation and expression
Automate the wet/dry mix, formant intensity, and volume for each section. These changes create build-ups before the chorus or small variations in ad-libs.
“Side Brain shows how to create an effects rack for rich harmonies with Auto Shift; the videos have French subtitles.”
Practical tips:
- Use filters and gentle saturation, then a glue compressor on the bus to bring the layers together.
- Send each track to a shared reverb and to distinct short delays.
- Save the rack as a preset to save time and keep reusable ideas close at hand.
| Action | Key parameter | Purpose |
|---|---|---|
| Parallel chain | Interval (third/fifth) | Coherent harmony |
| Formant shift | −1 to +3 semitones | Add width without cloning |
| Automation | Wet/dry, formants | Bring musical ideas to the fore |
For more detail, see our guide to setting up a studio and choosing practical tools: set up your own studio.
Real-time performance: From the studio to the stage
Moving from the studio to the stage calls for careful technical choices to preserve energy and accurate pitch. A live performance requires different settings from those used in the recording booth.
Latency and stability: adjust the buffer size to reduce latency while keeping the system stable. Prioritize direct monitoring for the singer to avoid a sense of delay.
Setting up a live set
Prepare pitch presets for each song and organize scenes in your arrangement to recall settings automatically.
- Parallel chains: prepare a lightly corrected backup track and a track with a pronounced effect, then switch between them using a MIDI footswitch.
- Add Waves Tune Real-Time to the main track and lock in the key and scale to limit unwanted note changes.
- Assign macros to correction speed and the wet/dry mix so you can adjust them for the room.

Mobile apps and workflows
Use apps to capture ideas, test a quick correction, and establish what you want to achieve before a studio session.
Backup plan: have an instant bypass, a spare microphone, and a lightly doubled track ready. Document the audio routing and test it in rehearsal to make the performance more reliable.
For more on stage techniques and effects, read this practical article: Auto-Tune and the talk box.
Conclusion
Ultimately, the balance between precision and personality is what matters.
Remember the essentials: establish the key, prepare clean takes, then apply pitch correction with settings that serve the song and its production.
Think of each tool as complementary: Auto-Tune and Waves Tune for responsiveness in live performance, Melodyne for detailed editing, and Auto Shift for built-in harmonies.
Careful adjustment of correction speed, Humanize, and vibrato helps preserve quality and avoid artificial imperfections.
Experiment, save presets, and document your trials. The more you repeat these steps, the more your skills and music production will develop.
For more on the tool’s history and technical operation, read this practical article on how Auto-Tune works.