
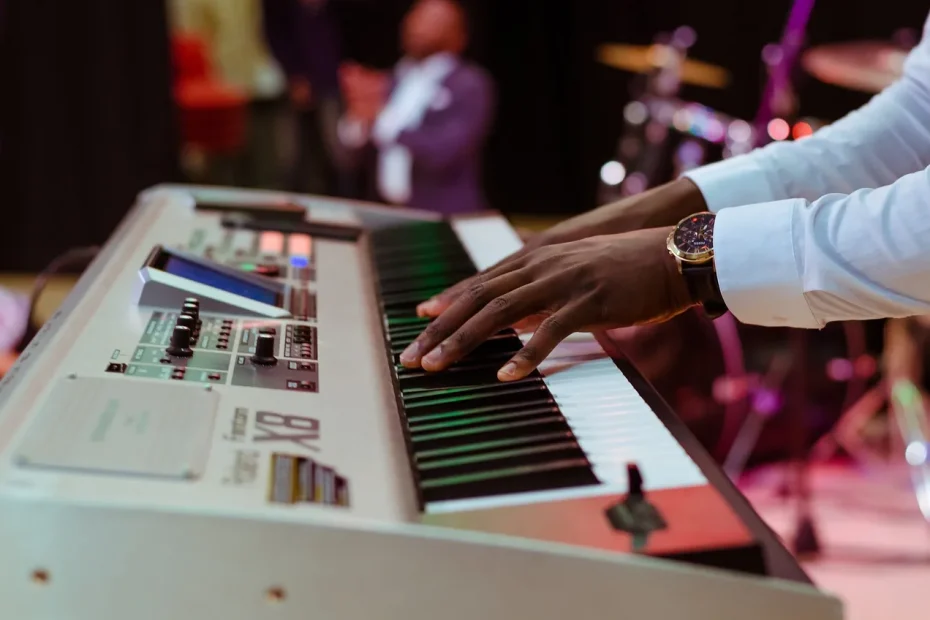
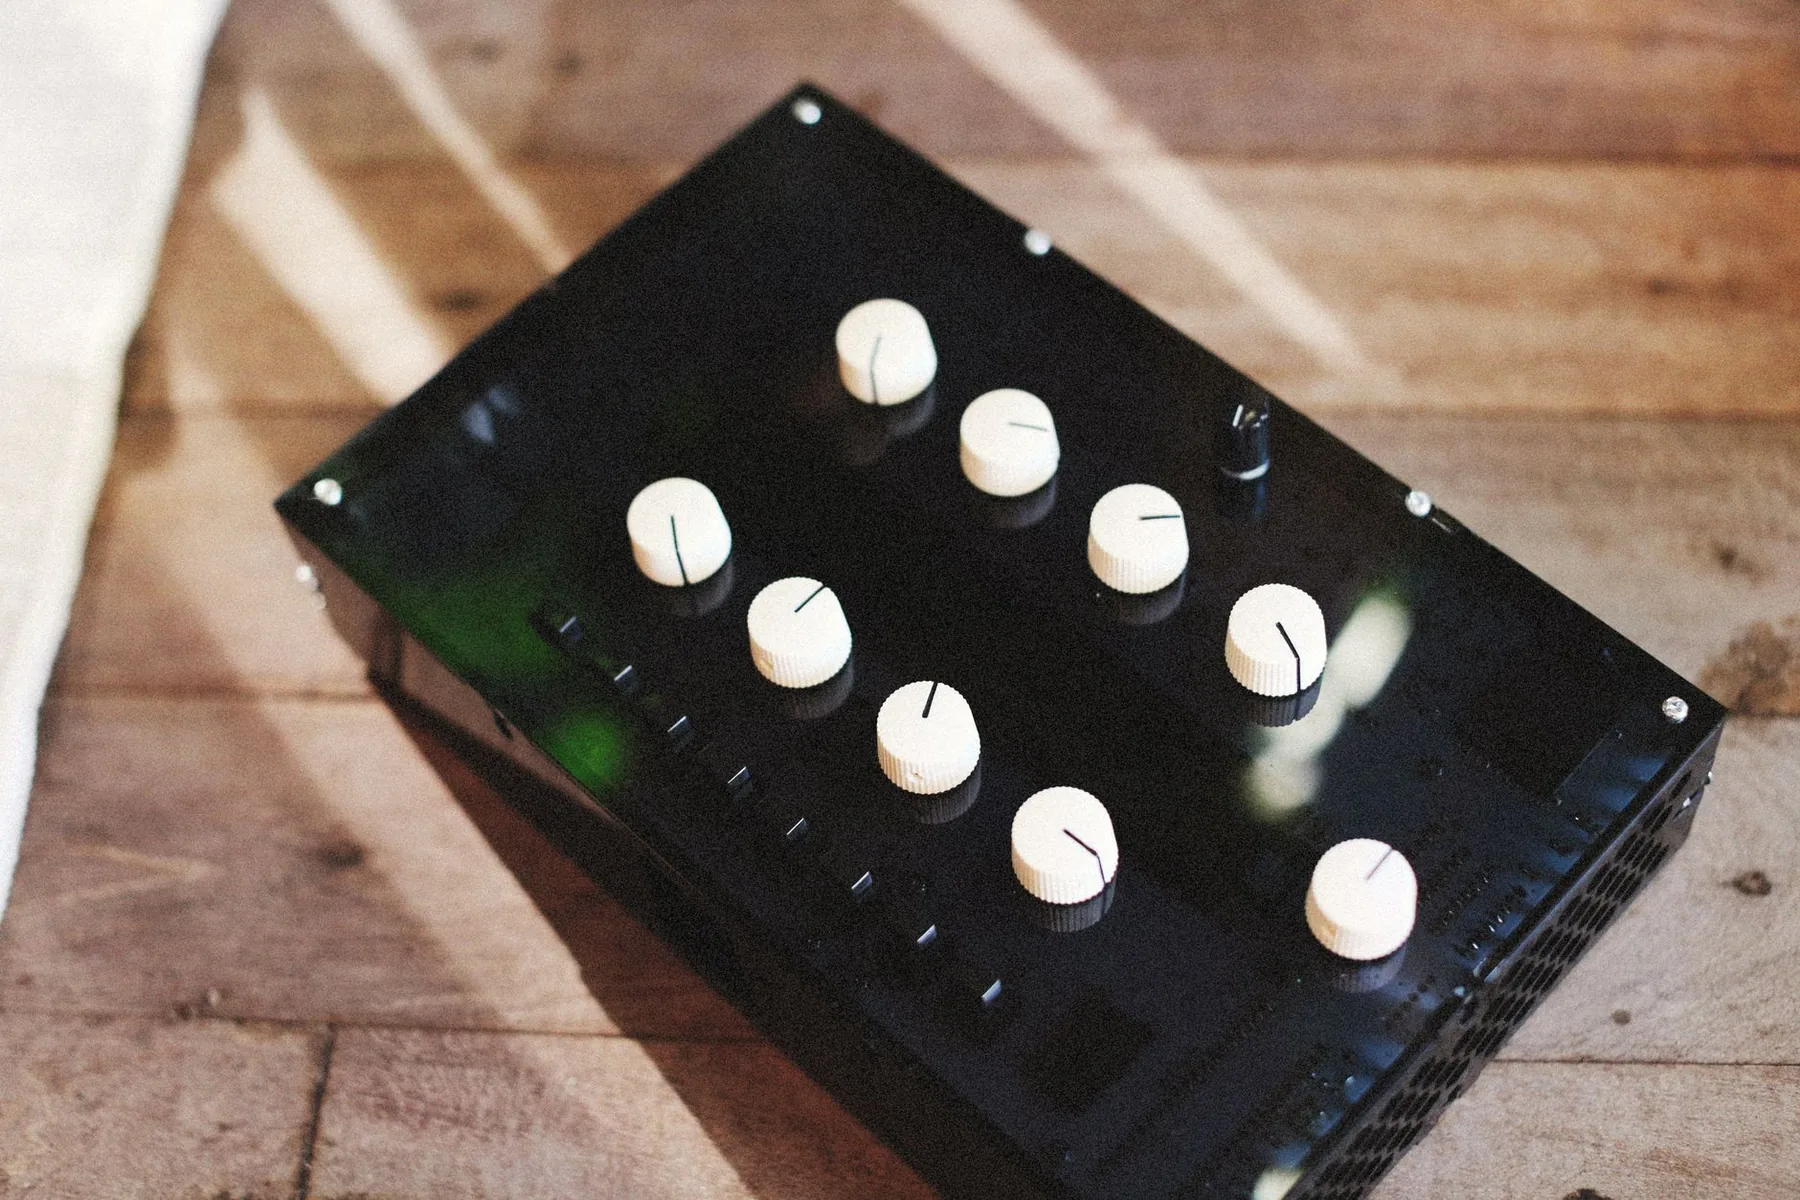
Quick overview: this portable controller combines responsive pads, encoders, a clickable wheel and an OLED display to keep the essentials at your fingertips. It works in Standalone or Control Live mode via USB or Wi‑Fi and syncs with Link.
Why use it? It offers a simple bridge between rehearsal and the stage: a lightweight, self-contained set with a battery and audio outputs. Its layout makes it easy to manage tracks, instruments and effects in real time.
This guide covers three areas: quick setup (Wi‑Fi, Cloud, Link, MIDI and audio), preparing scenes and clips, and performance techniques for controlling Session View and returning to the Arrangement. For more on integrating devices and presets, see this guide to working with instruments and the other available resources.
Set Up Ableton Move for the Stage and Rehearsal
Before going on stage, check your network and audio setup to avoid surprises. In Setup, turn on Wi‑Fi to receive updates and access Ableton Cloud. Check that the tick icon appears, and save the password for future startups.
Network Connection and Synchronization
Enable Link in Tempo or Start‑Stop mode to sync tempo and transport with other devices on the same network. This makes it easier to coordinate a session with several artists or a DJ.
Audio, Recording and MIDI
Use the stereo output and 3.5 mm mini-jack input to connect to the mixing console and sample an external source. Decide whether Move will serve as your main audio interface or remain connected to a stage interface.
Connect synths or controllers through USB‑A, then set the MIDI channels in Setup to make clip recording more reliable.
Power, Battery Life and Visibility
The battery lasts about four hours; bring a backup USB‑C power supply. Brightness controls LED intensity: switch to High or Max under strong stage lighting.
Control Live, Standalone and File Management
Switch to Control Live to control Live (versions 11.3.35+ and 12.1+). Return to Standalone through Setup if you prefer a self-contained set.
Open Move Manager in your browser (move.local), enter the code shown on the display and manage your files: sets, samples, recordings and presets. For more on integration, see this detailed overview.
- Tip: give each unit a unique host name if you use several together (for example, move4.local).
- Document your options and setup terms so you can recreate the same set quickly.
Prepare Your Tracks in Session and Arrangement Views
Preparing an effective set starts by turning the arrangement into sections you can trigger. Add markers to identify major changes, then divide the arrangement into coherent sections. Turn those sections into clips ready to play in Session View.
Consolidate repeating fragments with Cmd/Ctrl+J to create long, stable clips. Enable looping and color important variations so you can identify sections at a glance.
Move the sections into Session View using Tab and delete redundant scenes: fewer scenes mean simpler decisions on stage. Give each scene a name (Intro, Hook A, Tension, Outro) to make the set easier to read.
Limit complexity: aim for no more than about 12 tracks. Avoid cumbersome groups: export stems if needed. Put one‑shots and percussion elements in a Drum Rack so you can improvise easily.
Keep consolidated files in clearly named folders through Move Manager and, for more advanced integrations, consult this overview of Move integration.
Ableton Move: How to Use It on Stage and in Rehearsal
Mastering clip launches and the return to the Arrangement helps keep a set flowing. In Session View, launching a scene starts all the aligned clips; track colors and numbers remain consistent with the Arrangement.
Returning to the Arrangement stops the triggered clips and resumes linear playback. Use it if you need to catch up or return to a reliable starting point.
Launch, Record and Build the Groove
In Control Live or Standalone mode, record MIDI through the inputs and outputs to capture a groove during soundcheck.
- On stage: test individual clips, then launch a scene to give the track structure.
- Build the rhythm in layers: kick drum, then bass, percussion and melody.
- Use effects sparingly and precisely to keep the sound clear.
| Action | Purpose | Tip |
|---|---|---|
| Launch a scene | Play all its clips at once | Name and color the scenes |
| Return to the Arrangement | Resume linear playback | Use after improvising |
| MIDI recording | Capture ideas and grooves | Export or loop the recording |
Document what works in rehearsal (a short video or some notes). For studio layout and practical advice, also see this guide.
From the Rehearsal Lab to the Live Set: Modern Workflows
Moving a set from the studio to the stage takes a simple, repeatable method. Start a set on the device, then continue working in Note, Live or Push through the cloud.
Use Move Manager in a browser to organize your files: rename them, export fixed versions and download offline backups.
Create Sets on Move, Then Continue in Note, Live or Push
Create sets directly on the device, record in Session View, then sync them through the cloud to finish the notes while you travel.
Standalone or Control Live: Choose the Right Setup
Standalone mode offers a lightweight, reliable setup for intimate shows. Control Live mode gives you access to plugins and computer processing power for a richer live set.
- Prepare two versions: a streamlined Standalone version and a full Control Live version.
- Use consistent terms (prefixes for scenes, sections and versions) so you can find your ideas quickly.
- Test the entire recording setup: cables, synth latency and headphone monitoring.
“Keeping a copy in the cloud and a local export helps prevent unpleasant surprises.”
Tip: make a short internal video showing the key changes and a stage checklist.
Conclusion
In short, structure your work to turn studio ideas into a reliable set.
Organize clips in Session View from the Arrangement View. Consolidate them, remove unnecessary scenes and limit the number of tracks to keep the set easy to follow.
Pay attention to dynamics: melody, rhythm and effects should work together. Record and label your takes; recording and MIDI recording capture the ideas that make a difference.
Manage files through Move Manager in your browser, make backups and prepare a fallback version. For free tools to complement your setup, try free music software before investing.
The result: a freer, livelier set that can develop through rehearsals and changes on stage.