
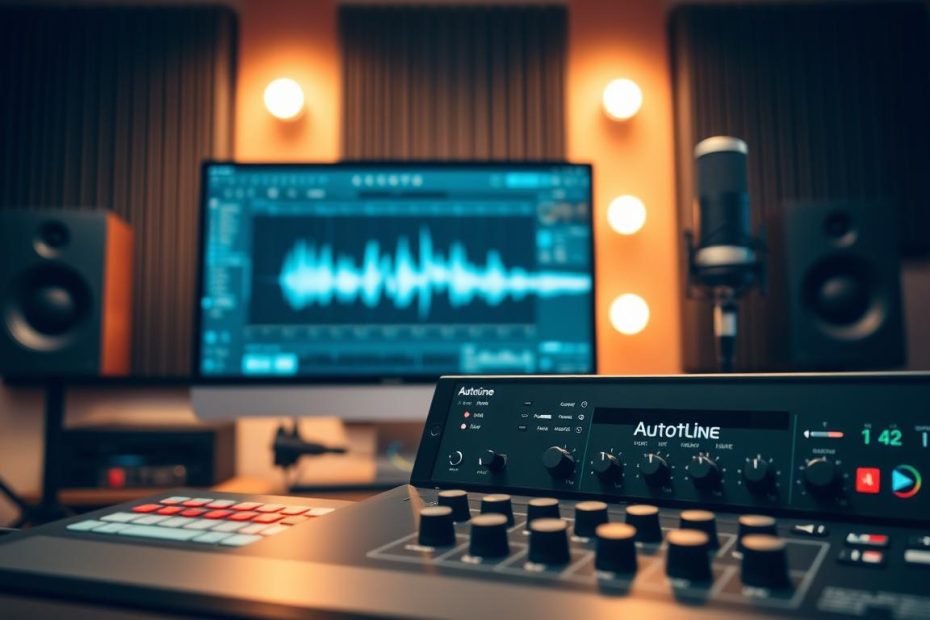
This short guide sets the stage for understanding how to correct pitch or create a pronounced effect on a vocal track. We will cover how to load Auto Shift, prepare the recording, choose a scale, and set the correction speed.
Auto‑Tune is a pitch corrector that brings a voice’s frequency into line with a scale. Pushed harder, it produces the metallic sound popularized by T‑Pain and Cher. It differs from a vocoder or a talkbox.
In Ableton Live, Auto Shift also offers Live mode to reduce latency and a polyphonic mode for creating harmonies via MIDI. We will explain when to aim for transparent correction and when to choose a stylized sound.
Finally, you will find good practices for effect-chain placement, level management, wet and dry balance, and automation. The aim is to save time and get reliable musical results.
Before you begin: Understanding Auto‑Tune, Auto Shift, and their role in Ableton Live
To use a pitch corrector well, first understand what it analyzes and corrects.
A corrector measures the pitch of a voice and moves it toward a target scale. It does not change the performance: it adjusts intonation to produce a natural or stylized result.
Auto‑Tune, launched by Antares in 1996, popularized this approach. Its sound can range from subtle processing to the metallic effect made famous by certain artists.
Auto Shift, built into Ableton Live, offers a Live mode to reduce latency and a polyphonic mode for creating harmonies via MIDI. These options make editing and performing easier for producers and sound engineers.
“A pitch corrector adjusts the intonation of an existing voice; a vocoder or talkbox changes its sonic texture through synthesis or a physical device.”
| Tool | Main function | Typical use |
|---|---|---|
| Pitch corrector | Analyzes and corrects pitch | Intonation correction, T‑Pain effect, clean vocal doubles |
| Live mode / polyphonic mode | Reduced latency / MIDI harmonies | Live performances, harmony creation |
| Vocoder / talkbox | Synthetic or physical sound texture | Vocal effects, transformed timbres |
Key settings to know are the key and scale, correction speed, and artifact management. These settings determine whether the result stays natural or becomes a pronounced effect.
- When to use it: to secure a take, speed up editing, or create a distinctive style.
- Use cases: vocal doubles, controlled ad‑libs, and harmonic layers.
Autotune in Ableton Live: Essential Settings to Master
Start by inserting the plug‑in on the vocal track and setting the level before making any corrections. Aim for peaks around −12 dBFS and establish stable monitoring to prevent feedback. A clean signal makes the corrector easier to use and helps it detect notes.
Load the plug‑in and prepare the track
Place the tool before dynamics processing. Filter low frequencies if needed to stabilize the analysis. On stage, enable Live mode to reduce latency; in the studio, favor a larger buffer size to conserve processor resources.
Choose the scale and key
Select a preset scale or create a custom one. When the melody uses only a few notes, disable notes outside it to limit detection errors. Save a preset for each singer to save time.
Speed, Humanize, and timbre
Use a slower correction speed and a high Humanize value for a natural sound. Speed up the correction for a pronounced effect resembling some stylized vocals. Adjust formant preservation and the wet and dry balance to retain the character of the voice.
Create harmonies and follow good practices
Duplicate the track, use polyphonic mode, and control the intervals via MIDI to thicken a chorus. Avoid common mistakes: the wrong key, too much processed signal, or overly fast correction on expressive passages.
For a step-by-step guide to setup and making a demo, see this practical tutorial. To set up your workspace, read this guide to creating a studio at home.
Professional workflow, creative goals, and useful production alternatives
A structured workflow turns slow correction into a creative tool. Define your goals first: transparent correction for release or pronounced processing to create a sonic identity. These choices guide the rest of the mix.
Correction and creative goals
A producer or sound engineer working in a home studio must decide whether the voice should remain natural or become an effects element. For radio, aim for subtle correction; for a modern chorus, emphasize slides and intervals.
Integrating correction into the mix
Place correction before heavy compression, delays, and reverbs. Automate the speed, Humanize setting, and wet and dry balance to suit the composition. On stage, enable Live mode and simplify the chain.
Alternatives and complementary tools
Use Melodyne for precise editing or Antares for its signature sound. To deepen your knowledge of these tools and support your training, follow tutorials and consult composition guides or a suitable mixing guide.
Conclusion
Let’s finish with the key points for getting a reliable, musical vocal take.
The method covers loading Auto Shift, choosing a scale, setting the speed and Humanize parameter, preserving formants, and balancing the processed and unprocessed signals. It delivers consistent pitch in Ableton Live and a natural fit within the composition.
Listen for musicality, save presets for each singer, and check latency in Live mode before every concert. Compare subtle and conspicuous results to refine the creative impact.
To improve, take a course or follow video tutorials, and share your notes with the sound engineer. Explore polyphonic harmonization and try combinations with other processing to enrich your music.
Need practical resources? Browse our music production section for guides and exercises.