
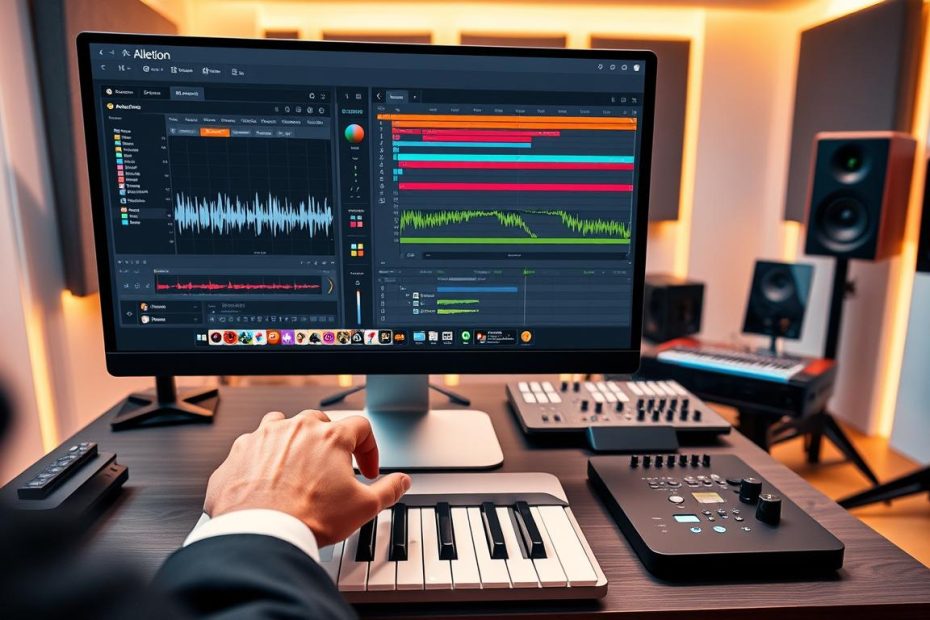
The question to ask: this complete guide helps you decide whether Ableton Live Lite is a constraint or an opportunity when starting music production.
Why choose this entry-level software: it lets you learn the basics of Ableton Live quickly and experiment without a major investment. The built-in Limiter helps control the output level and prevent distortion at the end of the signal chain.
This introduction sets out what you will learn: how to use Ceiling, Release and Look Ahead (up to 6 ms), and how to adjust input gain to control peaks.
You will then find sections on workflow basics, a step-by-step Limiter setup, alternatives such as Waves L2 and FabFilter Pro-L, and tips for a clean export. To learn more, consult the official resources.
Understand the goal: start producing music with Ableton Live Lite today
Starting with a small project helps structure your learning and maintain motivation.
Live was designed by musicians to create, produce and perform music on a computer. Live 11 improves usability and adds Ableton Cloud, making the interface smoother and more intuitive.
Learning goals: navigate the interface, create tracks, insert effects and hear the results in real time. This simple approach helps you understand how to use the essential features without getting lost.
Lite can be a stepping stone. It may be enough to test your workflow and learn Ableton without a major investment.
Understanding the Session and Arrangement views lays the groundwork for routing, monitoring and quick recording. Choose a short song as your first project and focus on a simple process: create, listen, refine.
Consult practical resources — manuals, video lessons and a complete guide — to learn faster through hands-on exercises.
Ableton Live Lite at a glance: basics, tracks and limitations for a first production
This section summarizes what you can do technically and creatively from your first sessions.
What the starter version lets you do: create audio and MIDI tracks, record ideas quickly and add essential audio effects to shape your sound.
Basics to master: clip editing, loops, recording and quantization provide a solid foundation before you explore advanced options.
Organization and workflow
Name, color and group your tracks to keep the project easy to follow. Put drums, bass and vocals on separate buses.
What is missing and how to work around it
Some advanced options and devices are unavailable. Make use of the resources in Live 11’s redesigned browser: presets, Set templates and grooves help you sketch an idea faster.
- Starting setup: a simple EQ, basic compressor, Utility and light reverb.
- Process audio in Ableton sparingly: avoid piling on effects so the sound stays clear.
- This lesson on the Limiter will help you control the overall output, even with a limited setup.
Tip: finish your first track with the tools you have before considering an upgrade. That is the best way to assess your needs.
Ableton Live’s Limiter: its role, position in the chain and good practices for managing dynamics
Controlling peaks is essential for a clean, consistent result.
The key difference:
Limiter and audio compressor
A limiter is intended to control peaks strictly. It prevents the signal from crossing a ceiling without coloring the sound.
An audio compressor affects overall dynamics. It shapes the body and movement of the signal.
Recommended placement and modes
Place the limiter at the end of the chain on the master, after all tonal and dynamics processing.
The default Ceiling setting of -0.30 dB provides a safety margin for export and helps prevent unexpected overs.
The device offers a linked stereo mode and a left-right (LR) mode for processing the channels separately.
“Watch the gain reduction: if it is excessive, correct the mix earlier in the chain.”
- Release: use automatic mode as a safe starting point, or manual mode to shape the sound’s recovery and avoid pumping.
- Avoid stacking effects before the limiter without a reason.
- Watch the gain-reduction meters and adjust the mix, not just the ceiling.
Final tip: this educational video shows how to preserve a transparent sound while controlling the final level.
How to set the Limiter step by step
Start with a simple setting that keeps the output under control without changing the dynamics. This practical guide covers the essential parameters and a logical adjustment order.
Ceiling: start at -0.30 dB. Listen to the track on a loop and lower this setting if peaks persist. Adapt it to the style and density of the mix.
Release: automatic or manual mode
In automatic mode, the setting adapts to the material. This is useful for your first tests.
In manual mode, shape the release to preserve transients and avoid excessive pumping.
Look Ahead (up to 6 ms)
Enable Look Ahead to anticipate very fast attacks. A setting of up to 6 ms can reduce artifacts without smoothing the sound too much.
Stereo or left-right (LR)
Choose stereo mode for uniform processing. Switch to left-right mode if the energy in one channel causes disproportionate gain reduction.
Input gain and workflow
Set the input level to avoid distortion and constant gain reduction. Leave enough dynamic headroom for the Limiter to act only on peaks.
- Set the input level → set the Ceiling → choose the mode → refine the Release → adjust Look Ahead.
- Make level-matched A/B comparisons.
- Keep the goals of this step in mind: control peaks without audible coloration.
“This practical lesson helps you quickly understand how to use the controls and preserve the mix’s punch.”
Build a basic mix in Live Lite: Utility, Glue Compressor and workflows
A clear mix starts with simple organization and well-placed devices. Set gain track by track, group drums, bass and instruments on buses, then leave the master almost empty.
Ableton’s Utility device: gain, mono, left-right control and level calibration
Ableton’s Utility device adjusts level and stereo balance. Use it to set gain, switch to mono and correct the left-right image.
It also allows small M/S adjustments without an external plugin. This makes balance decisions easier at a consistent listening level.
Glue Compressor: mix cohesion, sidechain use and parallel compression
The Glue Compressor adds cohesion to a bus. Use it moderately: choose a low ratio and a medium attack to let the mix breathe.
To make room for the kick, enable sidechain processing suited to the music. To add body, set up parallel compression on a dedicated bus and adjust the blend.
Drum bus: control dynamics before the Limiter
On the drum bus, apply corrective EQ, followed by gentle compression. Stabilize peaks to reduce the load on the master.
This simple process improves the overall dynamics and reduces how much the limiter must work at the end, giving you a more transparent audio mix.
| Tool | Use | Suggested setting |
|---|---|---|
| Utility device | Gain calibration, mono, small M/S adjustments | -1 to -6 dB at the output; check in mono |
| Glue Compressor | Bus cohesion, sidechain | 2:1 ratio, 10 to 30 ms attack, automatic Release |
| Drum bus | Corrective EQ, gentle compression | High-pass filter, 3 to 5 dB of gain reduction |
Export cleanly: an Ableton audio export guide for a consistent result
A clean track export starts with a methodical check of the master and levels.
Prepare the master: headroom, peaks and true peak
Maintain comfortable headroom before export. Leave room for the final render.
Place the limiter at the end of the chain with the Ceiling at -0.30 dB. Leave Release in automatic mode for a reliable export.
Watch the limiter’s activity: if gain reduction is constant, rebalance the mix instead of raising the level.
Audio export settings: files, formats and options
Choose the format for its destination: WAV or AIFF for mastering, MP3 or AAC for sharing the track quickly.
Also export a version without the limiter if you are sending the mix to a mastering engineer.
- Name your files: add the date and version, for example track_v1_2025.wav.
- Check the silence at the beginning and end, and confirm the format is suitable before release.
- Listen to the export on several systems to check that the sound holds up.
“A structured export guide avoids costly revisions and speeds up the review process.”
Ableton Live Lite: too limited or a good way to start?
Before investing, assess whether the entry-level version restricts your projects or provides an effective starting point.
Key resources: follow this Limiter lesson to master Ceiling, Release, Look Ahead and input gain.
Learn Ableton: resources, a Limiter lesson and a complete guide
Goal: finish a track with the built-in tools and a clear method. This develops your ear and improves the mix’s dynamics.
Build on what you learn with tutorials, weekly checklists and a complete guide.
Alternatives and extensions: other DAWs, Waves L2, FabFilter Pro-L, packs and Cloud
If you need advanced options, consider Logic Pro, Pro Tools or third-party limiters such as Waves L2 and FabFilter Pro-L.
Packs and Cloud make content easier to manage and can be useful for syncing presets and projects.
| Choice | Use | When to choose it |
|---|---|---|
| Built-in tools | Simple workflow, included effects | Learning, small projects |
| Third-party limiters | Advanced analysis, specific coloration | Mastering or a specific need |
| Packs and Cloud | Organization and presets | A faster creative workflow |
“Finish tracks with Ableton’s audio tools and built-in effects first; an upgrade should solve a specific obstacle.”
Pricing and upgrade options: Live editions and promotions
Reviewing Live’s prices helps you plan a sensible upgrade path. Start with a simple setup, then examine offers when they appear.
Compare editions to understand how to use the features you actually lack. List your constraints: track count, missing effects, routing and file management.
Try demo versions when possible. This lets you measure how the extra options affect your workflow without spending anything.
- Watch Live prices and promotional periods.
- Prioritize usability and CPU efficiency, which matter over the long term.
- Consider an upgrade if it removes a significant obstacle to creating music.
“Buy when a promotion makes the higher edition genuinely useful for your project.”
Conclusion
To conclude, remember the simple steps that turn a project into a finished track. Use the built-in tools and follow a workflow: organize the audio tracks, set up the drum bus and calibrate gain correctly with the Utility device.
On the master, set the Ceiling to -0.30 dB, test Release in automatic or manual mode, and enable Look Ahead if needed (up to 6 ms). Choose stereo or LR mode according to the gain reduction.
The Glue Compressor, sidechain processing and parallel compression can improve cohesion. Record your settings, test exports while checking formats and headroom, and review Live’s prices before moving to a higher edition.
Ultimately, this lesson gives you a practical method for learning Ableton Live, finishing an audio mix and preparing a polished audio export.