
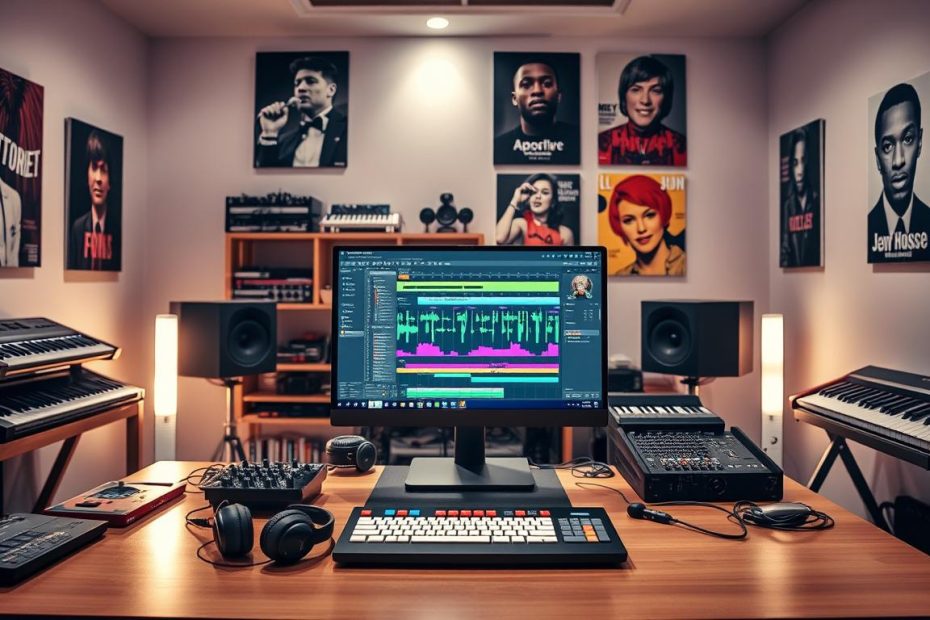
Ableton Live remains a leading choice for producers, engineers, and DJs in France. Its strength lies in an interface designed for speed and flexibility.
This guide presents simple habits and practical settings to speed up your production process. You will learn to optimize your workspace, automate recurring tasks, and reduce latency while monitoring.
Tested tips cover quick searches in the Browser, managing MIDI clips, removing empty spaces, and identifying the plugins that use the most resources.
Whether you are a beginner or an experienced user, these methods will help you build effective routines. They let you protect your creative time and structure each session as a learning opportunity.
To go further, explore this essential lesson, which explains each technique and useful shortcut.
The guide’s goal and immediate benefits for your music production
Move quickly from exploration to organized production with simple, focused actions. This guide helps you turn each action into a useful habit that saves time and reduces mental effort.
Understand the goal: move from discovery to a smooth process today
Clarifying your goal makes your session more predictable. Adopt one feature at a time: the search bar becomes your best ally for finding presets and files in seconds.
The foundations of a fast workflow: organization, editing, shortcuts, and performance
- Organization: use Collections to color-code your favorites and find them again.
- Editing: work non-destructively so you keep your options open.
- Shortcuts: memorize Shift+Tab and Command+1/2/3/4 to navigate quickly.
- Performance: enable “Reduced Latency When Monitoring” and hover over plugin title bars to spot those that add latency.
The benefits are tangible: faster preparation, less hesitation while editing, and better CPU management by targeting the track that uses the most resources.
To explore the topic further, discover complementary Max for Live tools and learn how to create your own studio. Apply one lesson per session and measure the time you save.
“Less searching, more focused action: that is how production becomes an efficient process.”
Ableton Live: best practices for a faster workflow
A clear workspace changes how you produce and edit your tracks.
Use the Browser search bar: enter a query to find plugins and files instantly. Then narrow the results by category or choose “All Results” for targeted access.
Navigation and panels
Show or hide panels on the fly with the Command+Option+L/I/M/B/O shortcuts (LIMBO).
These shortcuts open or close Launch, Inputs/Outputs, Mixer, Browser, and Overview without leaving the main interface.
Length track and MIDI clip
Create a Length track containing a MIDI clip that spans the entire song.
This clip serves as a reference for looping and rendering. Select it when exporting: Ableton Live renders precisely that selection.
Clean up the timeline
Cut finished segments (X), switch to Session View, and paste them onto dedicated tracks.
Back in Arrangement View, the empty spaces disappear and your sessions become easier to read.
Essential shortcuts and editing actions
- Switch between Device and Clip views: Shift+Tab.
- Adjust the grid: Command+1/2. Enable triplets: Command+3. Toggle snapping: Command+4.
- For quick warping, hover over the top of the clip and hold Shift. For precise slip editing, use Shift+Option.
- Hold Command to temporarily force or bypass grid snapping.
| Action | Shortcut | Expected result |
|---|---|---|
| Show or hide panels (LIMBO) | Command+Option+L/I/M/B/O | An uncluttered interface suited to the task |
| Length track with MIDI clip | — | A loop reference and precise render |
| Clean up Arrangement View through Session View | Cut (X) → Paste (Session View) | Empty spaces removed |
| Precise warping and slip editing | Shift / Shift+Option | Fine editing without moving the segment |
For a complete method of organizing your time and sessions, see this practical guide: organize your workflow.
Advanced organization: Collections, presets, and templates that save time
Clear categories turn the Browser into a production assistant.
Collections: create custom categories, assign them colors, and rename them using “Edit” and then a right-click. Drag and drop your presets, instruments, and sounds so they are one action away.
Sort by purpose
Group instruments, effects, and racks by stage: creation, editing, or mixing. This approach reduces hesitation when choosing a sound.
Manage content and access
Bring presets, samples, and clips together in Collections. Right-click an item to assign it a color instantly.
Project templates
Prepare templates with audio and MIDI tracks, returns, and instrument chains. Include routing, gain settings, and version markers.
| Action | Method | Result |
|---|---|---|
| Create a Collection | Edit → New → Drag in presets | Instant access to favorites |
| Assign a color | Right-click the item | Quick visual identification |
| Project template | Set up tracks and returns in advance → Save | A consistent starting point and version tracking |
| Sort by purpose | Create Creation/Editing/Mixing folders | Navigation tailored to your process |
Learning tip: test one lesson per session. To set up templates faster, explore project templates and adapt them to your production.
Performance and editing: latency, CPU, and arrangement techniques
Project performance often depends on a few key tracks and simple editing actions.
Enable “Reduced Latency When Monitoring” to limit delay during recording. Then check that no latency-inducing plugin sits on the monitored track.
Identify demanding plugins and manage CPU use
- Hover over a device’s title bar to see how much latency it adds.
- If one track consumes most of the processing power, freeze or simplify it to reduce the project’s load immediately.
- Spread effects across several tracks instead of stacking them all on one.
Adjust audio settings, including buffer size and sample rate, to suit your recording mode. In Arrangement View, use warping (Shift + drag) and internal slip editing (Shift+Option) to correct a clip’s position without interrupting your work.
To learn more about managing resources and follow dedicated instruction, see this Ableton Live training guide.
“Identify, isolate, then print: an optimized track saves time across the whole project.”
Conclusion
With repetition, these tips make every session smoother and more efficient.
Remember the essentials: adopt a few high-impact actions in Ableton Live, then expand how you use it to strengthen your production and daily work.
Treat each session as a short lesson: one practical exercise turns an action into a habit. Rely on your templates and a starter project to keep your versions consistent and save mental energy for creating.
To explore keyboard shortcuts and navigate faster, consult this list of keyboard shortcuts.