
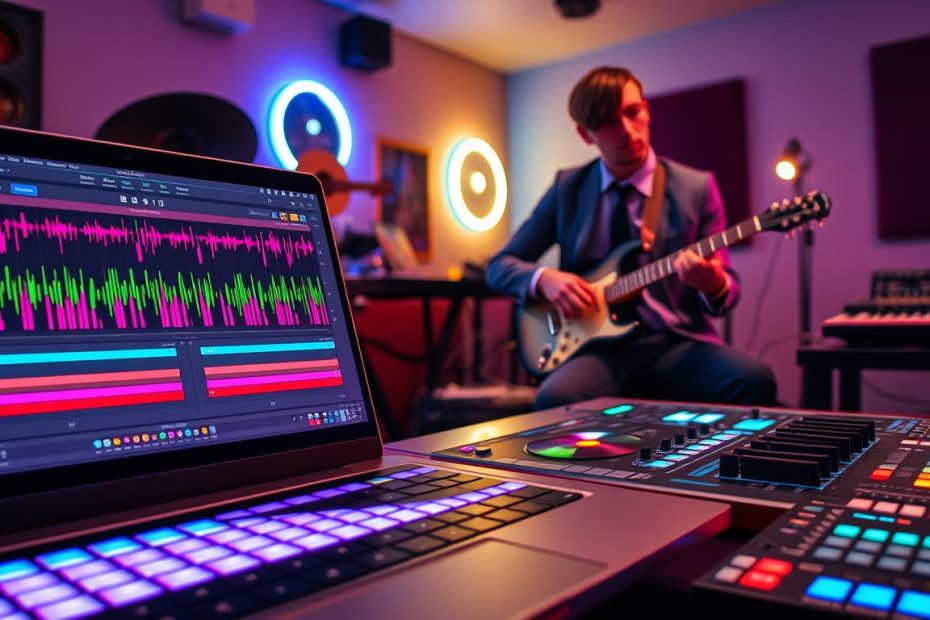
An integrated environment transforms the way you produce music. By letting you create custom instruments and effects, it quickly takes an idea through to the finished sound. The benefits are greater creativity and simplicity.
In practice, this combination reduces decision fatigue and speeds up work with generative tools and customizable workflows. You save time during revisions and stay focused on the music.
Key features let you create custom interfaces, control clips and parameters, and extend what hardware controllers can do without leaving your project. Start with ready-made devices, then refine them or adapt them to your own approach.
This guide covers the ecosystem, setup, device creation, sequencing, and best practices. To learn more, visit the official Max for Live page.
Ableton Live and Max for Live: Why They Change Everything
A unified environment gives you the tools to create an instrument, shape an effect, and build a control interface in one place.
From idea to patch, you can use the same modules to build prototypes, test them, and perform on stage. Routing and logical conditions run in real time, making your set responsive to the way you play.
Direct control over clips, mappings, and parameters changes the creative workflow. A patch can act as a logic layer, handling probabilities, transformations, and routing rules between your ideas and your project.
- Starting with an included device, modifying it, or placing it inside a rack speeds up your work.
- You can customize knobs and faders for consistent hands-on control.
- The same patch can be adapted into variations depending on how you play: in the studio, on stage, or while improvising.
For examples and guides, explore these essential Max for Live resources and tips on creating your own studio.
Understanding the Ecosystem: Max, MSP, and Max for Live in Live Suite
Understanding where this environment comes from and how it is structured helps you grasp its creative possibilities.
What Are Max/MSP and Its Patcher?
Originating at IRCAM in the 1980s with Miller Puckette, the project was commercialized in 1990 and has been developed by Cycling ’74 since 1999.
Max handles control and MIDI, while MSP provides the DSP library for synthesis and real-time analysis.
The patcher is a visual editor with two key windows: the error console and the patch editor. Each object has a specific function and connects to others through virtual cables.
Key Differences: Standalone and Integrated Versions
The standalone version can be exported as an application or turned into a VST. The integrated version runs inside its host software and lets you edit devices from the editor.
One processing-chain example: a MIDI source passes through logic modules, becomes an audio signal through MSP, and is then routed to instruments or effects.
| Feature | Standalone | Integrated |
|---|---|---|
| Export | Application, VST | Device in the host project |
| Device access | Limited | Native access and mappings |
| Workflow | Modular, independent | Unified, centralized management |
Setting Up Max for Live Today: Ready to Use in Live
As soon as you install Suite, Max for Live is available without complicated setup. This saves you time when testing ideas and building patches in your Set.
Preinstallation, Authorization, and Access
The version included with Suite requires no additional installation. It is not included with Intro or Lite; Standard requires the Max for Live add-on.
If a device does not appear, check that your Suite installation is authorized and that its content is present in the Live Library.
Using an External Installation
If you actively develop devices, you can use an external Max installation.
Specify its path in Live’s Preferences > File/Folder. Its content will then install automatically in the Live Library, keeping your resources together.
- Devices appear under Instruments, Audio Effects, and MIDI Effects.
- Dedicated folders group Max Instrument, Max MIDI Effect, and Max Audio Effect devices.
- Built-in tutorials provide a starting point for editing and help you get up to speed quickly.
| Item | Action | Benefit |
|---|---|---|
| Preinstallation | Ready to use | Immediate time savings |
| External installation | Set the path in Preferences > File/Folder | More control for developers |
| Library | Centralized content | Organization and quick access |
To continue exploring, consult these production resources and start experimenting right away.
Creating, Editing, and Saving Devices: Instruments, Audio Effects, and MIDI Effects
Creating and maintaining an effective device means knowing how to open the patcher, route audio, and manage versions.
Opening the Patcher and Viewing Signal Flow
To inspect an empty audio effect, click Edit in the device’s title bar. The editor loads the patch, showing objects connected by cables.
The signal generally travels from plugin~ at the input to plugout~ at the output, then into the rest of the chain. This view helps you locate processing points and breaks in the flow.
Structure and Editing Process
An instrument or effect combines audio objects, a user interface, and MIDI routing. Exposed parameters can be mapped in the host interface.
In edit mode, make your changes in Max, then switch back and forth to test them in real time and refine the device’s behavior.
Saving, Versioning, and Sharing
Save updates every instance of the device in the Set. Save As lets you create a new version without affecting existing instances.
Save your presets in the User Library so their links to the patches remain intact and they work reliably.
Freezing a device embeds its samples, images, and subpatches: a practical way to share an effect without missing dependencies.
If file paths break, use the File Manager. Use clear names and incremental version numbers so you can quickly find stable instruments and effects.
Working with instruments and effects
Sequencing and Generation: Practical Ways to Create Melodies, Rhythms, and Textures
Modern sequencing combines algorithmic generators and deterministic modules to produce lively patterns quickly.
Drums and Patterns
Some practical options: use Opal for Elektron-style patterns, Instant Haus to create grooves quickly, and Polyrhythm to layer cycles of different lengths.
These tools speed up the creation of a solid, flexible rhythmic foundation.
Intelligent Melodies
Pattern Generator offers phrases you can control. Turing Machine introduces randomness that can settle into a repeating pattern.
Ask and Answer creates call-and-response patterns. Snake and Aisle generate fast or evolving sequences, depending on their settings.
“Separating the logic that generates notes from the sound gives you room to experiment without disturbing the groove.”
Approach, Flow, and Probability
With Euclidean Pro, the Euclidean approach distributes hits evenly across a measure; it works for both drum rhythms and melodic lines.
The source/receiver method separates the source that generates notes from the tracks that receive them. One pattern can therefore drive several instruments and effects without being rewritten.
| Device | Use | Practical idea |
|---|---|---|
| Opal | Drums | Chained Elektron-style patterns |
| Turing Machine | Bass and sequences | Looping randomness for variation |
| Pattern Generator | Melodies | Repeatable, adjustable phrases |
| Euclidean Pro | Rhythm | Evenly distributed accents |
For a layered arrangement, use Opal for drums, Turing Machine for bass, and Ask and Answer for the lead, all synchronized to the same tempo.
Record several takes and keep the best moments to preserve the energy of your first ideas.
Sounds and Instruments: Exploring New Timbres and Features
Textures often emerge when digital synthesis meets granular processing.
Synthesis and Instruments
Chiral creates holographic textures suited to atmospheric pads.
poly-Plaits offers a versatile range of algorithms for testing an idea quickly.
Rings creates crystalline resonances that add an organic layer to an instrument.
Granular Processing and Sampling
Grain Forest generates organic soundscapes from a single sample.
Copy Machine turns an ordinary sound, such as a clap, into many layered events.
Fortrek simulates a lo-fi multitrack sound to create tape-like textures.
Melodic Transformation
Iridescence gradually transforms a source into harmonious arpeggios. Applied to a short loop, it creates movement that evolves over time.
Practical tip: try several instruments with the same generated sequence to find the best timbre. Add a subtle effect, such as reverb or delay, to give the sound a sense of space without masking its dynamics.
A learning path: start with poly-Plaits, add Rings for layers, then Chiral for character. Record takes in real time to build your personal sound library.
| Device | Main use | Practical idea |
|---|---|---|
| Chiral | Pads, textures | An evolving pad with slow modulation |
| poly-Plaits | Versatile synthesis | Try several models to choose a timbre |
| Rings | Resonance, layers | Layer sounds to create rich harmonics |
| Grain Forest / Copy Machine / Fortrek | Granular / ensemble / lo-fi | Turn one sample into a library of textures |
Effects, Modulation, and Control: Practical Tools for Shaping the Signal
Shaping sound involves both creative processing and precise modulation. Here are distinctive effects and modulation features that turn raw material into useful textures.
Distinctive Effects
Nube creates granular clouds; Granular Mirror Maze makes textured pads. Maze breaks up loops with a tape-like feel and alters their pitch. Muse Concrète records and shapes captured material.
Modulators and Functions
Modules such as Auto-Slider turn your gestures into long-running LFOs. Strange Mod introduces controlled randomness. Source generates probabilistic functions, while Kentaro’s advanced LFOs offer sophisticated curves.
Hardware Control and Preset Management
Set up hardware control with custom mappings and visual feedback. You can use those mappings to control clips and parameters from a controller.
Keep devices and presets in the User Library so each patch and file reference remains valid. If a link breaks, use the File Manager to repair it. Freeze a device before sharing it to include its samples and subpatches.
Typical chain: instrument → texture effect → slow modulation → control macro. You can use Groov Mekanik (Note Probability, High Frequencies Limiter) before or after your instruments and effects to refine the result.
To go further, take sound design training that covers patching and routing in practice.
Conclusion
Bringing instruments and effects together in one workspace speeds up the journey from idea to finished sound. You can structure the signal around your creative process and test modules without losing your train of thought.
Useful foundations: ready-made devices, quick editing, reliable presets, frozen devices, and dependency management. This approach makes your work easier to share and reproduce.
Experiment with a generative source, try several instruments and effects, then record your takes when the moment is right. Use a hardware controller to turn your gestures into coherent musical functions.
One possible routine: 15 minutes exploring, 15 minutes recording, and 15 minutes editing. For more detail, consult the Max for Live documentation through Help > Reference. Build a personal library of instruments and effects: each module can become a reusable part of your signature sound.