
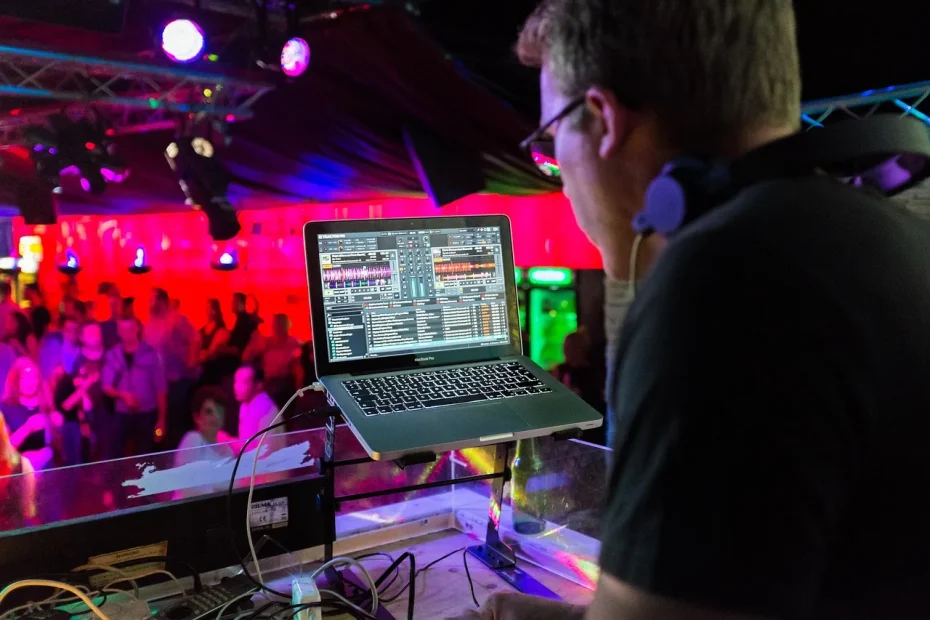
Mastering tempo has become essential to a modern performance. A project designed for the stage keeps musicians, machines and backing tracks on the same BPM. That lets the human element remain creative without losing rhythmic precision.
From studio to stage, prepare stems, choose between MIDI and audio, normalize levels and automate BPM changes through scene names. This approach reduces loading times and limits mouse use.
The hardware setup matters: audio interfaces with multiple outputs, in-ear monitors (IEMs), headphone amplifiers and controllers such as Push or a tablet help you run the set with confidence. The click becomes a discreet guide that supports the performance and makes transitions easier.
To round out your software choices and improve your workflow from studio to stage, explore this useful selection of the best music production software.
Why use a click track on stage, and how does it change your live performance?
A digital metronome in your ears changes how a band keeps time on stage.
Definition and purpose: a click track provides a rhythmic anchor and a shared reference point. It helps coordinate synchronized effects, tight transitions and changes between sections of the set.
Practical benefits: more consistent rehearsals, precise entrances and better synchronization with backing tracks and machines. Rehearsing with a metronome turns lessons from the studio into stage instincts.
Ways to use one: a computer running music production software offers maximum flexibility; a mobile app works as a backup; a dedicated metronome can serve the drummer; and drum machines suit certain styles.
To control tempo changes and launch clips from an interface, consult the official manual: launching clips.
Distribution and musicality: IEMs let you balance the metronome and monitor mix precisely. A reference pulse does not prevent a groove: it secures the rhythmic foundation and frees up expression.
Ableton Live and click tracks: managing tempo in concert
Preparing a stage set begins with organizing the session and choosing the view that suits the way you play.
Session View supports improvisation: scenes become sections built from clips you can trigger on the fly.
Arrangement View suits a linear sequence and a fixed version of the show. Choose the one that fits your practice.
Create the click track, count-in and cues
Create a dedicated metronome track, a count-in clip and, if needed, an audible pitch cue for tricky entrances.
Document the routing and share it with the musicians so everyone receives the right cue.
Name scenes and automate tempo
Rename each scene to include its BPM, for example, “Song Title — 128 BPM”. Launching a scene automatically adjusts the tempo when you enable this option.
For complex transitions, create a master automation track that schedules changes and combine it with Follow Actions.
Organize songs and clips for practical use
Group songs, clips and sections (intro, verse, drop, outro) so you can navigate quickly on stage.
Dummy clips control mutes, filters or version selectors without placing much demand on the processor.
| Element | Use | Benefit |
|---|---|---|
| Session View | Improvisation, scenes | Flexibility during performance |
| Arrangement View | Linear sequence | Precision and repeatability |
| Click track | Count-in and cues | Precise entrances and cues for the band |
| Follow Actions | Automatic sequencing | Reliable transitions without a mouse |
| Dummy clips | Parameter control | Lower processor use and greater reliability |
Before the concert, simulate the session in the studio: check latency, levels and stability. Then save a stable stage version to avoid surprises.
Routing, monitoring and synchronization: audio interfaces, mixers and IEMs
Careful routing ensures that each musician receives exactly what they need in their monitor mix.
Set up an audio interface with multiple outputs: assign the front-of-house mix, monitor feeds and click to separate buses from your computer. Label each output clearly, and check the solo/mute function and peak levels.
Distribute the signal to the band: use a small mixer or have the sound engineer handle distribution. A headphone amp such as the Behringer P1 accepts a main monitor feed and a cue output; switch to mono to balance the two sources with the left/right balance control.
- Test the routing: outputs 1 and 2 for front of house, 3 and 4 for monitors, and 5 and 6 for the dedicated track. Adjust the computer’s audio buffer size to limit latency.
- Make use of IEMs: with two sources, adjust your personal mix so you can hear the cue without tiring your ears.
- Separate the click, monitors and front-of-house feed to prevent the click from leaking into the audience mix and keep monitor feeds clean.
Synchronization: enable Ableton Link or MIDI Clock for drum machines and sequencers. Check timing offsets and stability before every set.
Include scenes in your routing plan and document the connections. For practical advice about stage and studio setups, consult this stage setup discussion and learn how to build your studio to improve your setup.
Instruments, controllers and effects: bring your live sound to life
To give the set more depth, combine instrument racks and controllers to shape the sound in real time.
Build racks: create instrument and effect racks with macros for quick access to essential parameters. Macros let you transform the sound gradually and change presets without searching through menus.
Automation without a mouse: program dummy clips to trigger filters, sends or effects on and off. This is ideal for controlling transitions and lighting scenes without interrupting the performance.

Mappings and control surfaces: map Push or an iPad control surface to essential macros. Thoughtful mappings let you switch between versions and reduce mouse use.
Hardware and MIDI: integrate synthesizers and pedals through MIDI connections and audio inputs. Process the signal in the software, manage latency and use parallel racks to create rich textures.
Loops and resources: prepare looping tracks, quantize layered recordings and check the outputs to prevent signal leakage. Disable unused devices and use selectable chains to conserve processor resources.
For more on configuring instruments and devices, consult the instrument reference.
Build a reliable multi-song set, from studio to stage
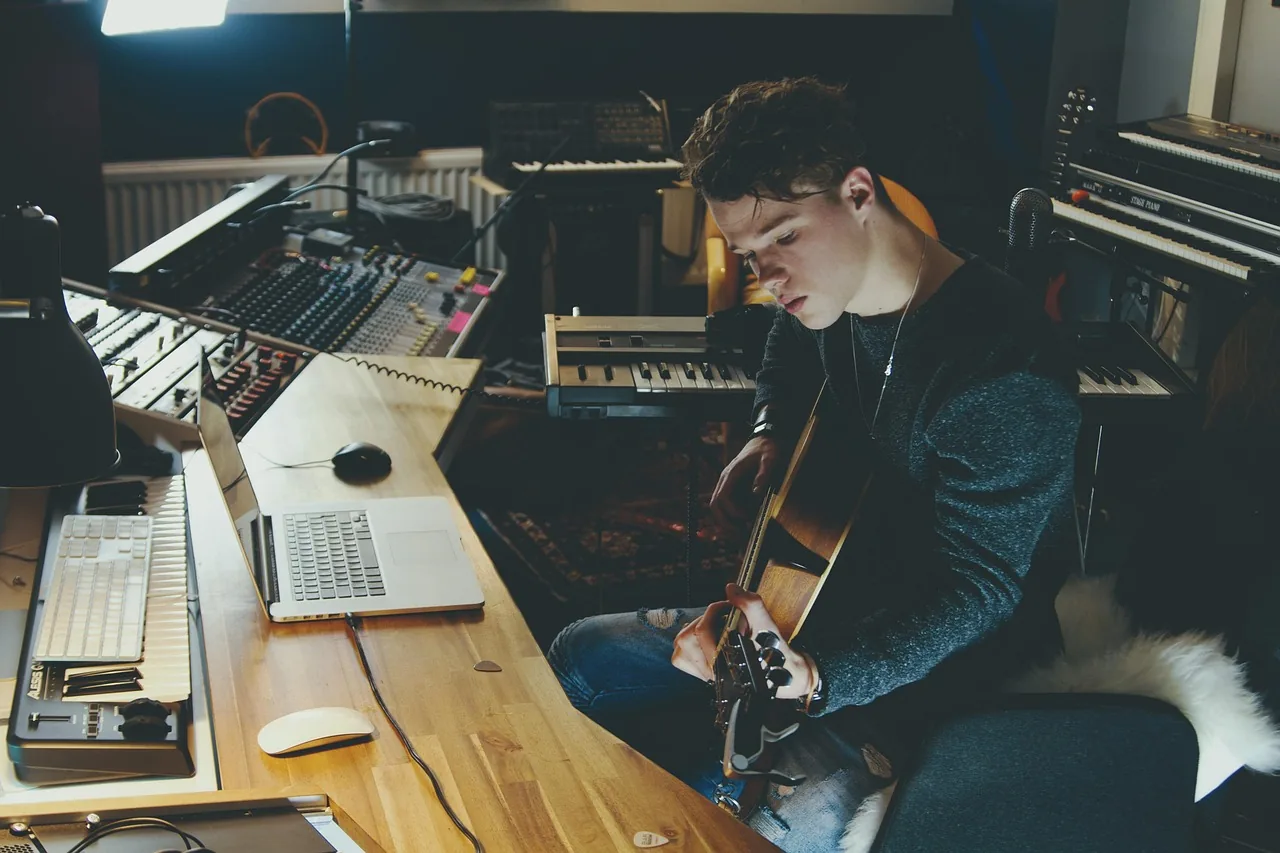
The success of a multi-song set often depends on how tracks are shared and levels are normalized across songs.
Choose between MIDI and audio and create useful stems
Choose MIDI for instruments you want to modify on stage. Convert parts that should remain fixed to audio to reduce processor load and loading times.
Useful stems: drums, bass, harmonies, effects, vocals and cues. Match the level of detail to the needs of front of house and the musicians.
Normalize, group and limit loading times
Normalize loudness in LUFS and manage peaks across songs so the mix sounds consistent. Document cues and save output presets.
Group tracks by type (drums, music, vocals) and use group macros to adjust overall levels quickly. Share instruments and buses between songs to avoid duplication.
Automate tempo changes with clips or markers, test the session several times, and measure headroom and loading times. For practical experience from the stage, read this account of a live setup.
Performance reliability: backup plans, scripts and good practices
Preparing for failures and unexpected events is the first rule of a smooth performance. Plan simple responses that let the band keep going without stress.
Make a backup plan and protect your work
A second audio interface, a spare power supply and essential stems exported to an external player make it possible to resume quickly.
Optimize the computer: use a sensible buffer size, disable nonessential services, and keep local and cloud backups.
Scripts, shortcuts and less mouse use
Use ClyphX to program Stop/Next commands, launch scenes and adjust tempo on the fly.
Assign pads, footswitches and controllers to reduce mouse use. Prepare a backup section for every song.
“A good procedure often saves a performance.”
- Project clarity: name clips, color-code track groups and label sections.
- Audio continuity: ambient loops can cover a session restart.
- Operating procedures: use a pre-show checklist, test the lines and check in with the sound engineer.
Training and feedback after each show turn every incident into a lesson. Standardize your methods, write procedures and rehearse these sections to learn from experience.
Conclusion
Finishing concert preparations means turning every technical decision into a reliable, musical set.
Practical summary: prepare a robust set; name your scenes and organize your clips; automate changes; route signals carefully to the mixer; and protect every transition with a backup plan.
Stage equipment: instrument racks, synchronized effects, controllers, MIDI and hardware integration provide the foundation for an expressive stage version.
Align tracks and songs with useful stems, normalize levels and rehearse several times as a band. Document each section, limit mouse use, test synchronization, then return to the studio to finalize the version for the stage.
To learn more about audio effects, consult the audio effects reference.