
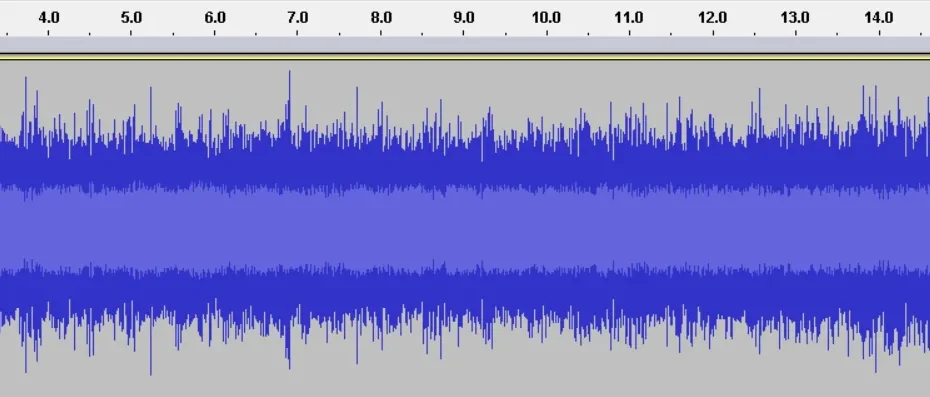
Setting the scene: This introduction explains what normalization does in Ableton Live and how it differs from simply adjusting a fader. Peak normalization brings the highest peak to a target value without compressing the dynamic range.
Purpose of this guide: You will learn when to enable this option and when to leave it off. We will also discuss ways to increase perceived loudness without degrading the sound.
Technical considerations: RMS normalization can act like compression and change the character of the sound. Normalizing at the end of the signal chain can amplify noise or flaws in the mix.
What follows: the technical basics, neutral and non-neutral operations in Ableton Live, use cases, a workflow from clips to export, and production effects. For users’ opinions, see this discussion.
What you will gain: By the end, you will know exactly when to enable normalization and which other methods to use to preserve the integrity of your music and your track.
Understanding normalization in Ableton Live: gain, signal and dynamics
Normalization changes the gain written into a file, so its effect is not the same as simply adjusting a fader. In Ableton Live, writing a gain change affects the source file or exported output, whereas a fader changes only the mix in real time.
Normalizing ≠ adjusting volume: peak and average level (RMS)
Peak normalization brings the highest peak as close as possible to 0 dBFS. By contrast, normalization based on average level (RMS) aims for a higher perceived level but changes the dynamics.
Effects on the signal and dynamics: why flaws can become more noticeable
Increasing a file’s gain also raises its noise floor. A recording made without enough input headroom will often require an excessive gain increase, revealing hiss, clicks or reverberation.
- Practical example: bringing a peak to -0.1 dBFS achieves little if the RMS level remains low; a compressor or limiter is preferable.
- Maintaining headroom at the input (for example, -6 dB) protects the signal-to-noise ratio.
- Every gain operation is non-neutral: if you apply many of them, transparency may be compromised.
Technical foundations: neutral and non-neutral operations in Live
Before making creative changes, distinguish operations that actually alter the signal from those that remain transparent. This distinction guides how you manage files and tracks while mixing.
Neutral operations
In Ableton Live, some operations leave the audio data untouched. These include 64-bit summing at individual mix points, unchanged routing, playback without Warp when sample rates match, and splitting clips without conversion.
Non-neutral operations
Other functions change the content: normalization, volume automation, edited fades, panning (constant-power law), sample-rate conversion and transposition.
Warp modes and consolidation
Complex/Complex Pro modes remain non-neutral even at the original tempo. Beats, Tones, Texture and Re-Pitch can remain close to neutral when no time stretching occurs.
“A single effect or gain adjustment is enough to make the signal flow non-neutral.”
- Consolidation creates new files and adjusts clip gain to preserve the perceived output level.
- On export, Ableton uses the SoX Resampler to limit distortion when changing sample rates.
Tip: limit conversions and use files that are ready to mix to conserve CPU resources. For user feedback, see this discussion.
Normalize audio in Ableton: when to use it and when to avoid it
A quick level adjustment can help with evaluation, but it is not always appropriate for the final mix.
Useful situations
If an imported file is very quiet, normalization can bring it to a more consistent level for listening or sharing a demo. It is useful for comparing references and checking the signal without setting up a complete processing chain.
When to avoid it
Avoid this function during mixing or mastering: it can duplicate what compression does and harm the final result. A file already close to 0 dBFS has nothing to gain, and its background noise will rise along with everything else.
Other recommended methods
Use gentle compression, followed by a transparent limiter (Waves L1/L2), to increase perceived loudness. Set input and output levels correctly during recording to reduce the need for later corrections.
Normalization can be useful for a quick preview, but use proper dynamics processing when producing the final render.
For advice on exporting and final preparation, see exporting a project.
A practical workflow: clips, tracks, arrangement, consolidation and export
Good level management prevents you from having to adjust every file at the end of a project. Leave clear headroom on each track and check the input level before recording.
Clips and tracks: keep levels moderate. Do not normalize every clip automatically; instead, raise the clip or track gain judiciously. Disable unnecessary inputs and outputs to conserve CPU resources and reduce recording errors.

Arrangement and consolidation
Consolidation creates new files and adjusts clip volume to preserve the perceived balance. Check the sample rate and bit depth in Preferences before creating consolidated files.
Export Audio/Video
Choose the target sample rate and avoid unnecessary conversions: if you change the sample rate on export, Ableton Live uses the SoX Resampler. Apply dithering only once, at the final stage.
A concrete example
Starting with a quiet loop, raise the clip gain moderately, apply light compression and add a limiter to control peaks. Do not overuse normalization at the end of the chain, and check output levels for their intended use (streaming, video or archiving).
| Stage | Action | Risk avoided |
|---|---|---|
| Clips | Moderate clip or track gain | Increased noise |
| Consolidation | Check sample rate and bit depth | Incorrectly resampled files |
| Export | SoX Resampler and final dithering | Unwanted conversion and truncation |
Tip: to prepare a clean mix, organize your files and check output levels before the final export. Also see the page on exporting a project.
Real time and resources: CPU, freezing, flattening and audio consequences
Playback problems such as clicks and dropouts often result from an overloaded audio buffer. The CPU load indicator shows the percentage of the available time needed to process each buffer.
Above 100%, real-time playback becomes unstable and produces artifacts.
CPU load indicator and real-time effects
Displayed value: average or instantaneous, depending on the setting. A sustained reading above 100% signals likely clicks at the output.
Live disables some effects when there is no incoming signal, but delays and reverbs keep their tails active. Disabling unnecessary inputs and outputs reduces resource use.
Freezing or flattening a track: process and consequences
Freezing creates 32-bit files that reproduce what you hear at the moment of freezing. This operation is neutral for the signal, but changes the behavior of time-based effects and automation.
In Arrangement View, reverb tails are rendered and appear as hatched segments. In Session View, only two loop cycles are captured, which can be surprising after several repetitions.
Flattening permanently replaces clips and devices with the frozen audio. Use this function only when you are sure of the final result.
| Situation | Action | Effect on output |
|---|---|---|
| Indicator > 100% | Reduce real-time effects | Clicks and dropouts avoided |
| Freeze (Arrangement) | Create 32-bit files | Reverb tails included |
| Freeze (Session) | Create 32-bit files | Only two loop cycles |
| Flatten | Replace clips & devices | Fixed, permanent render |
Tip: identify the tracks using the most resources in Session View, freeze the heaviest ones and reserve flattening for the final output.
For technical details on file processing and managing the exported file, see the manual’s audio fact sheet.
Conclusion
To finish, focus on a consistent workflow and preserving the signal.
To recap: normalization remains a non-neutral operation, and consolidation creates new files while adjusting the perceived level. Favor balanced levels, gentle compression and a limiter to increase loudness.
Manage tracks and clips carefully, freeze them when needed to conserve resources, and avoid Complex modes when neutrality matters. Check the output format and target sample rate, then apply dithering only once.
For technical details, consult the technical fact sheet.